Honey Chocolate Ice Cream Recipe
User Reviews
5.0
12 reviews
Excellent
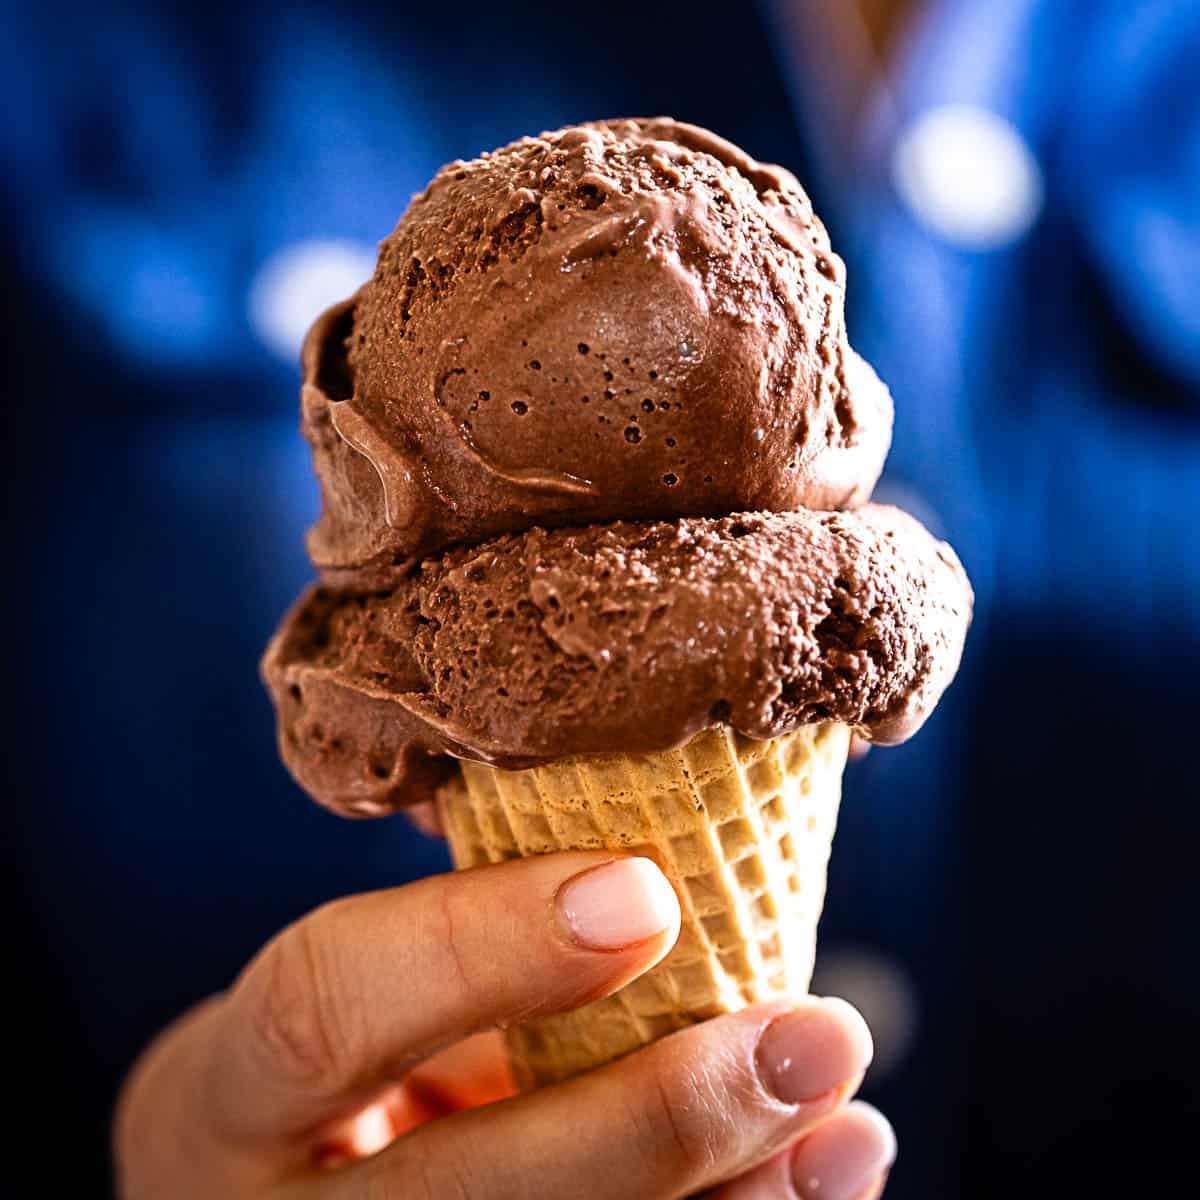
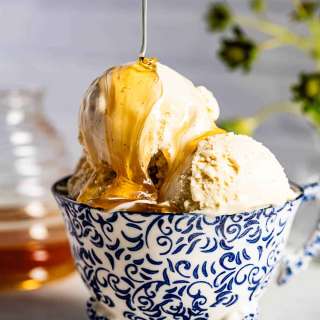
Honey Chocolate Ice Cream Recipe
Report
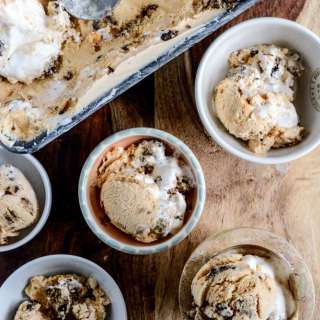
Honey chocolate ice cream is an ultra rich, naturally sweetened custard based ice cream that is the ultimate summer indulgence. Made with just a few basic ingredients, it is an easy ice cream recipe you’ll be making over and over again.
Share:
Ingredients
- 1 ½ cups heavy cream
- 1 ½ cups whole milk
- ½ cup honey
- ½ cup unsweetened cocoa powder
- 4 large egg yolks
- 1 ½ teaspoon vanilla paste or vanilla extract*
- ½ teaspoon kosher salt
Instructions
- Place cream, milk, honey, unsweetened cocoa powder, vanilla paste, and salt in a medium-sized saucepan over medium-high heat. Cook, string frequently until it is barely simmering, 7-8 minutes. Do not let it boil.
- Whisk the egg yolks in a medium bowl.
- Carefully pour 1 ½ cups of the warmed cream mixture into a measuring cup.
- Gradually whisk the cream mixture into the eggs while constantly stirring as you pour it into the bowl. Continuous whisking is very important to prevent the eggs from curdling.
- Pour the egg yolk mixture back into the saucepan. Using a wooden spoon, cook over medium to medium-high heat for approximately 8 minutes, stirring constantly until it is slightly thickened making sure you also stir the bottom edge of the saucepan to incorporate the mixture. Do not let it boil, as this will scald the cream and milk. The mixture should be around 180 degrees F.
- Pour the cream mixture into a heatproof container and let it cool (uncovered) on the counter for 30 minutes. Cover it with stretch film (place it on the surface of the custard) and refrigerate for at least 3 hours or for up to 24 hours.
- Churn the mixture after it has chilled according to the ice cream manufacturer’s instructions. In my ice cream maker, it takes about 20 minutes for it to reach soft serve texture.
- Transfer the churned ice cream to an ice cream tup (or a loaf pan), put the lid on and let it freeze for at least 3 hours before serving.
Equipments used:
Notes
- This recipe makes 1-quart ice cream.
- You can substitute the vanilla paste with vanilla extract. Use an equal amount but stir it into the custard at the very end (at the cooling stage) to prevent it from evaporating.
- The proper temperature of the mixture should be no more than 180 degrees F. Boiling or scalding the mixture can cause the eggs to curdle and potentially burn, giving an unpleasant taste. Do not walk away as the boiling point can be very quick! You can easily test for the correct thickness of the mixture by lifting the wooden spoon out and running your clean finger on the back of the spoon. If the other area of the spoon holds on to the mixture and does not run off, it is thick enough.
- I made this recipe three times and didn’t need to strain the mixture. However, straining through a fine mesh strainer helps to catch any unwanted clumps of egg yolk that may have developed during tempering the eggs. This is a good practice to follow if you are new to tempering eggs.
- Yields: This recipe makes 1-quart ice cream.
- You can substitute the vanilla paste with vanilla extract. Use an equal amount but stir it into the custard at the very end (at the cooling stage) to prevent it from evaporating.
- Check doneness: The proper temperature of the mixture should be no more than 180 degrees F. Boiling or scalding the mixture can cause the eggs to curdle and potentially burn, giving an unpleasant taste. Do not walk away as the boiling point can be very quick! You can easily test for the correct thickness of the mixture by lifting the wooden spoon out and running your clean finger on the back of the spoon. If the other area of the spoon holds on to the mixture and does not run off, it is thick enough.
- Use a fine mesh strainer (Optional): I made this recipe three times and didn’t need to strain the mixture. However, straining through a fine mesh strainer helps to catch any unwanted clumps of egg yolk that may have developed during tempering the eggs. This is a good practice to follow if you are new to tempering eggs.
Nutrition Information
Show Details
Calories
577kcal
(29%)
Carbohydrates
50g
(17%)
Protein
11g
(22%)
Fat
41g
(63%)
Saturated Fat
25g
(125%)
Polyunsaturated Fat
2g
Monounsaturated Fat
11g
Cholesterol
306mg
(102%)
Sodium
362mg
(15%)
Potassium
427mg
(12%)
Fiber
4g
(16%)
Sugar
43g
(86%)
Vitamin A
1720IU
(34%)
Vitamin C
1mg
(1%)
Calcium
211mg
(21%)
Iron
2mg
(11%)
Nutrition Facts
Serving: 4servings
Amount Per Serving
Calories 577 kcal
% Daily Value*
| Calories | 577kcal | 29% |
| Carbohydrates | 50g | 17% |
| Protein | 11g | 22% |
| Fat | 41g | 63% |
| Saturated Fat | 25g | 125% |
| Polyunsaturated Fat | 2g | 12% |
| Monounsaturated Fat | 11g | 55% |
| Cholesterol | 306mg | 102% |
| Sodium | 362mg | 15% |
| Potassium | 427mg | 9% |
| Fiber | 4g | 16% |
| Sugar | 43g | 86% |
| Vitamin A | 1720IU | 34% |
| Vitamin C | 1mg | 1% |
| Calcium | 211mg | 21% |
| Iron | 2mg | 11% |
* Percent Daily Values are based on a 2,000 calorie diet.
Genuine Reviews
User Reviews
Overall Rating
5.0
12 reviews
Excellent
Other Recipes
You'll Also Love
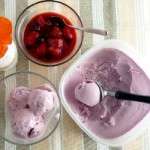
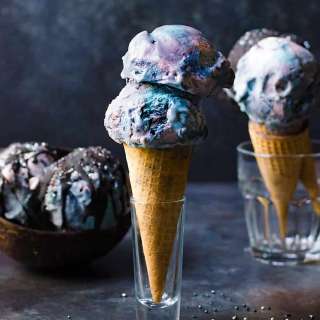
No Churn Galaxy Ice Cream (Mixed Berry Lemon Ice Cream)
North American, American, Canadian
5.0
(6 reviews)
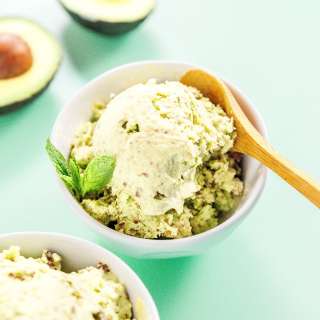


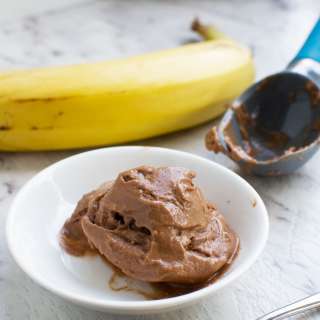
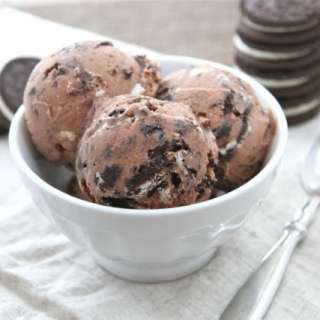
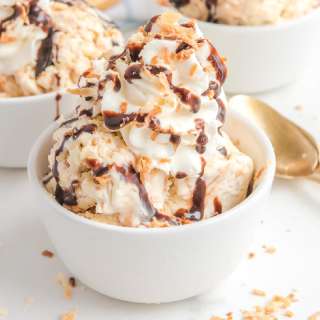
4 Ingredient Chocolate Cookies 'n' Cream Ice Cream
American, International, Vegetarian
4.2
(21 reviews)