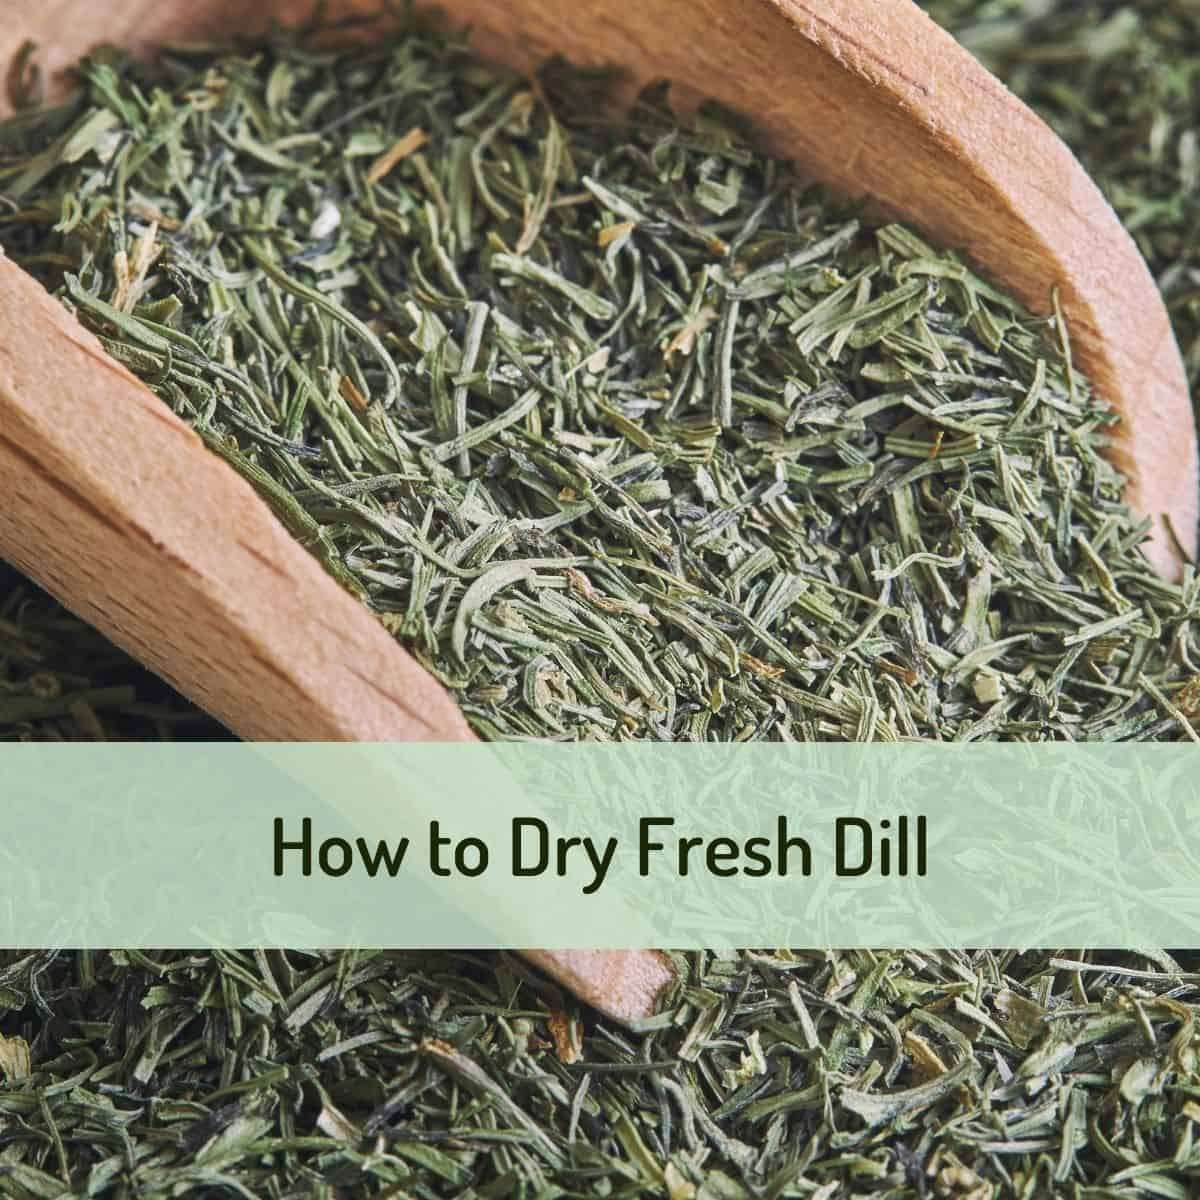
How to Dry Dill - Four Ways!
User Reviews
5
-
Servings
1 serving
-
Calories
1 kcal
How to Dry Dill - Four Ways!
Description
How to Dry Dill - Four Ways! provides detailed techniques to preserve dill for long-term use. Air drying involves bundling the freshly cut dill stems and hanging them upside down in a dry, dark, and aerated spot for around two weeks until completely dry and crisp. Removing yellow flowers prior to drying enhances flavor potency.
Using a food dehydrator set between 95-100°F speeds drying to about 4-6 hours, depending on humidity and freshness. Oven drying is done at the lowest possible temperature setting with dill spread on trays and watched carefully to avoid burning while drying. Lastly, freezing preserves dill with minimal flavor loss if drying is not preferred.
Once thoroughly dried, the leaves are stripped off the stems and stored in airtight containers kept in cool, dark places to maintain their aroma and texture. These methods allow for year-round availability of dill for seasoning without the freshness diminishing quickly.
Ingredients
- 1 bunch dill fresh leaves
- 1 bowl water for rinsing
Instructions
Air Drying Dill
- Cut the bottom off of the dill plant, leaving a few inches of stem. Gather the dill plants together in a bundle and tie them securely with rubber bands. Hang the bundle of dill upside down in a dry, dark, but well-ventilated place.
- Allow the herbs to dry for about two weeks. Once the dill is completely dried, remove the leaves from the stems and store them in an airtight container.
Dehydrate Dill
- Clean and dry dill thoroughly. Cut off any yellow flowers as they will make the dill less potent. Also cut the stems into smaller pieces so that they fit onto your dehydrator trays.
- Place the dill on your tray and then the tray into your food dehydrator and set the temperature between 95-100°F.
- The total time will depend on how fresh the herb is and how humid your environment is, but it usually does not take more than 4 to 6 hours! Once dry, store in an airtight container in a cool, dark place.
Oven Dry Dill
- Preheat your oven to the lowest setting possible - in most ovens, this is usually between 150°F and 200°F.
- Turn off the oven, and then place the dill, evenly spread out, on a baking sheet with parchment paper on it. Place this in the oven with the oven light on. Having the oven light turned on can help you check on the dill periodically and have a bit of a heat (without burning the dill).
- Check after 25-30 minutes, and then every 15 minutes until it’s dried. Once it's dried, remove it from the oven and let it cool completely before storing in an airtight container.
Microwave Dill
- Rinse your fresh dill and shake the excess water off (or use a salad spinner!) and place it on a paper towel.
- Microwave on high for about 2 minutes, in 30-second intervals, or until it is completely dry and crisp.
- Check and rotate plate if necessary. Be careful not to overcook the dill, as it will become bitter.
- After that, you can store the dried dill in an airtight container and use it as you would any other dried herb.
Notes
- Air drying dill preserves flavor best but requires about two weeks in a well-ventilated, dark space.
- Remove yellow flowers before drying to avoid bitter or less potent dried dill.
- Dehydrator drying takes 4 to 6 hours at 95-100°F and is efficient for preserving flavor.
- Oven drying should be done at the lowest temperature with attention to avoid browning the leaves.
- Freezing dill leaves is the quickest method to preserve flavor without drying but affects texture.
Nutrition Information
Show DetailsNutrition Facts
Serving: 1serving
Amount Per Serving
Calories 1 kcal
% Daily Value*
| Calories | 1kcal | 0% |
| Carbohydrates | 1g | 0% |
| Protein | 1g | 2% |
| Fat | 1g | 2% |
| Monounsaturated Fat | 1g | 5% |
| Sodium | 1mg | 0% |
| Potassium | 7mg | 0% |
| Fiber | 1g | 4% |
| Vitamin A | 77IU | 2% |
| Vitamin C | 1mg | 1% |
| Calcium | 2mg | 0% |
| Iron | 1mg | 6% |
* Percent Daily Values are based on a 2,000 calorie diet.
User Reviews
Overall Rating
5
You'll Also Love