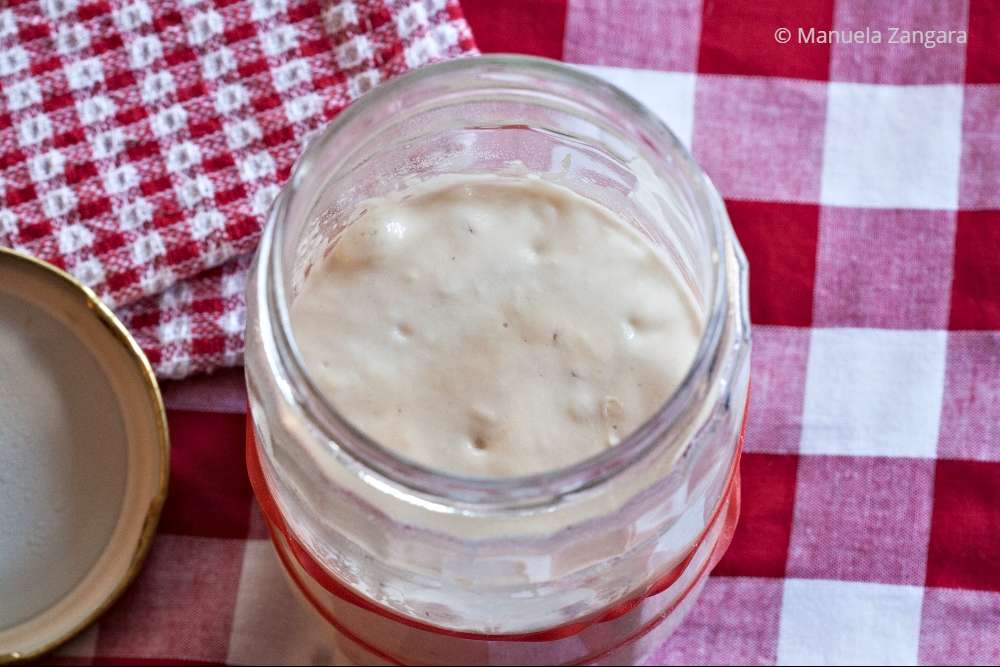
How to Make Sourdough Starter
User Reviews
5
3 reviews
Excellent
-
Prep Time
5 d
-
Total Time
5 d
How to Make Sourdough Starter
Report
How to Make Sourdough Starter with step by step instructions. This post includes tips, troubleshooting of common problems, and storage suggestions.
Share:
Ingredients
Starter
- 50 gms flour see Tip #1 and Variations, 1 3/4 oz
- 50 gms water lukewarm (see Tips #2 and #3, bottled, 1 3/4 oz
To feed the Starter
- flour see Tip #1
- water lukewarm (see Tips #2 and #3, bottled
Instructions
Day 0 – “Create” your Starter
Day 2 - First feeding after 48 hours
Day 3 - Second feeding after 24 hours
Day 4 – Third feeding after 24 hours
Notes
- Variations Rye sourdough starter: at the beginning, use 40 gms rye flour (and feed with unbleached organic plain flour). Wholemeal sourdough starter: at the beginning, use 50 gms organic wholemeal flour (and feed with unbleached organic plain flour). White sourdough starter: at the beginning, use 50 gms unbleached plain flour (and feed with unbleached organic plain flour). Tips #1. You can use any kind of flour you have. I have made mine with plain flour. However, many people recommend using organic wholemeal flour and then switching to unbleached organic plain flour for feeding until it is established. Once mature, you can then just switch to regular plain flour or bread flour for feeding. #2. Use bottled water (or water that is filtered and has been allowed to stand uncovered for at least 4 hours for the chlorine to dissipate) to give your sourdough starter the best possible chance of success. I use the filtered water I get straight from my fridge and it works. #3. It’s a good idea to embrace measuring both your flour and water in grams/oz. when making and maintaining your sourdough starter. It is the most accurate way of measuring and will give you the best possible chance of success. #4. The ideal temperature for proving sourdough starter is between 21°C-23.5°C (70°F-74°F). Don’t be tempted to keep the starter at higher temperatures to accelerate the process as it won’t necessarily mean you will get a better result. Higher temperatures can encourage more ‘bad’ bacteria to grow than the ‘good’ ones, which will ultimately ruin the starter. I keep mine in a cupboard in the kitchen. #5. After each feeding, it’s a good idea to mark the side of the jar with tape (or an elastic band) so you can see how much it grows in the specified time. #6. Make sure you scrape down the side of the jar after every feed – this will make it easier to see how much the starter has risen each time.
Genuine Reviews
User Reviews
Overall Rating
5
3 reviews
Excellent
Other Recipes
You'll Also Love