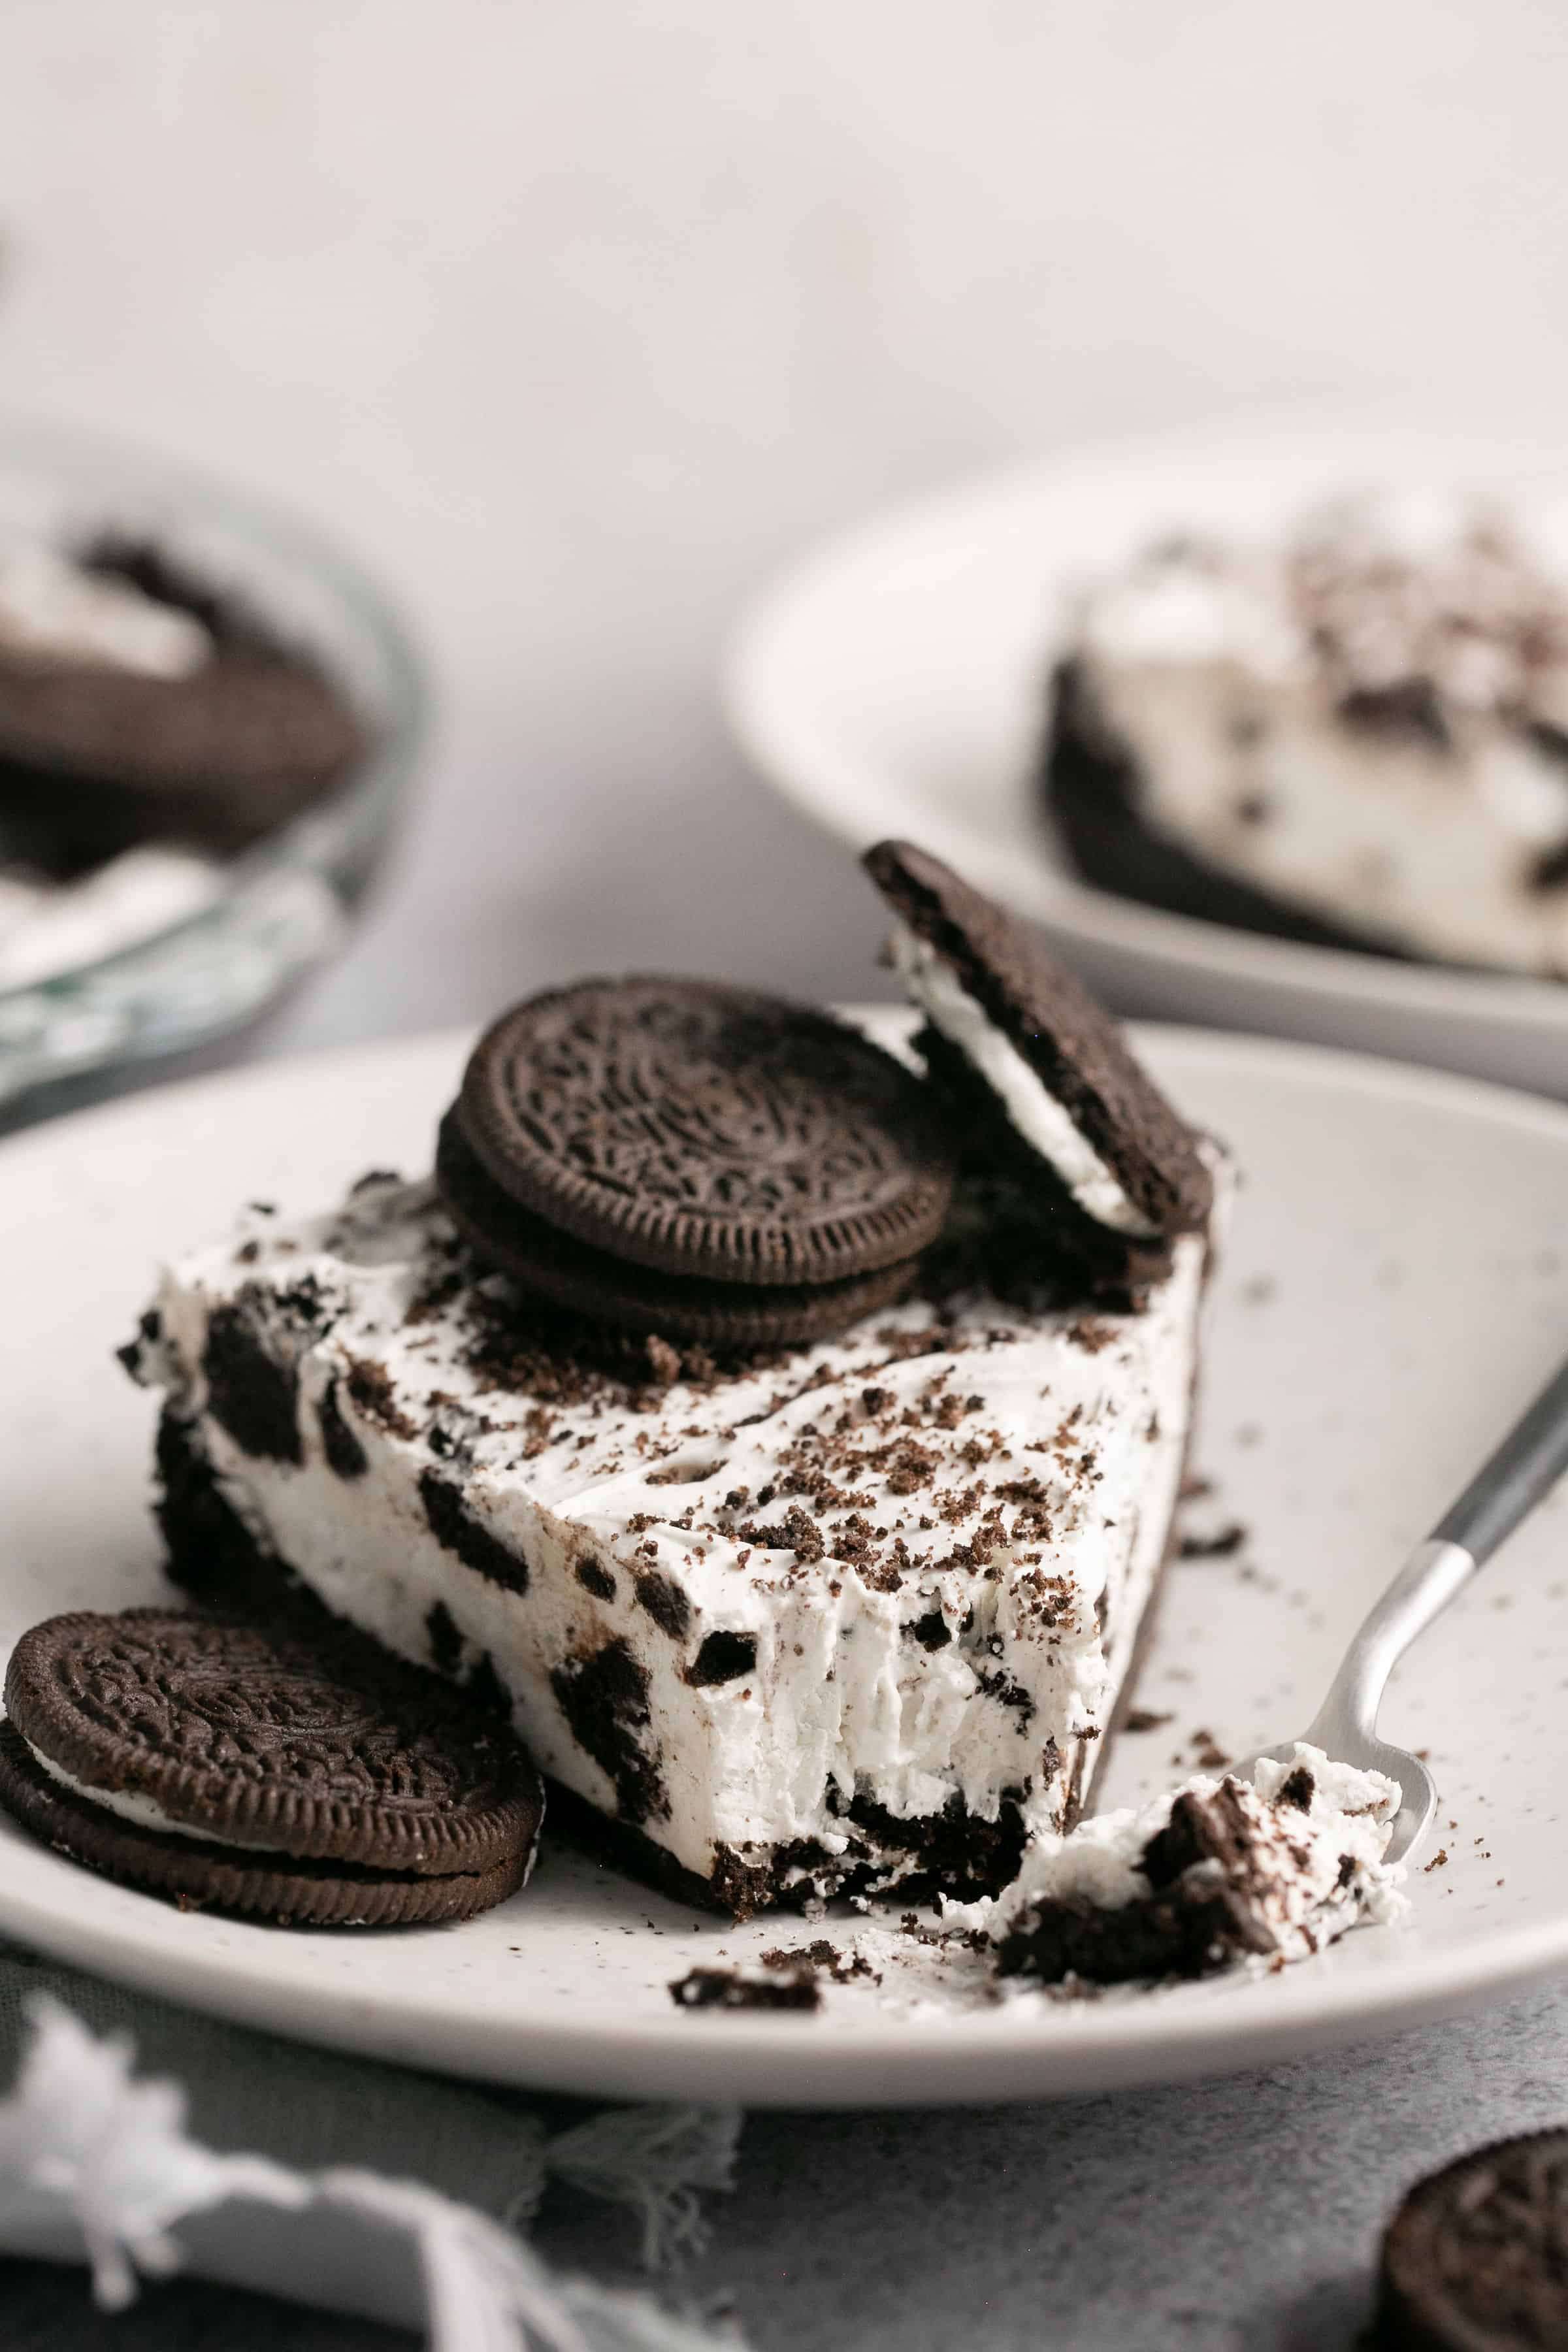
No Bake Oreo Pie with Cool Whip
User Reviews
5
No Bake Oreo Pie with Cool Whip
Description
This No Bake Oreo Pie constructs a crust from pulverized Oreo cookies mixed with melted butter pressed firmly into a pie dish, providing a crunchy, chocolatey base. The filling blends softened cream cheese with optional stevia and vanilla, folded gently with crushed Oreos and whipped Cool Whip to yield a light, mousse-like texture. By layering this over the chilled crust and freezing it for at least two hours, the pie sets up firm enough to slice while maintaining a soft creaminess.
The flavor highlights the familiar chocolate cookie sweetness combined with a mild creamy tang from the cream cheese. The crust’s firm nooks contrast with the airy but rich filling, making each bite texturally interesting. This dessert requires no baking, making it convenient for warm weather or last-minute preparations.
For storage, the pie can be safely covered and refrigerated for up to 3-4 days or frozen for up to three months. Variations include using dairy-free or gluten-free substitutions to accommodate dietary preferences. Serving with extra crushed Oreos on top adds visual appeal and extra cookie crunch.
Ingredients
Oreo pie crust:
- 20 Oreo cookies regular Oreos work too, thins
- 3 Tbsp butter or regular butter, light, melted
Oreo cream filling:
- 8 oz. cream cheese softened, low fat
- 1 tsp stevia optional (or sweetener to taste, liquid form
- 1 tsp vanilla extract optional, pure
- 8 oz. Cool Whip softened, lite
- 10 Oreo cookies crushed, thins
Instructions
For the crust:
- Add the Oreo’s to a food processor or blender and pulse until they’re completely crumbed.
- Remove blade from food processor (or transfer to a mixing bowl) and mix in the melted butter.
- Transfer the Oreo mixture to a greased pie dish and press evenly along the bottoms and sides. Use your fingers to make sure everything is pressed down well.
For the pie:
- In the bowl of a stand mixer (or with a hand mixer), mix together the cream cheese, stevia and vanilla for one minute or until creamy. Then fold in the crushed Oreos and cool whip.
- Add cool whip mixture on top of the Oreo pie crust and spread out evenly.
- Cover the pie and place in the freezer for a minimum of 2 hours. When ready to serve, top with extra Oreo's, chopped Oreo's and/or Oreo crumbles if desired, and enjoy!
Notes
- Use dairy-free butter, cream cheese, and whipped topping to make this pie vegan or dairy-free.
- Substitute gluten-free Oreos to prepare a gluten-free version of this dessert.
- Store leftovers covered tightly in the fridge for 3-4 days or freeze for up to 3 months to maintain freshness.
- Using a premade pie crust can save preparation time if desired.
- Keep the pie frozen for a firmer texture similar to icebox cake; wrap tightly to avoid freezer burn.
Nutrition Information
Show DetailsNutrition Facts
Serving: 8Serving
Amount Per Serving
Calories 269 kcal
% Daily Value*
| Serving | 1/8 of pie | |
| Calories | 269kcal | 13% |
| Carbohydrates | 31g | 10% |
| Protein | 3g | 6% |
| Fat | 14.8g | 23% |
| Saturated Fat | 8g | 40% |
| Fiber | 1.2g | 5% |
| Sugar | 16.4g | 33% |
* Percent Daily Values are based on a 2,000 calorie diet.
User Reviews
Overall Rating
5
You'll Also Love











