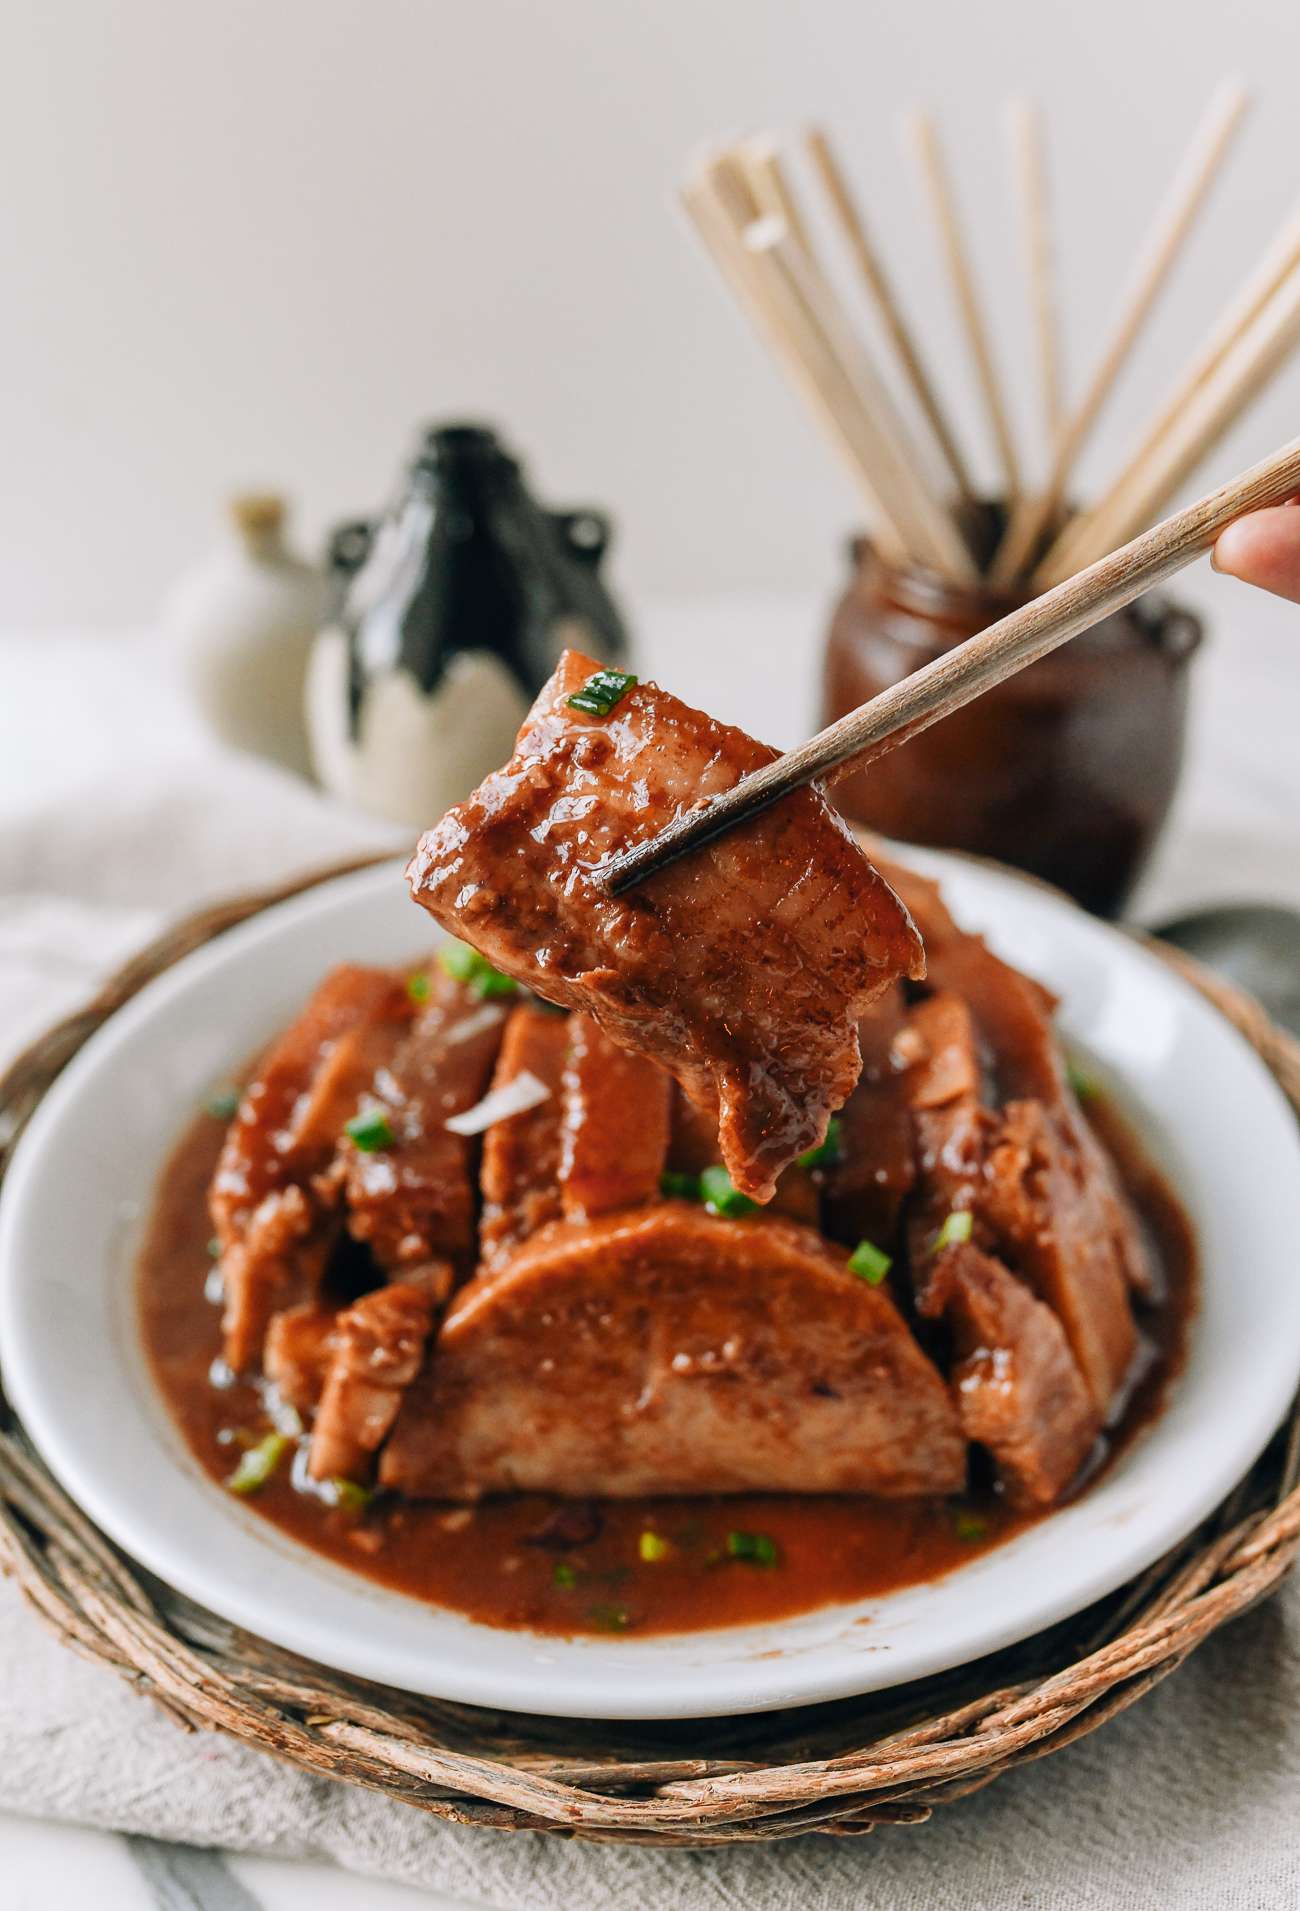
Steamed Pork Belly with Taro
User Reviews
5
-
Prep Time
2 hrs 40 mins
-
Cook Time
3 hrs
-
Total Time
5 hrs 40 mins
-
Servings
6
-
Calories
642 kcal
-
Course
Main Course
-
Cuisine
Chinese
Steamed Pork Belly with Taro
Description
This recipe features pork belly that is first blanched to render some fat and firm the meat, then pierced evenly on the skin side to allow the sauce to infuse during steaming. The taro is cut into thick slices and cooked alongside the pork, absorbing the sauce and becoming tender.
The sauce mixture, combining fermented bean curd with light and dark soy sauces, oyster sauce, Shaoxing wine, sugar, five-spice powder, white pepper, and star anise, brings robust seasoning and fragrant layers to the dish. The pork and taro are steamed together after pork skin is pierced and both are coated with a sautéed mixture of ginger, garlic, and shallot blended with corn starch slurry to create a silky coating.
Vegetable oil is used for frying the aromatics and for finishing touches, bringing richness to the sauce. The dish is garnished with chopped scallions for freshness. The texture contrast between soft taro and the slightly firm pork belly, combined with the deeply savory sauce, makes for a comforting and flavorful meal.
The blanching liquid reserved after pork cooking can be reused as stock for soups or sauces, minimizing waste and extending flavor.
Ingredients
For the sauce mixture:
- 1 piece fermented bean curd lam yee, about 2 tablespoons or 25g per piece, red
- 1 tablespoon sugar
- 2 tablespoons soy sauce light
- 1 tablespoon oyster sauce
- 1 teaspoon Shaoxing wine
- 1/2 teaspoon five spice powder
- 1/4 teaspoon ground white pepper
- 1/4 teaspoon dark soy sauce
- 3 star anise small pods from whole
For the rest of the dish:
- 20 ounces pork belly boneless, skin-on
- 1 teaspoon sugar
- 2 teaspoons salt
- 1 pound taro large
- 1/2 teaspoon dark soy sauce
- 1 cup vegetable oil (for frying, plus 2 teaspoons)
- 1/2 teaspoon ginger (finely minced)
- 2 teaspoons garlic (finely minced)
- 1 tablespoon shallot (finely minced)
- 1/2 teaspoon cornstarch (mixed with 1 teaspoon water)
- 1 tablespoon scallions (chopped, for garnish)
Instructions
Prepare sauce mixture:
- In a medium bowl, combine the fermented tofu, sugar, light soy sauce, oyster sauce, Shaoxing wine, five spice powder, white pepper, dark soy sauce, and the star anise pods (just break the smaller pods off the main star anise, or pick some out that have already broken). Set aside.
Blanch pork belly and prep taro:
- Bring about 6 cups of water to a boil to blanch the pork belly (be sure to save this blanching water, as you will use it again later). Add 1 teaspoon sugar and 2 teaspoons salt. Place the pork belly into the boiling water skin side down. Bring back up to a boil, and simmer for 30 minutes.
- Meanwhile, cut the taro into ½-inch thick pieces, about 2 ½ x 3 inches in size.
- After 30 minutes, remove the pork belly and cool completely. Set the blanching liquid aside to cool (you will need it again later).
- When the pork belly has cooled, use a fork to evenly pierce holes all over the skin, down to the top layer of fat. (Don’t pierce all the way through to the meat.)
- Brush ½ teaspoon dark soy sauce over the pork belly skin. Set aside for 10-15 minutes to air dry, or until the dark soy sauce has dried on the surface of the pork.
Fry the taro and pork belly:
- Grab a deep pot or wok that will accommodate the pork belly. Add frying oil, and heat to 325°F/163°C. In batches, fry the taro slices until a golden crust forms, about 90 seconds (45 seconds per side). Set aside to cool.
- Next, the pork belly. Be sure it’s really dry by patting it all over with a paper towel. With the pot lid in one hand, use a metal wok spatula or tongs to carefully lower the pork belly into the oil skin-side down. Immediately cover the pot to catch any oil spatter.
- Turn off the heat, and let the pork shallow fry for 3 minutes (the pork skin is the part you’re concerned with frying), or until the oil stops splattering (meaning any residual moisture has cooked off). Many recipes use more oil to deep fry the pork, but it is too messy. Again, the most important point is to make sure the skin is fried.
- Remove the pork belly from the oil, and place it back into the pot of cooled blanching liquid. Soak for 10 minutes.
- This step seems counterintuitive after frying, but soaking the pork belly (particularly the skin) in the blanching liquid gives it a luxuriously tender yet springy/chewy texture.
- After 10 minutes, remove the pork belly from the pot, and set aside to cool further. Remove ¾ cup of the blanching liquid, and set aside.
Cook the marinade & marinate pork:
- Meanwhile, cook the marinade. Heat a wok or saucepan over medium heat. Add 2 teaspoons of vegetable oil, along with the ginger. Let the ginger brown lightly for about 15 seconds. Next, add the garlic and shallots, and cook until translucent, about 1 minute. Add the sauce mixture you prepared earlier, along with ½ cup of the reserved pork blanching water. Simmer for 1 minute, remove from the heat, and cool.
- When the pork belly is cool enough to handle, slice it into 2½x3-inch pieces at ½-inch thickness (roughly the same size/shape as the taro). Transfer the pork belly to a large bowl, and pour the cooled marinade over it. Marinate for at least 1 hour, tossing with a rubber spatula every 20 minutes for the most even and effective marinating. (Can marinate longer, even overnight.)
Assemble & steam:
- Select a round heat-proof bowl, ideally 3-inches deep.
- Arrange the pork belly and taro slices around the bowl in alternating pieces, with the por belly skin-side down (when it’s flipped, it will be skin-side up). As you assemble, carefully coat each individual piece of taro with the pork belly marinade (the taro is delicate, so you really do have to coat each piece individually).
- To fill any cracks, slice some of the pork belly and taro into smaller pieces. It should fit into the bowl snugly, with as few gaps as possible. Once all the taro and pork belly is in the bowl, pour any remaining marinade evenly over the top.
- Prepare a steamer with simmering water. When the water is at a boil, place the bowl into the steamer, and steam for 90 minutes over medium heat. The water should be bubbling enough to generate a good amount of steam. Periodically check the steamer to add more boiling water when needed.
Sauce & Serve
- After steaming, carefully pour off the hot liquid from the pork and taro into a wok or saucepan (use a rubber spatula to hold the pork and taro in place while pouring). Return the bowl to the steamer with the heat off, and cover to keep it warm.
- Add the remaining ¼ cup of the reserved pork belly blanching water to the sauce, and bring to a simmer over medium heat. Gradually add the cornstarch slurry until the sauce is thick and glossy, and coats a spoon. Give it a taste, and season with a pinch of salt or drizzle of soy sauce if needed.
- Grab a plate or shallow bowl to serve the pork belly in. Put it on top of the pork and taro bowl, and carefully flip it over. Twist the hot bowl a quarter of a turn to ensure the taro and pork are not stuck to the bowl, and lift it up, leaving the pork and taro behind in a dome.
- Pour the sauce over the top, garnish with chopped scallions if desired, and serve!
Notes
- Reserve the blanching liquid to use as a flavorful base for soups or other dishes requiring pork or chicken stock.
- Piercing the pork skin allows the sauce to better penetrate and flavor the meat during steaming.
- Make sure to cool the pork belly fully after blanching before piercing to maintain the shape.
Nutrition Information
Show DetailsNutrition Facts
Serving: 6Serving
Amount Per Serving
Calories 642 kcal
% Daily Value*
| Calories | 642kcal | 32% |
| Carbohydrates | 26g | 9% |
| Protein | 17g | 34% |
| Fat | 55g | 85% |
| Saturated Fat | 25g | 125% |
| Cholesterol | 68mg | 23% |
| Sodium | 959mg | 40% |
| Potassium | 656mg | 14% |
| Fiber | 4g | 16% |
| Sugar | 3g | 6% |
| Vitamin A | 78IU | 2% |
| Vitamin C | 4mg | 4% |
| Calcium | 128mg | 13% |
| Iron | 2mg | 11% |
* Percent Daily Values are based on a 2,000 calorie diet.
User Reviews
Overall Rating
5
You'll Also Love