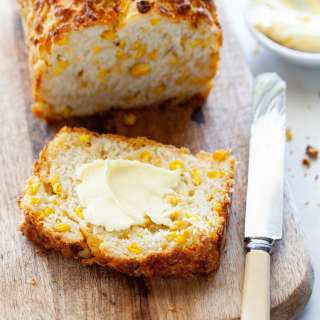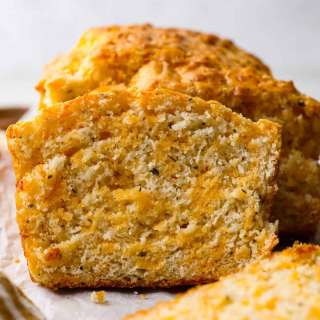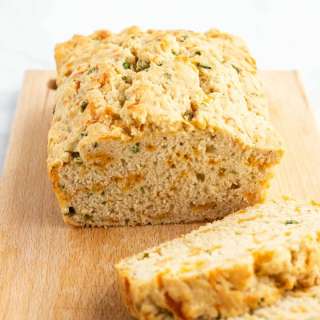
Cheesy Zucchini Bread
User Reviews
5.0
126 reviews
Excellent
-
Prep Time
15 mins
-
Cook Time
15 mins
-
Total Time
1 hr 5 mins
-
Servings
8 - 10
-
Calories
308 kcal
-
Course
Bread, Baked Goods
-
Cuisine
American
Cheesy Zucchini Bread
Report
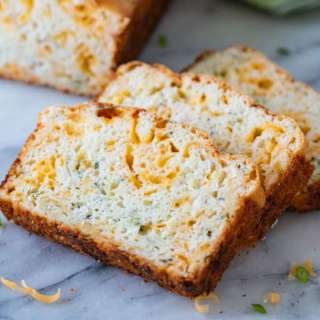
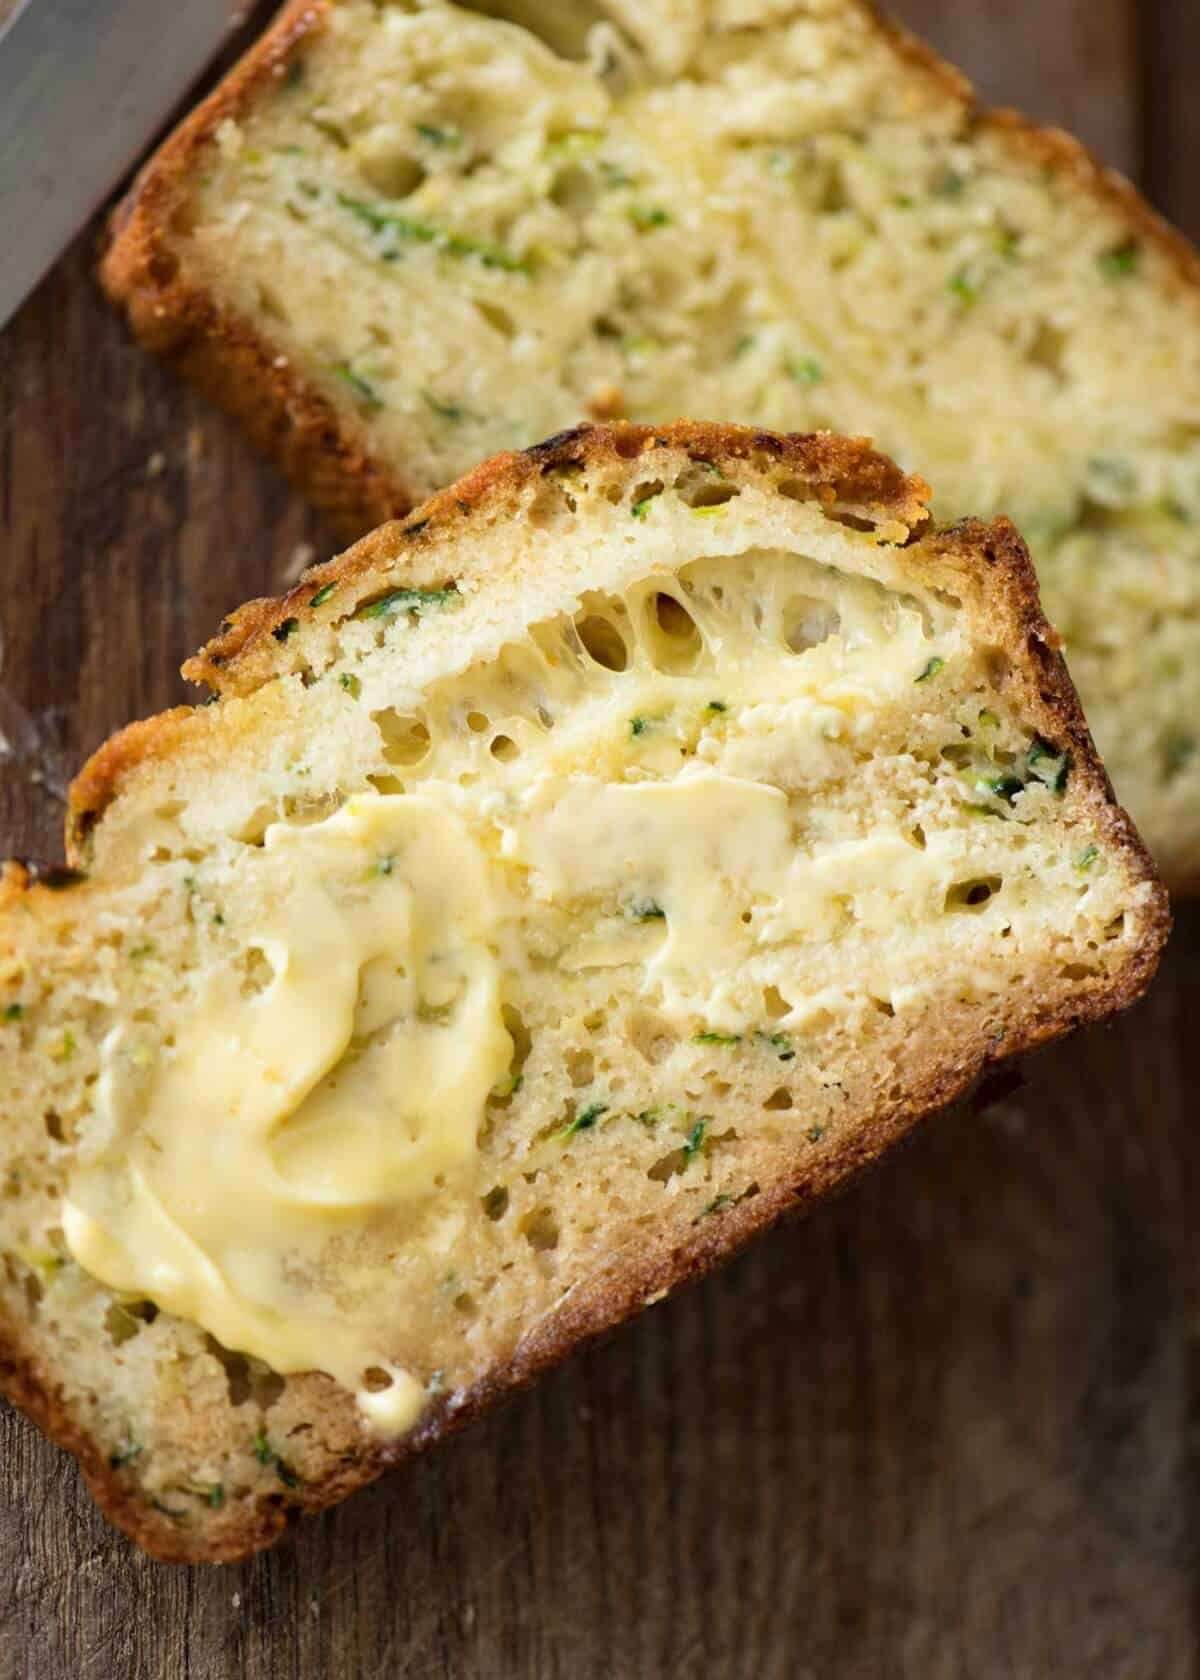
Recipe video above. Ultra moist, cheesy quick bread with a subtle zucchini flavour even though it's jam packed with 2 large zucchinis! The zucchini keeps this bread beautifully moist - you'll happily scoff this down even without slathering it with butter. (PS Zucchini is known as courgettes in some countries :) )
Share:
Ingredients
Zucchini and Cheese:
- 2 cups grated zucchini , packed (2 medium zucchinis, 380g / 13 oz grated)
- 3/4 tsp salt
- 8 lices Swiss cheese (200g / 6.5 oz) (Note 1)
Wet Ingredients:
- 1 1/4 cups / 315 ml milk (any, I use low fat)
- 1/4 cup / 45 g melted butter , unsalted
- 2 tbsp canola oil (or vegetable or other neutral flavoured oil)
- 2 eggs
- 2 small garlic cloves , crushed
- 1 tsp white vinegar
Dry Ingredients:
- 2 1/4 cups / 335g plain / all purpose flour
- 2 tsp baking powder (Note 2)
- 1/2 tsp baking soda (bi-carb) (Note 2)
- 1/2 tsp salt
Instructions
- Use a standard box grater to grate the zucchini. Measure out 2 cups, place in bowl, sprinkle with salt, use fingers to disperse. Leave for 20 minutes.
- Squeeze handfuls to remove excess water and place zucchini in a bowl. Set aside.
- Preheat oven to 180°C / 350°F (all oven types).
- Butter and line a loaf pan (Note 3)
- Place Dry ingredients in a bowl. Whisk to combine.
- Place Wet Ingredients in a bowl. Whisk to combine.
- Make a well in the centre of the Dry ingredients. Pour in Wet. Mix quickly until flour is incorporated (Note 4).
- Quickly stir through zucchini.
- Spread 1/3 of the batter in the loaf pan. Top with 4 slices of cheese.
- Spread with batter, top with 4 slices of cheese, then finish with remaining batter. Smooth top.
- Bake for 50 minutes or until a skewer inserted into the centre comes out clean.
- Optional: Brush top with a bit of melted butter.
- Cool in the pan for 10 minutes then transfer to rack to cool. Cool for at least 20 minutes before slicing.
- Store in a container (Note 5 for humid weather warning!)
Notes
- Cheese - I used store bought pre-sliced cheese that is square (see video). It is sold in packets in the fridge section of supermarkets in Australia. I love the flavour of Swiss cheese in this but this will work great with any cheese that melts, though if using mozzarella which is less salty, add an extra couple of pinches of salt into the batter.
- I like to use cheese slices rather than shredded so you can actually see it and taste it - shredded cheese seems to just disappear and you can't really taste it unless you use loads because it's dispersed all through the bread.
- I find this recipe works best with both baking powder and baking soda (bi-carb) because the cheese slices kind of weigh down the batter so you want some extra lifting power from bi-carb. This is also the reason I add vinegar - because it gives the baking soda a kick start. If you don't have bi-carb, you can just use 4 tsp of baking powder. You may not get the same nice dome but it will still be nice a spongy inside, like pictured.
- Pan size - My loaf pan is 23 x 13 x 6 cm / 9 x 5 x 2.5". As long as you have one about this size, this recipe will work fine though it might be flatter or taller. Or try making muffins! 22 minutes in standard muffin tin
- If loaf pan is smaller, bread will be taller so it will take longer to bake.
- Don't faff around once the wet is mixed with the dry because the vinegar activates the baking soda power! If you leave the batter for too long, it loses its rising power. Around 5 minutes from when you combine to getting it in the oven is fine.
- STORAGE: This bread will keep for 4 to 5 days in a container (doesn't need to be airtight) and it will stay beautifully moist. However, if it is hot and humid where you are, I recommend wrapping with a tea towel instead of using a container (because mould loves warmth and moisture and this bread is VERY moist!) and after 2 days, pop it in the fridge just to be safe (speaking from personal experience here!).
- Nutrition per serving, assuming 10 servings.
Nutrition Information
Show Details
Serving
145g
Calories
308cal
(15%)
Nutrition Facts
Serving: 8- 10
Amount Per Serving
Calories 308 kcal
% Daily Value*
| Serving | 145g | |
| Calories | 308cal | 15% |
* Percent Daily Values are based on a 2,000 calorie diet.
Genuine Reviews
User Reviews
Overall Rating
5.0
126 reviews
Excellent
Other Recipes
You'll Also Love