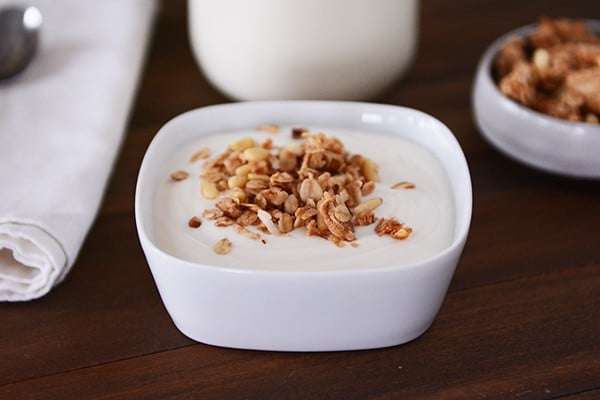
DIY Homemade Yogurt {New and Improved + Updated Tutorial}
User Reviews
5
DIY Homemade Yogurt {New and Improved + Updated Tutorial}
Description
DIY Homemade Yogurt {New and Improved + Updated Tutorial} involves heating milk carefully to 180°F, then cooling it to between 110 and 120°F to prepare for culturing. Plain yogurt with live active cultures is whisked with the warm milk to create a starter mixture, which is then mixed back into the pot of warm milk. The yogurt is ladled into jars and incubated in an insulated cooler filled with warm water to maintain the proper temperature range for fermentation. This controlled culturing process promotes the development of creamy, tangy yogurt.
The flavor and texture of the yogurt can be adjusted by adding sweeteners like agave nectar and extracts such as vanilla before culturing. The tutorial also offers alternatives for different milk types, though cow's milk is primarily used. This method allows for homemade yogurt suitable for eating plain or as a sour cream substitute.
The process is timed so that starting in the morning allows completion by evening, making it practical for home preparation. The recipe notes highlight how adjusting the amount of starter affects thickness, recommending ½ cup for a firmer texture. This homemade approach also enables creating new batches using yogurt from previous ones as starter culture.
Ingredients
- 1 gallon milk
- ½ cup PLAIN yogurt look at the ingredient list to make sure it includes Lactobacillus bulgaricus and Streptococcus thermophilus, with live and active cultures
Instructions
- Heat the milk on the stove over medium heat to 180 degrees F. Stir often to prevent scorching on the bottom.
- Remove from the heat and stir in any sweetener or extracts, if using (see note above).
- Let the milk cool until between 110-120 degrees. I prefer catching it at the higher end of that range (around 119 degrees) since it will cool after you add the yogurt starter and it needs to be between 110-120 to culture properly.
- Measure out the yogurt starter in a liquid measure or bowl. Slowly whisk in a couple ladlefuls of the warm milk until it is smooth.
- Add the yogurt starter to the pot of warm milk and stir until it is thoroughly incorporated into the milk.
- Ladle the yogurt into quart-sized jars (a funnel helps!) and cover with a lid/ring or with a white plastic cap.
- Place the jars in an insulated cooler. Fill with hot water most of the way up to the neck of the jars. I like to take the temperature of the water to make sure it is within that 110-120 degree range. Too hot and the yogurt won't thicken (same if it is too cool). Add warmer or cooler water as needed.
- Close the cooler and place in a warm/non-drafty spot. Let the yogurt rest for 8-12 hours until thick and set.
- Using a nut milk bag or a colander lined with cheesecloth or coffee filters, strain the yogurt. You might need to spoon it out into the nut bag or colander vs. pouring, depending on how thick it is. I use the nut bag and tie it to a knob on my kitchen cabinets, letting the whey drip into a pot or bowl (I have two nut bags and put about 3 quarts of yogurt in each bag) - it strains much faster than cheesecloth; I let it strain 20-30 minutes. The colander with cheesecloth/coffee filters can be placed over a large pot or bowl and refrigerated to strain a couple hours. The total straining time will really depend on how thick you want the yogurt so watch closely. If it strains too thick, simply whisk in a little of the whey (or milk).
- After straining, scrape the yogurt into a bowl and whisk until smooth and creamy. Spoon the yogurt back into clean jars, cover and refrigerate. It will thicken even more as it chills.
- The yogurt should keep 1-2 weeks in the refrigerator (using well-sanitized jars helps it keep longer, as well as using milk that isn't close to expiring).
Notes
- Use ½ cup of plain yogurt with live cultures as the starter to achieve a thicker texture.
- You can add sweeteners like agave nectar and vanilla extract before culturing if you prefer lightly sweetened yogurt.
- Whole milk or 2% milk can be used; alternative milks have not been tested in this recipe.
- Starting the yogurt in the morning allows enough time for it to set by bedtime.
- Once made, the yogurt can be used as a starter for future batches.
User Reviews
Overall Rating
5
You'll Also Love