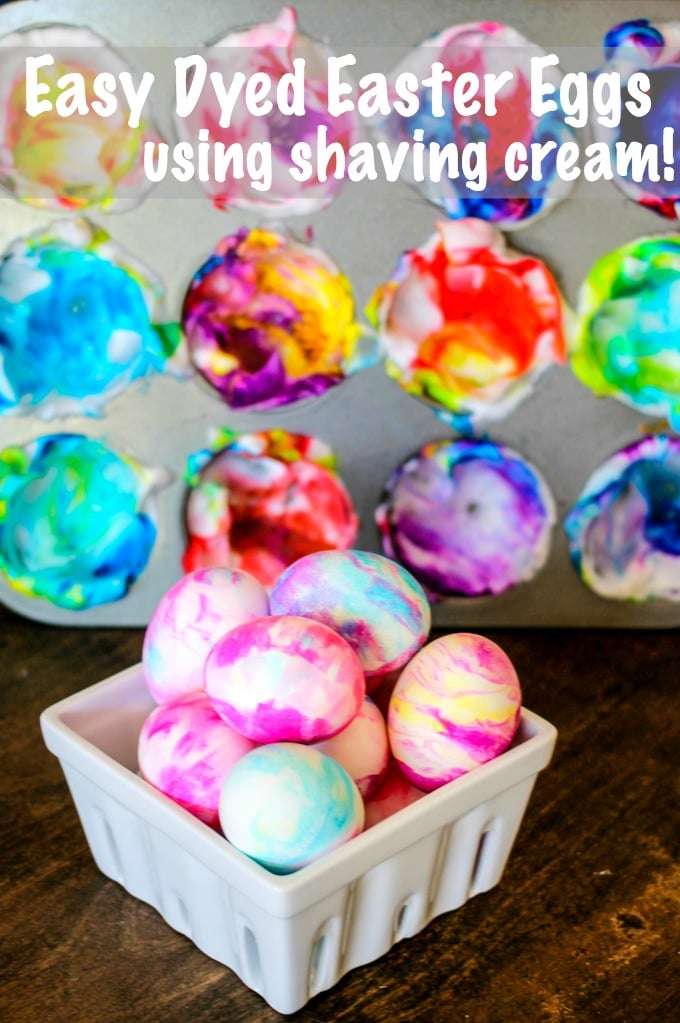
Easy Dyed Easter Eggs
User Reviews
5
Easy Dyed Easter Eggs
Description
This simple method for Easy Dyed Easter Eggs involves filling muffin tin cups with a layer of Cool Whip or shaving cream, adding drops of gel food coloring, and lightly swirling the colors for contrast. Hard-boiled eggs are pressed gently into the mixture and left to sit for about 10 minutes on each side, allowing the pigments to transfer partially onto the shells.
After carefully rinsing the eggs under water to remove excess cream, the result is a marbled effect with blended pastel hues and vivid patterns. This approach avoids using liquid dyes and the associated wetness or mess and offers a hands-on way to create unique decorated eggs for Easter.
The process requires minimal supplies and time, suitable for families or groups looking to make colorful eggs with an easy technique. The eggs should be dried on paper towels for best results before handling or displaying.
Ingredients
- Cool Whip or shaving cream
- 12 egg hard boiled
- Gel food coloring
- toothpick or something to swirl the colors
Notes
- Use hard-boiled eggs cooled before dying for the best results.
- Gel food coloring provides vibrant colors and better swirling effects than liquid dyes.
- Swirl colors lightly to preserve contrast; avoid overmixing if you want distinct streaks.
- Let eggs sit about 10 minutes on each side in the colored cream for full coverage.
- Rinse gently to remove cream after coloring and dry on a towel before displaying.
- See linked Air Fryer or Instant Pot hard-boiled egg recipes for convenient egg prepping methods.
User Reviews
Overall Rating
5
You'll Also Love