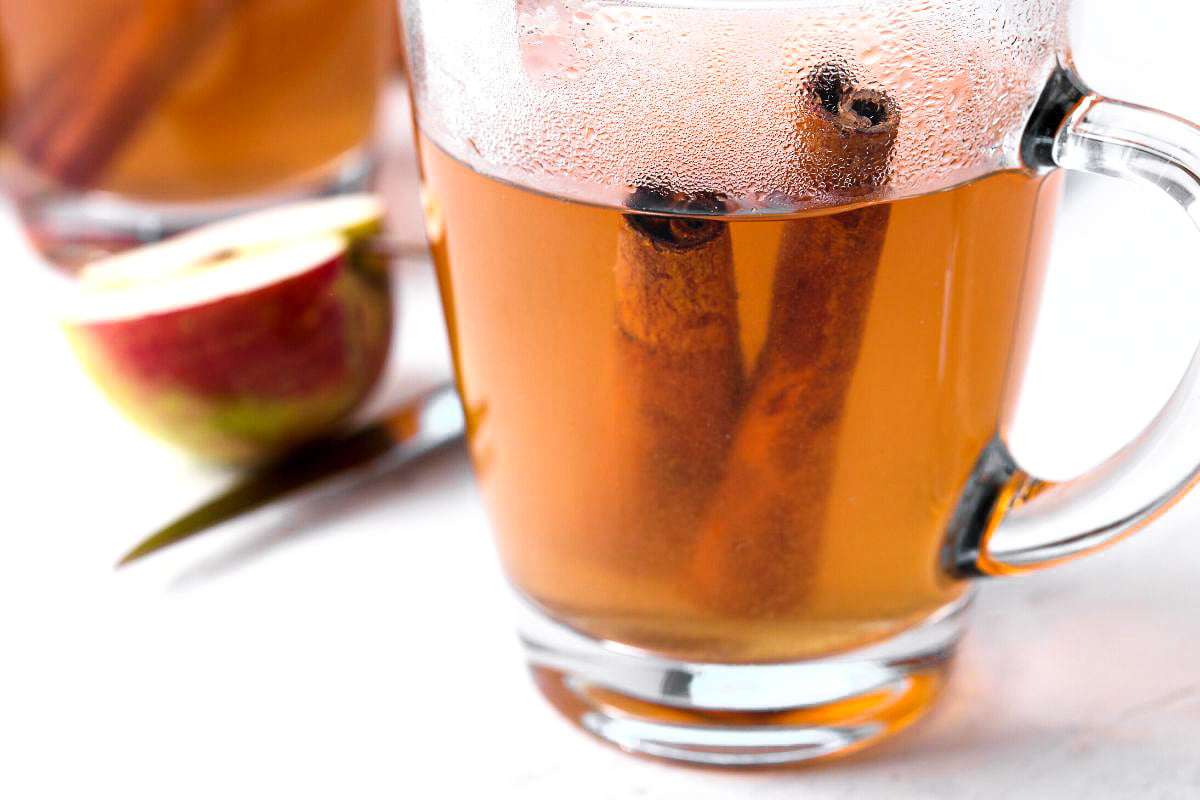
Homemade Apple Cider
User Reviews
5
Homemade Apple Cider
Description
Homemade Apple Cider starts with fresh apples, which are washed, cored, and roughly chopped. These apple pieces are blended with a bit of water until completely pureed. The mixture is then carefully strained through a jelly or nut milk bag to extract all the juice, yielding smooth cider without pulp. The resulting cider showcases the clean, crisp flavor of fresh apple without extra spices or additions.
The cider’s texture is fully liquid and smooth due to extensive blending and pressing. The recipe does not call for cooking or adding sugars, so the final product is naturally sweet from the apples themselves. This cider can be enjoyed fresh or preserved through proper canning in a boiling water bath or freezing with headspace for expansion.
Canning the cider in sterilized jars helps it keep up to a year when sealed and stored properly. Freezing requires allowing the cider to cool before freezing with adequate headspace to avoid container breakage from expansion. This fresh apple cider makes a versatile base for warm beverages, cocktails, or sipping chilled on its own.
Ingredients
- 3 lbs apple fresh, unblemished
Instructions
- Wash your apples. Remove the cores and rough chop them. You can use a handy apple corer, or just cut around the core. The main issue here is that you don't want the seeds...everything else is fair game!
- Add as many of the apple pieces as you can to your food processor or blender. You may have to work in batches.
- Add about 1/2 cup of water to the blender. This is going to help jump start the blending process. Start blending or processing until the apples start to break down. If there is room in the blender at this point, add the rest of your apples.
- Continue to blend until the apples are completely pureed. When in doubt, keep blending.
- Arrange a jelly bag or nut milk bag in a large bowl and pour the apple mixture into the bag.
- Gather up the nut bag and squeeze, gently at first, to allow all the cider to drip out. You will need to squeeze harder as more juice is released. Be patient and get every last drop out. When you can squeeze nothing more out, discard the solids.
- Your fresh cider needs to be pasteurized to be safe to drink. Heat it in a pan until it reaches 160F. An instant read thermometer is helpful here, but if you don't have one, bring the cider just to a simmer.
- Transfer the hot cider to clean jars. Store in the refrigerator for up to a week. For longer storage freeze or can. See instructions below.
Notes
- Process apples in batches if using more than 3 pounds to simplify blending and straining.
- Ensure thorough blending to break down apples completely for maximum juice yield.
- Use a jelly bag or nut milk bag for effective straining to get clear cider without pulp.
- For canning, sterilize jars and process in a boiling water bath for recommended times based on jar size.
- When freezing cider, cool completely and leave ½ inch headspace to allow for expansion without bursting containers.
Nutrition Information
Show DetailsNutrition Facts
Serving: 2quarts
Amount Per Serving
Calories 59 kcal
% Daily Value*
| Calories | 59kcal | 3% |
| Carbohydrates | 16g | 5% |
| Protein | 0.3g | 1% |
| Fat | 0.2g | 0% |
| Saturated Fat | 0.03g | 0% |
| Polyunsaturated Fat | 0.1g | 1% |
| Monounsaturated Fat | 0.01g | 0% |
| Sodium | 1mg | 0% |
| Potassium | 121mg | 3% |
| Fiber | 3g | 12% |
| Sugar | 12g | 24% |
| Vitamin A | 61IU | 1% |
| Vitamin C | 5mg | 6% |
| Calcium | 7mg | 1% |
| Iron | 0.1mg | 1% |
* Percent Daily Values are based on a 2,000 calorie diet.
User Reviews
Overall Rating
5
You'll Also Love