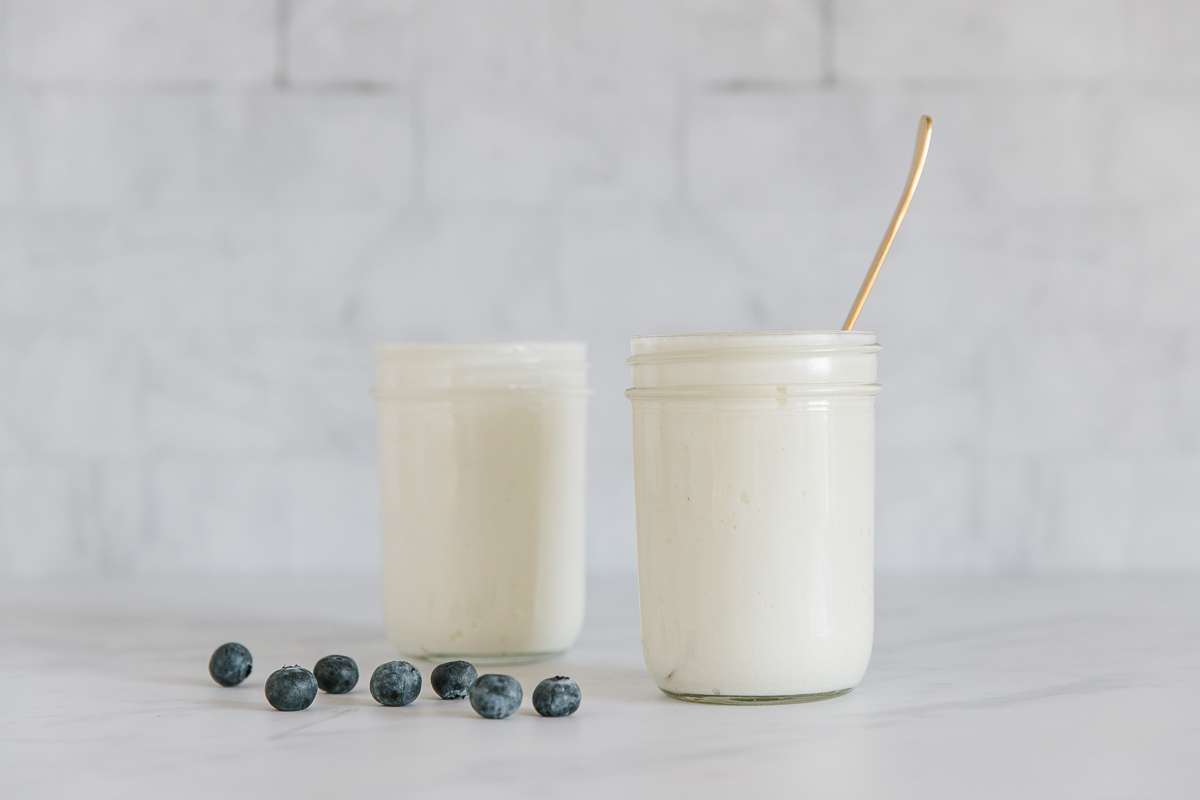
Homemade Greek Yogurt
User Reviews
4.5
-
Prep Time
5 mins
-
Cook Time
22 hrs
-
Total Time
22 hrs 5 mins
-
Servings
16
-
Calories
147 kcal
-
Course
Breakfast, Condiments
-
Cuisine
American
Homemade Greek Yogurt
Description
Homemade Greek Yogurt is prepared by first heating a gallon of milk to near boiling then cooling it to about 100 degrees Fahrenheit. Once cooled, a starter of plain yogurt mixed with reserved milk is added to encourage bacterial fermentation. The mixture is then left to incubate wrapped in a towel with oven light on for about 16 hours, allowing it to thicken as bacteria culture the milk.
After incubation, you have a standard yogurt which can be consumed as is or further strained using cheesecloth or a flour sack towel to separate liquid whey from the solids, creating a thicker, creamier Greek yogurt consistency. The straining results in a yogurt that holds its shape more firmly and has a richer texture.
The recipe allows optional additions like honey or fresh fruit added when serving to customize taste and sweetness. The yogurt can also be saved as a starter for future batches, eliminating the need to buy store-bought yogurt continually. Leftover batches with less ideal consistency can still be used in other recipes such as smoothies or sauces.
Ingredients
- 1 gallon milk any kind
- 1/4 cup PLAIN yogurt Greek Gods plain yogurt brand is my favorite
- honey optional
- Fresh fruit optional
Instructions
- Pour gallon of milk into a large pot (Reserve 1/4 cup of milk for later).
- Bring the pot just to a boil, and then turn off the heat immediately.
- Let milk cool until the temperature reaches 100 degrees. Remove the film on the top.
- While milk cools off, mix 1/4 cup of plain yogurt and the reserved 1/4 cup milk in a separate bowl.
- When the cooked milk finally cools to 100 degrees, add in the yogurt/milk mixture. Mix it up gently but thoroughly, then cover the pot with a lid.
- Wrap pot in a towel, and leave in your oven with the oven light on only for overnight or 16 hours. When the time is up, presto: you magically have yogurt!!!
- You can stop right here and you have regular yogurt, or you can strain it further if you want Greek yogurt. Using a colander-lined with cheesecloth or flour sack towel, start draining your yogurt. The goal is to separate the solid yogurt from the liquid. If it looks like a wet, white blob, you’re doing great.
- Every few hours either gently squeeze the cheesecloth or use a spoon to stir the yogurt blob to help it to drain faster.
- After about 6 hours you have nice, thick Greek yogurt. Opa!
- Pour into Tupperware and chill and transfer to the fridge to chill.
- Enjoy plain, or with chopped fruit and honey.
- Your homemade Greek yogurt lasts in the fridge for about 2 weeks. If you’re using some of the yogurt as a starter for the next batch, make it within 1 week.
Notes
- Store 1/4 cup of your homemade yogurt to use as a starter for your next batch, ensuring continuous homemade yogurt without buying new starter.
- Use fresh or frozen fruit chopped about the size of raisins when serving; add fruit and honey just before eating for best flavor.
- If the yogurt consistency is thinner than expected, use it in smoothies, sauces, or as a substitute for sour cream to avoid waste.
Nutrition Information
Show DetailsNutrition Facts
Serving: 16Serving
Amount Per Serving
Calories 147 kcal
% Daily Value*
| Serving | 1g | |
| Calories | 147kcal | 7% |
| Carbohydrates | 12g | 4% |
| Protein | 8g | 16% |
| Fat | 8g | 12% |
| Saturated Fat | 4g | 20% |
| Cholesterol | 24mg | 8% |
| Sodium | 103mg | 4% |
| Potassium | 318mg | 7% |
| Sugar | 12g | 24% |
| Vitamin A | 387IU | 8% |
| Calcium | 272mg | 27% |
| Iron | 1mg | 6% |
* Percent Daily Values are based on a 2,000 calorie diet.
User Reviews
Overall Rating
4.5
You'll Also Love