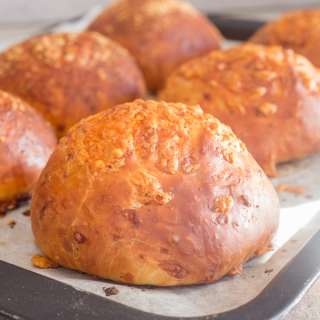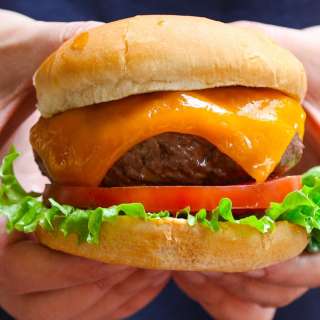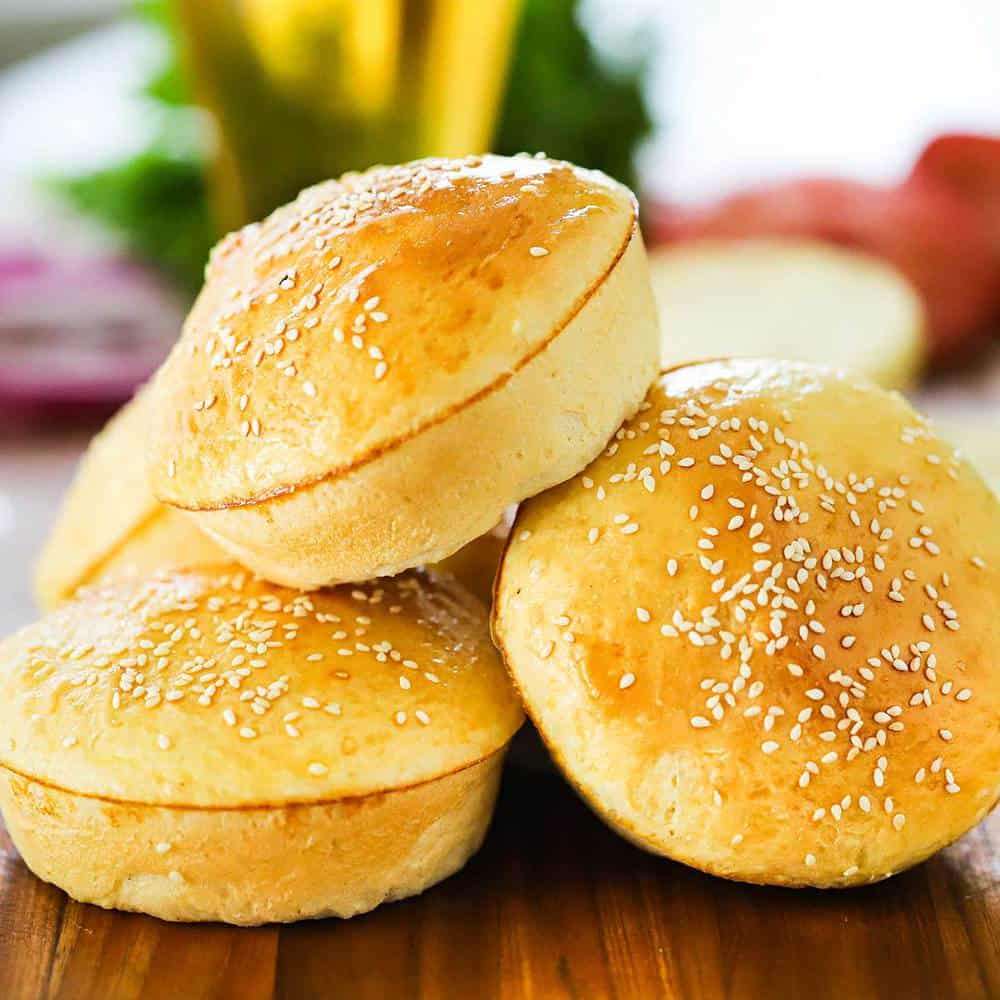
Homemade Hamburger Buns
User Reviews
0.0
0 reviews
Unrated
Homemade Hamburger Buns
Report
You probably never thought you could make hamburger buns that would be better than you could get from your local market. Folks, it's time to re-think that theory. These buns are fool-proof and so delicious! Your family and friends will be blown away!
Share:
Ingredients
- ½ cup warm water 105°F to 115°F
- 2 tablespoon sugar plus 1 tsp
- 2¼ teaspoon active dry yeast 1 package
- ¾ cup warm milk 105°F to 115°F
- 2 large eggs divided, room temperature
- 1 tablespoon unsalted butter
- 2 teaspoon salt
- 3¼ cups all-purpose flour divided
- 1 tablespoon milk
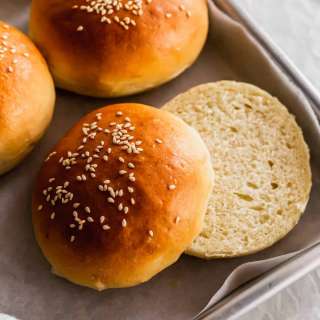
- ¼ cup sesame seeds for topping
Instructions
- Add the warm water to the bowl of a stand mixer. Add the sugar and stir until dissolved, about 1 minute. Add the yeast and stir again. Let sit for 3 to 5 minutes.
- To the bowl, add the warm milk, 1 egg, butter, salt, and 1½ cups of flour. With the dough attachment in place, turn the mixer on medium and mix until ingredients are combined, about 1 to 2 minutes.
- Begin adding the remaining flour, ½ cup at a time, until the dough starts to pull away from the bowl. It will still be somewhat sticky, this is okay.
- Turn to medium-high and knead the dough for 3 minutes, sprinkling in more flour during this process if dough does not form a ball.
- Grease a large bowl with cooking spray or vegetable oil. Using lightly floured hands, remove the dough from the bowl and dough attachment and form a smooth ball in your hands. Place the dough in the greased bowl and turn to coat. Cover with a kitchen towel and place the bowl in a warm, non-drafty area for 1 hour, or until the dough has nearly doubled in size.
- Lightly spray your hamburger bun pan (or baking sheet) with cooking spray. Transfer the risen dough to a lightly floured surface. Pinch off enough dough to form a ball a little larger than a golf ball (100 grams, if weighing). Use your hand to gently flatten the ball, and then pinch the edges with your fingers to form a disc. Use your fingers to smooth the top of the disc as much as you can.
- Place the disc into the hamburger bun pan, or onto the prepared baking sheet. Continue with this process with the remaining dough. You should yield 8 to 9 dough discs.
- Cover with another kitchen towel and return the pan(s) to the warm, non-drafty location for about 45 minutes to 1 hour. The buns should nearly double in size again.
- About 15 minutes before the second round of proofing is complete, preheat your oven to 375°F. (If proofing in your oven, just wait until fully proofed, remove from oven, and then pre-heat the oven).
- Add the remaining egg to a small bowl and mix in the milk with a fork.
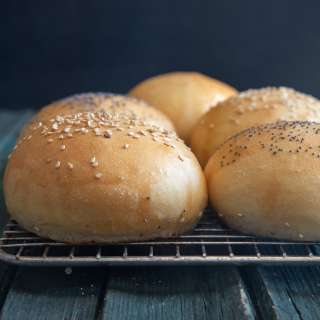
- Remove the kitchen towels from over the buns, and gently brush the egg wash over the tops. Sprinkle sesame seeds all over the tops.
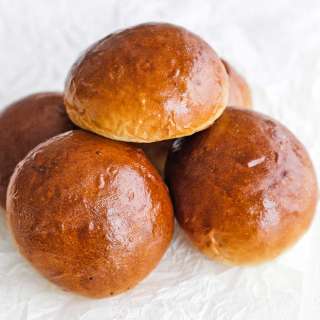
- Bake the buns until golden on top and cooked through, about 15 minutes (free-standing buns on a baking pan will need a little more time). Turn the pan around halfway through the baking.
- Place the pans on a baking rack and let cool for only about 1 minute. Use a fork, knife, or spatula, to remove the buns from the pan. Allow the buns to cool on the racks for at least 20 minutes. Don't slice until ready to use.
Notes
- The dough will be somewhat sticky (or tacky) to the touch. It will also not feel stiff. This is normal. Resist adding too much flour while kneading the dough, although, you may need to add some (in small increments) if the dough is too wet and not forming a ball at all.
- Though you can make excellent buns by forming the dough discs and then placing them on a baking rack, we do find that the hamburger bun pan helps to form perfectly shaped buns. The link for this pan is in the body of the blog post.
- Once the buns have cooled, wrap them in plastic wrap or in foil. If you place them in a tight-fitting container or even a baggie, they will become a bit soggy. They are best stored at room temperature. Placing them in the fridge expedites the crystallization of the bread, and causes it to stale more quickly. Don't slice the buns until ready to serve (or toast on the grill!).
- The buns can be frozen for up to 1 month. Let thaw completely before using. They won't be as fresh as when freshly made, but they are still very good.
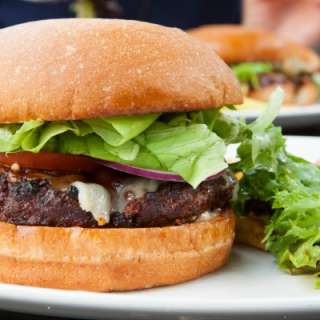
- Adding a layer of butter to the sliced buns and then toasting them on the grill is a wonderful way to serve the buns for grilled burgers.
Nutrition Information
Show Details
Calories
244kcal
(12%)
Carbohydrates
44g
(15%)
Protein
9g
(18%)
Fat
6g
(9%)
Saturated Fat
2g
(10%)
Trans Fat
1g
Cholesterol
50mg
(17%)
Sodium
603mg
(25%)
Potassium
129mg
(4%)
Fiber
3g
(12%)
Sugar
3g
(6%)
Vitamin A
115IU
(2%)
Vitamin C
1mg
(1%)
Calcium
64mg
(6%)
Iron
3mg
(17%)
Nutrition Facts
Serving: 8Serving
Amount Per Serving
Calories 244 kcal
% Daily Value*
| Calories | 244kcal | 12% |
| Carbohydrates | 44g | 15% |
| Protein | 9g | 18% |
| Fat | 6g | 9% |
| Saturated Fat | 2g | 10% |
| Trans Fat | 1g | 50% |
| Cholesterol | 50mg | 17% |
| Sodium | 603mg | 25% |
| Potassium | 129mg | 3% |
| Fiber | 3g | 12% |
| Sugar | 3g | 6% |
| Vitamin A | 115IU | 2% |
| Vitamin C | 1mg | 1% |
| Calcium | 64mg | 6% |
| Iron | 3mg | 17% |
* Percent Daily Values are based on a 2,000 calorie diet.
Genuine Reviews
User Reviews
Overall Rating
0.0
0 reviews
Unrated
Other Recipes
You'll Also Love