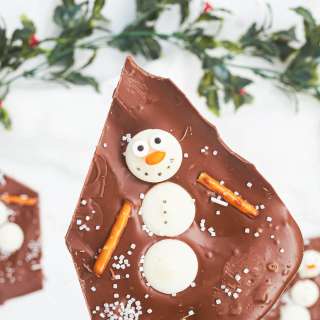
How To Decorate With Melted Chocolate
User Reviews
5.0
6 reviews
Excellent
How To Decorate With Melted Chocolate
Report
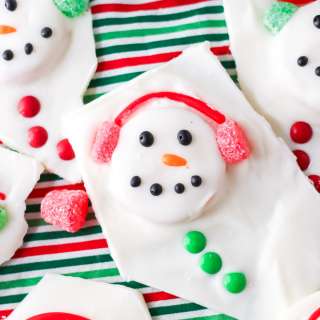
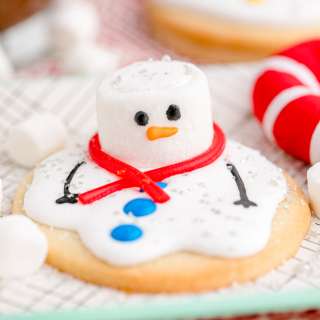
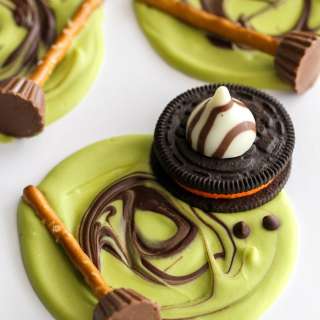
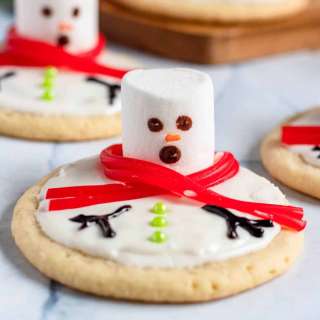
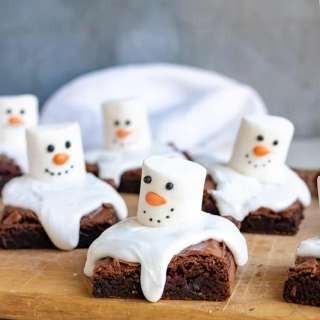
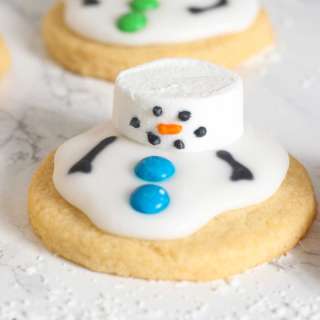
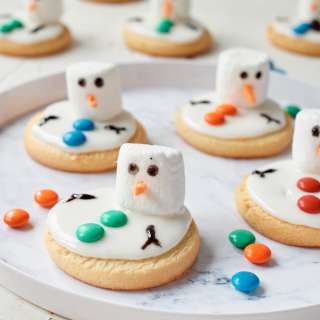
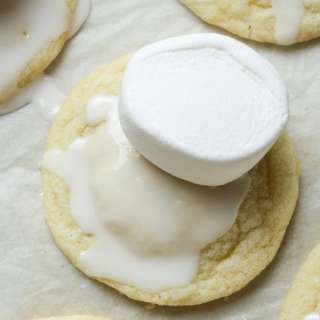
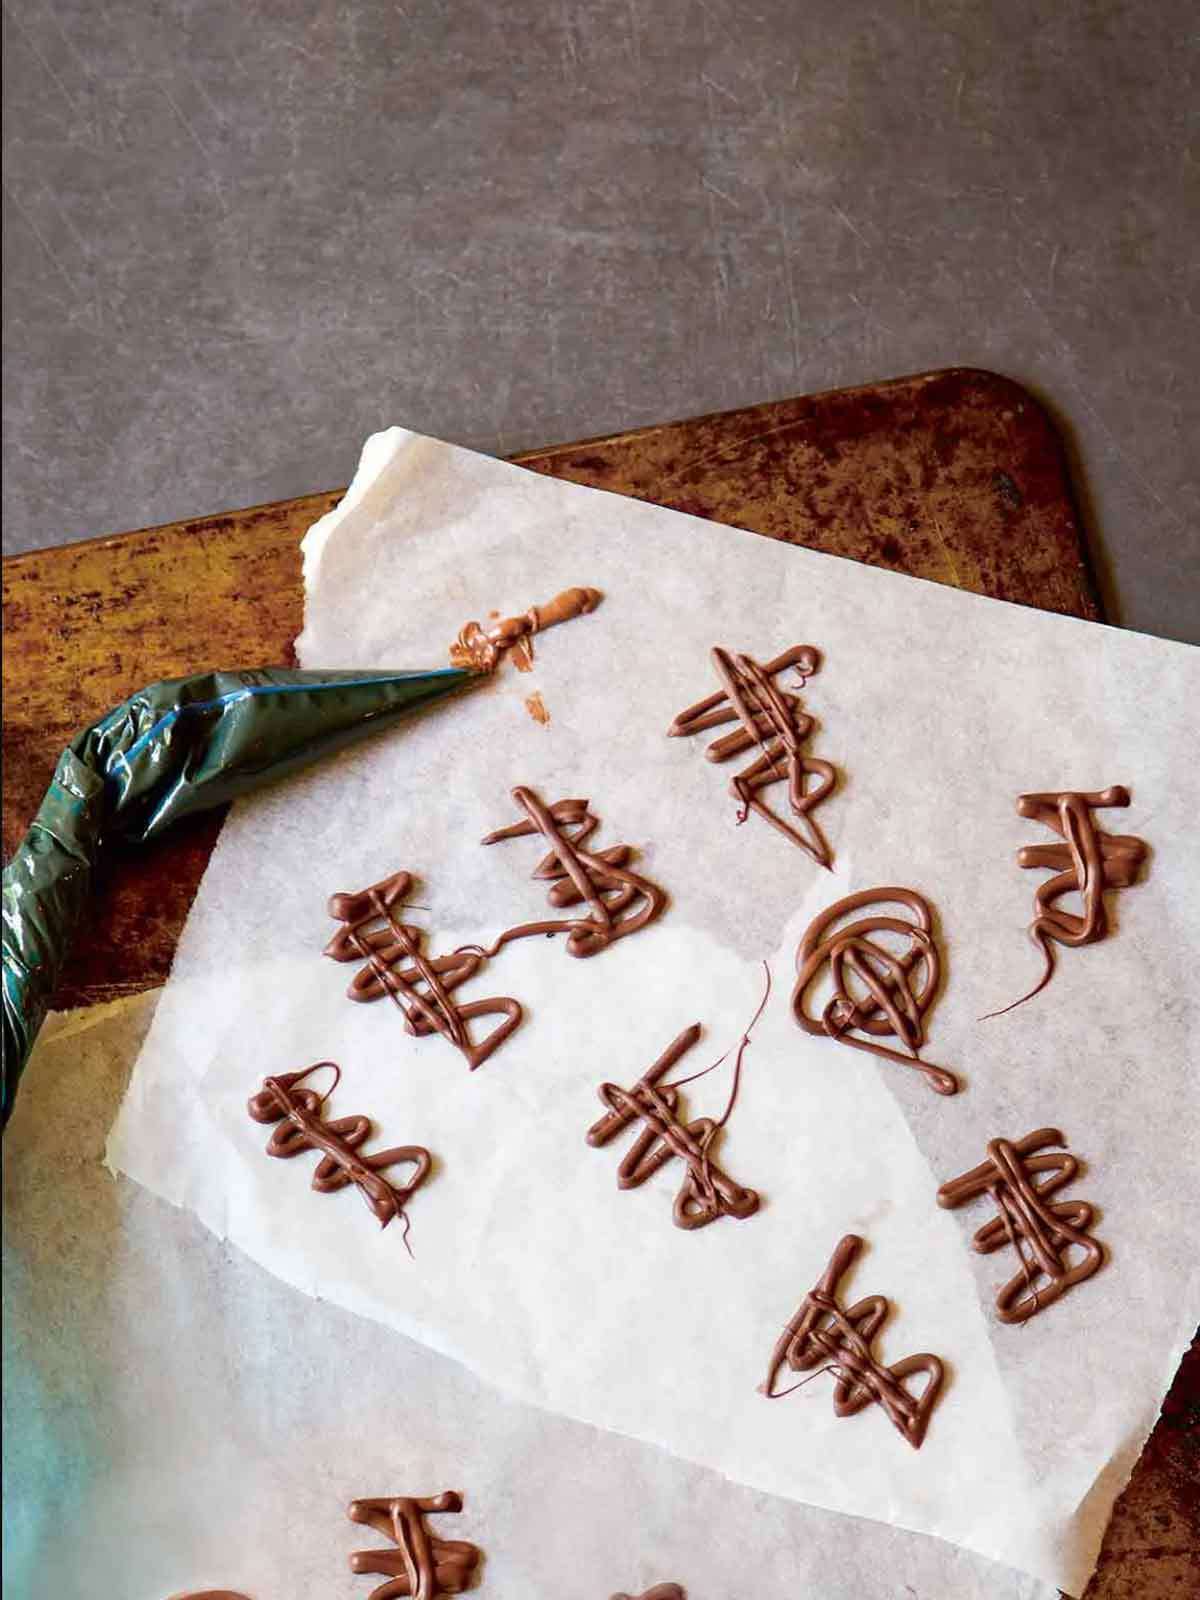
How to decorate with melted chocolate explains how to make and use chocolate for piping and drizzling decorations and letters and squiggles on cakes and cookies and whatever you fancy.
Share:
Ingredients
- Chocolate (the amount and kind can vary according to your needs)
Instructions
- Chop the chocolate into small, even pieces. If using a microwave to melt the chocolate, place the chocolate in a heatproof bowl and microwave on 50% power in 15-second bursts, stirring after each burst to make sure the chocolate doesn’t burn, until melted and smooth. The exact timing will vary depending on the amount of chocolate and the wattage of your microwave but will probably take around 1 1/2 minutes. (You want to be certain that the bowl and implement you use to stir the chocolate are completely dry. The introduction of any water into the chocolate will cause it to seize and not melt properly.) If using a pan on the stovetop to melt the chocolate, place the chocolate in a heatproof bowl placed over but not touching a pan of simmering water and wait, stirring occasionally to make sure the chocolate doesn’t burn, until the chocolate is melted and smooth. (You want to be certain that the bowl and implement you use to stir the chocolate are completely dry and that no steam or water from the pan comes into contact with the chocolate. The introduction of any water into the chocolate will cause it to seize and not melt properly.) Remove the pan from the heat.
- Cover a plate or baking sheet with wax paper or parchment paper. If making chocolate squiggles or shapes, use a teaspoon and drizzle the chocolate into squiggles or shapes on the paper. If making chocolate letters, pour the melted chocolate into a plastic squeeze bottle or a disposable piping bag (available in most shops in the cake baking sections) or a large resealable plastic bag or a cone that you formed from parchment paper. If using a plastic bag, just snip the end off close to the tip for thin lettering or a little further up for thicker lettering. (Keep in mind that thicker letters are less likely to break once cooled.) Then simply write, er, pipe your letters or words or numbers as desired, gently squeezing the bag from the top toward the tip as you write to keep a slow but continual flow of melted chocolate coming through the tip.☞ TESTER TIP: If you make a mistake and one of your letters looks wonky or is uneven, just eat it and try again. If you don’t trust your penmanship, before melting the chocolate, print out your words or designs at the desired size and tape the printout onto your work surface beneath the sheet of parchment paper and trace over the lines with chocolate.
- Transfer everything to the refrigerator until the chocolate hardens, 10 to 20 minutes.
Nutrition Information
Show Details
Serving
0.25oz
Calories
41kcal
(2%)
Carbohydrates
4g
(1%)
Protein
0.4g
(1%)
Fat
3g
(5%)
Saturated Fat
2g
(10%)
Monounsaturated Fat
1g
Trans Fat
0.01g
Cholesterol
0.4mg
(0%)
Sodium
1mg
(0%)
Fiber
1g
(4%)
Sugar
3g
(6%)
Nutrition Facts
Serving: 1serving
Amount Per Serving
Calories 41 kcal
% Daily Value*
| Serving | 0.25oz | |
| Calories | 41kcal | 2% |
| Carbohydrates | 4g | 1% |
| Protein | 0.4g | 1% |
| Fat | 3g | 5% |
| Saturated Fat | 2g | 10% |
| Monounsaturated Fat | 1g | 5% |
| Trans Fat | 0.01g | 1% |
| Cholesterol | 0.4mg | 0% |
| Sodium | 1mg | 0% |
| Fiber | 1g | 4% |
| Sugar | 3g | 6% |
* Percent Daily Values are based on a 2,000 calorie diet.
Genuine Reviews
User Reviews
Overall Rating
5.0
6 reviews
Excellent
Other Recipes
You'll Also Love