How to Make Sourdough Starter
User Reviews
4.8
How to Make Sourdough Starter
Description
How to Make Sourdough Starter guides the preparation of a fermented dough culture using whole wheat and all-purpose flour combined with warm, non-chlorinated water. Starting with a small flour-water mixture left at room temperature, bubbles indicate yeast activity over the first few days. Feedings with additional flour and water encourage growth of wild yeast and lactobacilli, which create the lift and flavor essential to sourdough bread.
The starter requires regular maintenance and monitoring to reach its peak activity, after which it can be used as leavening in various baking recipes. Maintaining proper temperature and consistency is important during the development phase. This process can be started in a simple glass jar with basic kitchen tools.
Ingredients
- 60 grams whole wheat flour unbleached
- 300 grams water divided, warm, non-chlorinated
- 360 grams all-purpose flour divided, unbleached
Instructions
Day 1.
- Start with a clean glass jar. I use a pint size mason jar when I am beginning a starter, but a weck jar or other glass jar will be fine too. You’ll just want it to be able to hold about 2 cups so that it can handle the rise of the starter.
- Place the jar on the kitchen scale. Turn the scale on and make sure it is reading 0 grams. If it isn’t, press the “tare” button to get the display to read zero.
- Add 60 grams of whole wheat flour and 60 grams of warm, non-chlorinated water. The mixture will be very, very think. It won’t be impressive at all to start.
- Cover the jar loosely with plastic wrap and let it sit at room temperature, of in a spot where the room temperature is slightly warmer.
Day 2.
- Check the starter. You’re looking for bubbles to form. If you don’t see any, it is ok because they come and go fairly quickly. Don’t mix it. Just check it, then let it sit again for another 24 hours.
Day 3.
- This is the first day you’ll feed the starter. Feed it no matter what it looks like. At this point the starter is going to be “stretchy”. Pull out half of the starter and throw it away. Use your kitchen scale to again add 60 grams of all-purpose unbleached flour and 60 grams of warm water.
- Mix it all together. It will still be really thick. Cover loosely with plastic wrap.
Day 4, 5, and 6.
- Discard half of the starter and feed as you did in Day 3. You’ll do the same thing each day no matter what the starter looks like. Discard half, and feed with equal amounts of flour and warm water.
- As these three days pass you’ll notice a natural rise and fall to the starter. This is an important process to observe because it will tell you when the starter is ready to bake with and when it is hungry. You can use a rubber band (or a piece of tape) on the jar to mark where the starter is when you feed it, then how it doubles as the starter grows.
Day 7.
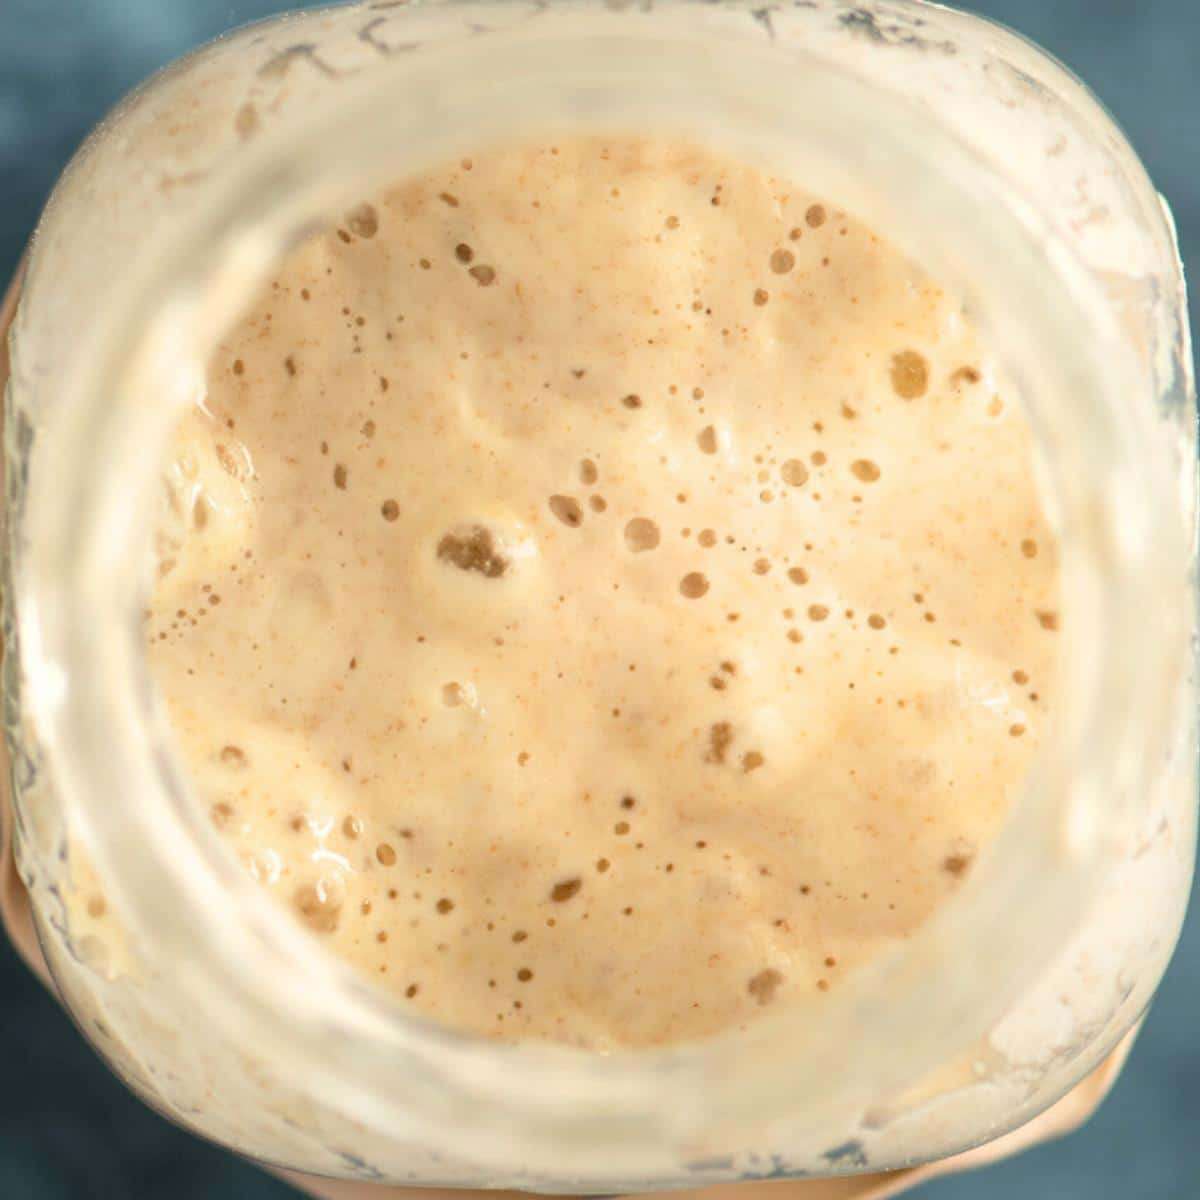
- Your starter should be very bubbly and you are almost ready to bake! It should have a sweet and tangy aroma. It should not be a sharp or harsh smell. It should look light and airy.
- If your starter does not look like this, continue the feeding process for a few more days before using it.
- Once your starter is light and airy, it's time to bake with it! Place the active starter in a clean jar that it will continue to live in as you feed it.
- Click here to make our favorite artisan sourdough bread recipe.
User Reviews
Overall Rating
4.8
You'll Also Love