Lemon Garlic Broiled Shrimp Skewers
User Reviews
5
-
Prep Time
10 mins
-
Cook Time
7 mins
-
Broil Time
6 mins
-
Total Time
23 mins
-
Servings
6 servings
-
Calories
237 kcal
-
Course
Main Course, Salad, Appetizer
-
Cuisine
American
Lemon Garlic Broiled Shrimp Skewers
Description
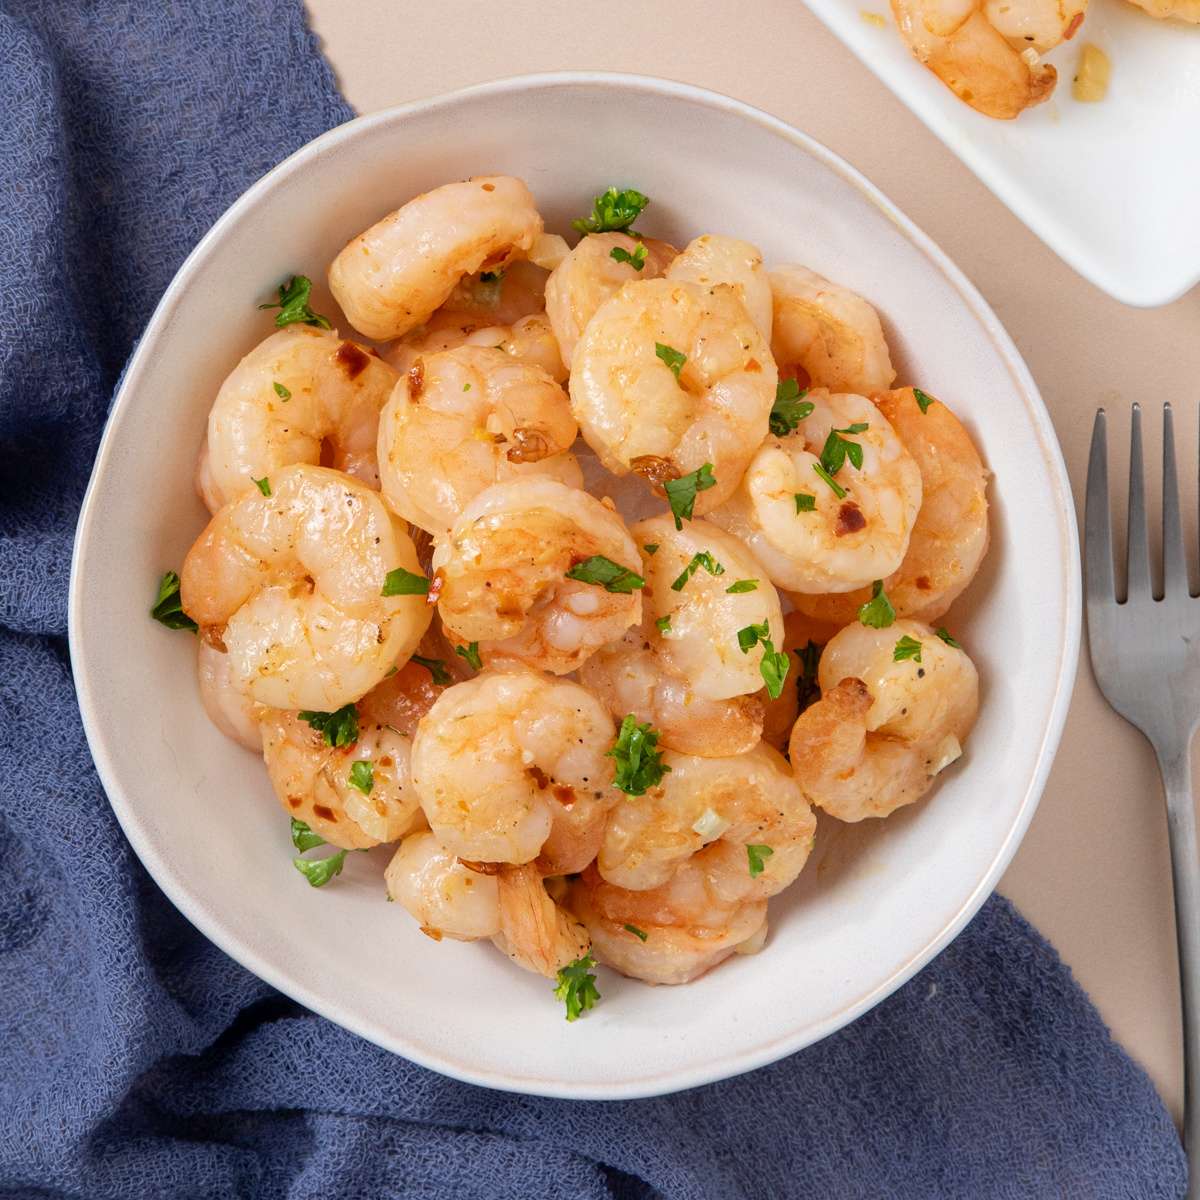
This recipe uses large peeled and deveined shrimp skewered on metal skewers to withstand broiler heat without burning, as wooden skewers are not recommended. The shrimp are dried, brushed with olive oil, and seasoned with salt, pepper, and a sprinkle of sugar on one side before broiling on the highest oven rack, allowing them to char slightly and cook rapidly. This technique helps to create a contrast between the charred exterior and tender interior.
The lemon garlic sauce, prepared on the stovetop by melting butter with lemon juice, garlic, red pepper flakes, and salt, is stirred until combined and finished with fresh parsley. This sauce adds a lively citrus and spicy note that complements the shrimp’s natural sweetness, enhancing the overall flavor profile.
These skewers are ideal for grilling season or quick broiler cooking, served with lemon wedges for added brightness. They also make an elegant starter or a light main paired with simple sides. Attention to drying shrimp before cooking and careful broiler monitoring ensures optimal char without overcooking.
The recipe suggests saving shrimp shells to make broth, adding a practical use for leftover ingredients.
Ingredients
- 1 ½ pounds Shrimp 21/25, peeled and deveined, tails left on, extra-large
- ¼ cup olive oil for brushing skewers
- 1 teaspoon sugar
- lemon for serving, wedges
Lemon Garlic Sauce
- 4 tablespoons butter cut into 4 pieces, unsalted
- 4 tablespoons lemon juice from 2 lemons, fresh
- ½ - 1 teaspoon red pepper flakes crushed
- 2 tablespoons garlic minced
- ¼ teaspoon table salt
- ¼ cup parsley minced fresh leaves
Instructions
- To fit all of your shrimp under the broiler at once, you’ll need between four and six 10 to 14 inch metal skewers or the equivalent. Wooden skewers will likely burn so close to your broiler so I highly recommend NOT using them.
- Adjust oven rack to highest position and turn on your broiler.
- Rinse and pat your shrimp dry with paper towels.
- Thread shrimp onto your skewers, one at a time. Each end of each shrimp needs to be punctured by the skewer. Your skewer should look like a bunch of C's beside each other. It is ok for your shrimp to touch.
- Brush both sides of shrimp with oil and sprinkle with salt and pepper.
- Sprinkle ONE side of each skewer with sugar.
- In large skillet, over medium high heat, combine butter, lemon juice, pepper flakes, garlic, and salt.
- Stir occasionally, until butter melts, and ingredients are incorporated, just a few minutes. You will be adding your fresh parsley right before serving. If you are using dried parsley please add it now.
- Remove skillet from heat and set aside.
- Meanwhile, on a rimmed baking sheet, with tinfoil and a rack lightly coated in cooking spray, place your shrimp skewers in a row, SUGAR SIDE UP.
- Place baking sheet under your broiler and cook shrimp until lightly charred, about 4 minutes.
- Using a pair of tongs or just oven mitts, flip each skewer over and broil until second side is pink and slightly translucent, 1 to 2 minutes longer. You want to finish cooking your shrimp in the sauce in your skillet so don't be concerned if they are not fully cooked at this point.
- Remove your shrimp from oven and using an oven mitt, carefully lift each skewer from your wire rack. Using tongs or a large serving fork, slide each shrimp off of each skewer and right into your sauce filled skillet.
- Place your skillet over medium high heat and stir until all of your shrimp are coated in sauce. Stir continuously until shrimp are opaque and a bright pink, another 30 seconds to one minute.
- Your goal is to cook the shrimp until they are pink or in a perfect C shape. If the are straight they are usually undercooked. If they form a ring or O they are overcooked.
- To serve, just cut a few wedges of lemon and serve with the shrimp. Squeeze some fresh lemon onto your broiled shrimp, coated in Lemon Garlic Butter Sauce, if you desire. Regardless, you will end up with incredibly tasty shrimp that is so much better and so much cheaper than restaurants. Enjoy!
Notes
- Make sure shrimp are fully dried before seasoning to achieve a good char under the broiler.
- Keep a close watch during broiling as ovens vary and shrimp can burn quickly.
- Save shrimp shells for making flavorful broth by simmering with aromatics like citrus, onion, and garlic.
Nutrition Information
Show DetailsNutrition Facts
Serving: 6servings
Amount Per Serving
Calories 237 kcal
% Daily Value*
| Calories | 237kcal | 12% |
| Carbohydrates | 4g | 1% |
| Protein | 16g | 32% |
| Fat | 18g | 28% |
| Saturated Fat | 6g | 30% |
| Polyunsaturated Fat | 1g | 6% |
| Monounsaturated Fat | 9g | 45% |
| Trans Fat | 0.3g | 15% |
| Cholesterol | 163mg | 54% |
| Sodium | 749mg | 31% |
| Potassium | 161mg | 3% |
| Fiber | 0.3g | 1% |
| Sugar | 1g | 2% |
| Vitamin A | 586IU | 12% |
| Vitamin C | 5mg | 6% |
| Calcium | 71mg | 7% |
| Iron | 0.4mg | 2% |
* Percent Daily Values are based on a 2,000 calorie diet.
User Reviews
Overall Rating
5
You'll Also Love