No Knead Artisan Bread
User Reviews
5
No Knead Artisan Bread
Description
No Knead Artisan Bread combines bread flour, a small amount of active dry yeast, kosher salt, and lukewarm water to create a very sticky dough. Mixing by hand or with a spoon avoids kneading, while a slow rise of 18 to 24 hours allows gluten development and flavor enhancement. The dough is then gently shaped into a ball on a floured surface without overworking, preserving air pockets for an open crumb.
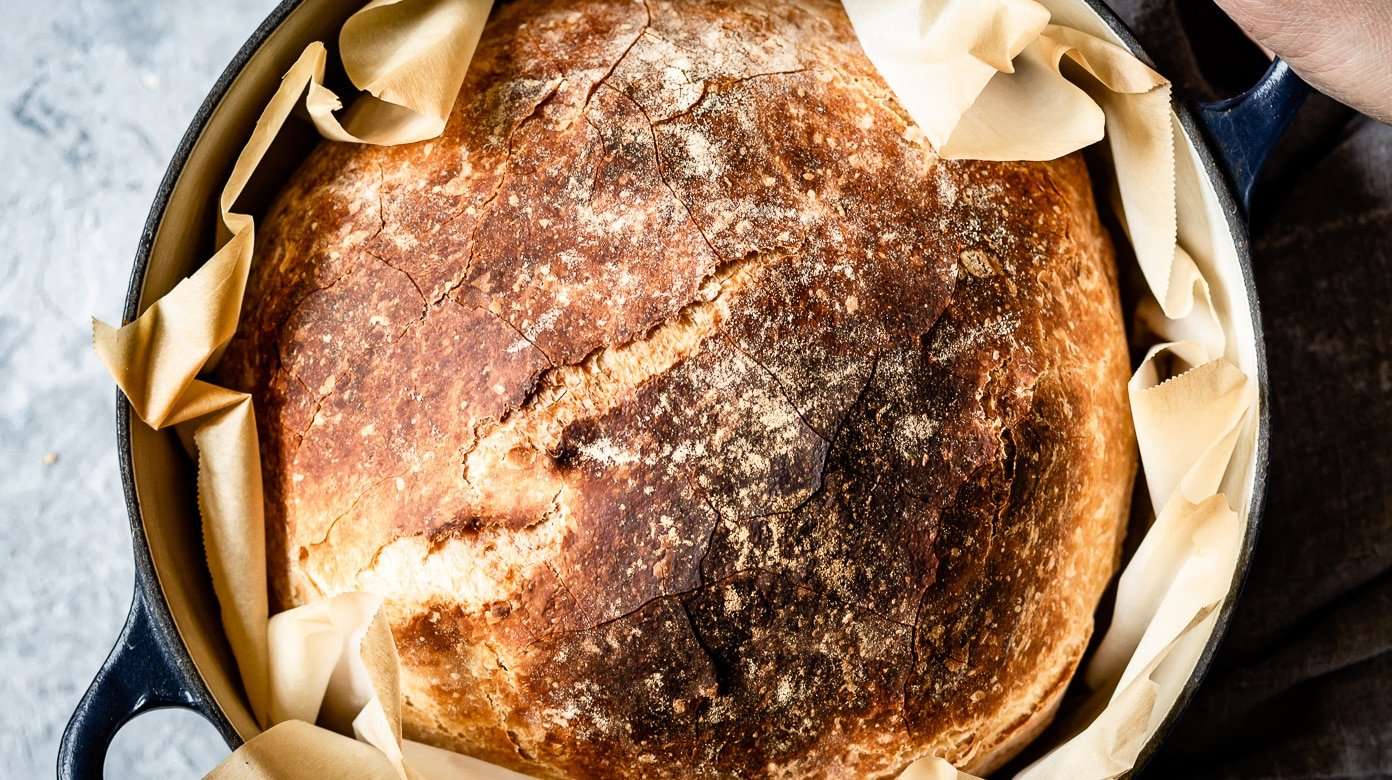
Baked on parchment paper, typically in a covered Dutch oven or similar vessel, this bread forms a golden crust with a rustic appearance and a chewy, tender crumb inside. It requires patience more than skill, making artisan-quality bread possible without specialized equipment or intensive labor.
This bread serves well alongside soups, salads, or as a canvas for spreads and sandwiches due to its mild flavor and pleasant texture. The blog post referenced in the original notes provides details on selecting ingredients and baking equipment for best results.
Ingredients
- 3 cups bread flour 360 grams
- ¼ teaspoon active dry yeast
- 2 teaspoons kosher salt
- 1 ⅓ cups water lukewarm, 316 ml
Instructions
- Mix in the dry ingredients in a large mixing bowl.
- Pour in 1 ⅓ cups (316 ml.) lukewarm water.
- Give it a mix using a wooden spoon. At this point, the dough needs to be quite sticky. If it is not, after you fully mixed it, add in more water in 1-tablespoon increments. Alternatively, you can use your clean hands to mix and feel the stickiness.
- Cover the bowl with a clean kitchen towel and let it sit in a warmer part of your house for 18-24 hours.
- Lightly flour your kitchen counter, gently remove the dough from the bowl, and place it onto your work surface. While removing, you will realize that it is quite sticky. However, if you take your time and gently pull it by folding it onto itself, you will see that it will come out easily without any dough remaining in the bowl.
- Form the dough into a ball tucking the sides of the dough under. Transfer the dough onto a large parchment paper, lightly dust with a little bit of flour, cover it with a clean kitchen towel, and let it rise for 1-2 hours or until it doubles in size. Again, I recommend letting it sit in a warmer part of your house.
- Towards the end of the rising time, place your dutch oven in the oven and pre-heat it to 450 F degrees (230 C Degrees).
- When ready to bake, take the now-very hot dutch oven out of the oven. Using the edges of the parchment paper carefully place the dough into the dutch oven. Put the lid on and let it bake for 30 minutes. Then remove the lid and continue to bake another 20-30 minutes or until the top is nicely golden brown as you see in the photos.
- At the end of the baking, remove it from the dutch oven, place it onto a cooling rack and let it cool for 30-45 minutes before slicing.
Notes
- Refer to additional blog instructions for the specific brands of flour, types of Dutch ovens, and ovens recommended for this recipe.
Nutrition Information
Show DetailsNutrition Facts
Serving: 8slices (1 Loaf)
Amount Per Serving
Calories 170 kcal
% Daily Value*
| Calories | 170kcal | 9% |
| Carbohydrates | 34g | 11% |
| Protein | 6g | 12% |
| Fat | 1g | 2% |
| Saturated Fat | 1g | 5% |
| Sodium | 584mg | 24% |
| Potassium | 47mg | 1% |
| Fiber | 1g | 4% |
| Sugar | 1g | 2% |
| Calcium | 7mg | 1% |
| Iron | 1mg | 6% |
* Percent Daily Values are based on a 2,000 calorie diet.
User Reviews
Overall Rating
5
You'll Also Love