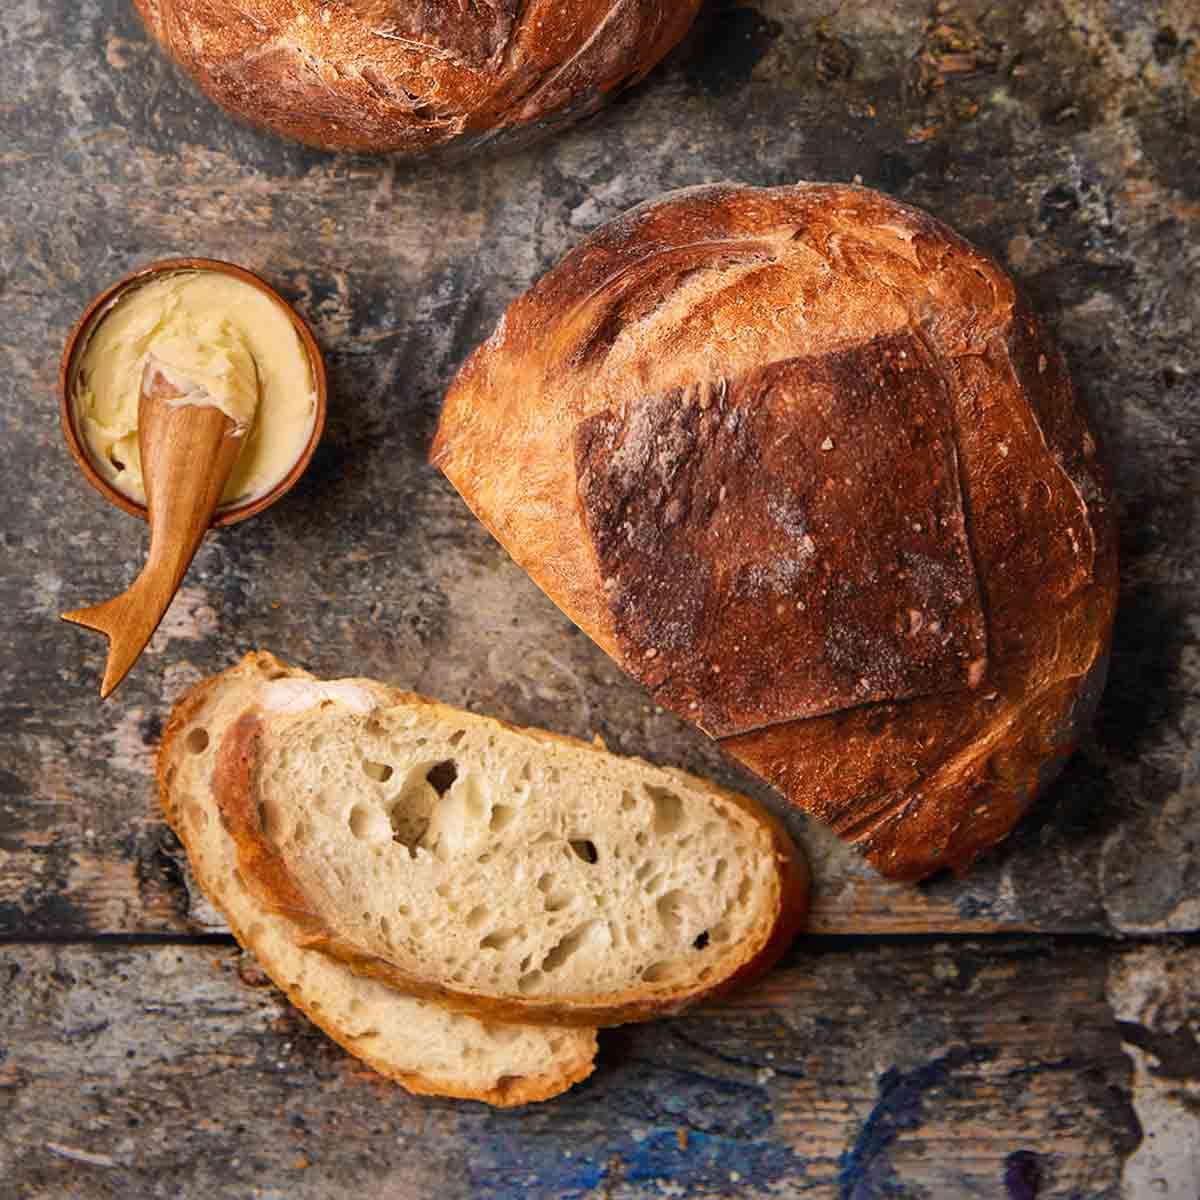
No-Knead Artisan Bread
User Reviews
4.9
No-Knead Artisan Bread
Description
This bread recipe creates an artisan-style loaf using a simple wet dough composed of all-purpose flour, yeast, lukewarm water, and salt. Unlike conventional bread recipes, it requires no kneading, resulting in a loose, gloppy dough. The dough undergoes a two-hour initial rise at room temperature until doubled in size, then continues fermenting in the refrigerator, which improves flavor complexity and crumb development over time.
The hydrated dough yields a rustic bread with a crisp crust and tender interior. The process allows for a more hands-off approach to bread-making without sacrificing traditional artisan qualities. Measuring flour by scoop-and-sweep ensures correct hydration, and optional cornmeal dusting may be used for texture and to prevent sticking during baking.
This method is suitable for home bakers wanting homemade artisan bread with minimal effort and preparation, offering flexibility in timing due to the refrigeration step.
Ingredients
- 3 cups water 100°F or 38°C) plus more for the broiler tray, lukewarm
- 1 tablespoon granulated yeast (active dry, instant, quick rise, or bread machine is fine)
- 1 to 1 1/2 tablespoons kosher salt to taste
- 6 1/2 cups all-purpose flour measured by the scoop-and-sweep method, unbleached
- cornmeal for dusting (optional)
Instructions
Make the dough
- Mix the 3 cups lukewarm water, 1 tablespoon granulated yeast, and 1 to 1 1/2 tablespoons kosher salt in a large bowl or a 6-quart container with a lid.
- Add the 6 1/2 cups unbleached all-purpose flour to the yeast mixture all at once, then using a spoon or Danish dough whisk mix until the flour is completely incorporated and you have a gloppy dough. ☞ TESTER TIP: Don’t knead the dough! You want the dough to be uniformly wet and loose with no dry patches of flour.
- Loosely cover the bowl and let the dough rise at room temperature until doubled in size, about 2 hours.
Stash the dough in the fridge
- Once the dough has risen, stash the bowl or container in the fridge.☞ TESTER TIP: If your container isn’t vented, you want to ensure the gases can escape by leaving the cover open a crack for the first couple of days in the fridge.
- You can use the dough anytime after the initial 2-hour rise, although it'll be quite wet and sticky. I prefer to let the dough rest in the fridge overnight (8 to 12 hours).☞ TESTER TIP: No matter when you use it, don't punch down this dough! And be certain to use the dough at some point within 14 days.
Shape the dough into a loaf
- When you're ready to bake a loaf, dust a pizza peel or an upside-down baking sheet with cornmeal or line it with parchment paper.
- Grab a hunk of the dough and use kitchen shears to cut off about a 1-pound piece. If needed, add just enough flour so the dough doesn't stick to your hands.
- Gently stretch the surface of the dough, tucking the ends underneath the ball and rotating it a quarter turn as you go. Most of the dusting flour will fall off, and that's okay. The bottom of the ball of dough will look a bit ragged; it will flatten out and adhere during resting and baking. The top and sides of your loaf should be smooth and taunt, and the shaping process should take no more than 20 to 30 seconds—don't work the dough any longer, or your loaves may be dense.
- Place the dough ball seam side down on the prepared pizza peel or baking sheet. Let it rest for about 40 minutes. It doesn’t need to be covered. You may not see much rise but don't fret. It'll rise plenty during baking.
Bake that gorgeous-looking loaf
- While the dough rests, slide a baking stone or an upside-down baking sheet onto the middle rack and crank up the oven to 450°F (230°C) for at least 30 minutes. Place an empty metal broiler tray or an ovenproof skillet on a lower rack. (Don't use a glass pan as it could shatter.)
- Dust the loaf generously with flour and, using a serrated bread knife, slash a 1/2-inch-deep cross, a couple of gashes, or a tic-tac-toe pattern in the top.
- Place the far edge of the peel on the baking stone a few inches beyond where you want the bread to land. Give the peel a couple of quick back-and-forth jiggles, and then yank it out from under the loaf.
- Quickly but carefully pour 1 cup of hot water into the hot broiler tray or skillet and immediately shut the oven door to trap the steam.
- Bake the bread until the crust is richly browned and firm to the touch, 20 to 35 minutes.☞ TESTER TIP: If you're using a baking sheet rather than a baking stone, you may need a little extra time—up to 50 minutes total—for the bread to be done.
- Remove the bread from the oven and let the loaf cool completely on a wire rack for the best flavor, texture, and easy slicing.
Nutrition Information
Show DetailsNutrition Facts
Serving: 40slices
Amount Per Serving
Calories 74 kcal
% Daily Value*
| Serving | 1slice | |
| Calories | 74kcal | 4% |
| Carbohydrates | 16g | 5% |
| Protein | 2g | 4% |
| Fat | 1g | 2% |
| Saturated Fat | 1g | 5% |
| Monounsaturated Fat | 1g | 5% |
| Sodium | 263mg | 11% |
| Fiber | 1g | 4% |
| Sugar | 1g | 2% |
* Percent Daily Values are based on a 2,000 calorie diet.
User Reviews
Overall Rating
4.9
You'll Also Love