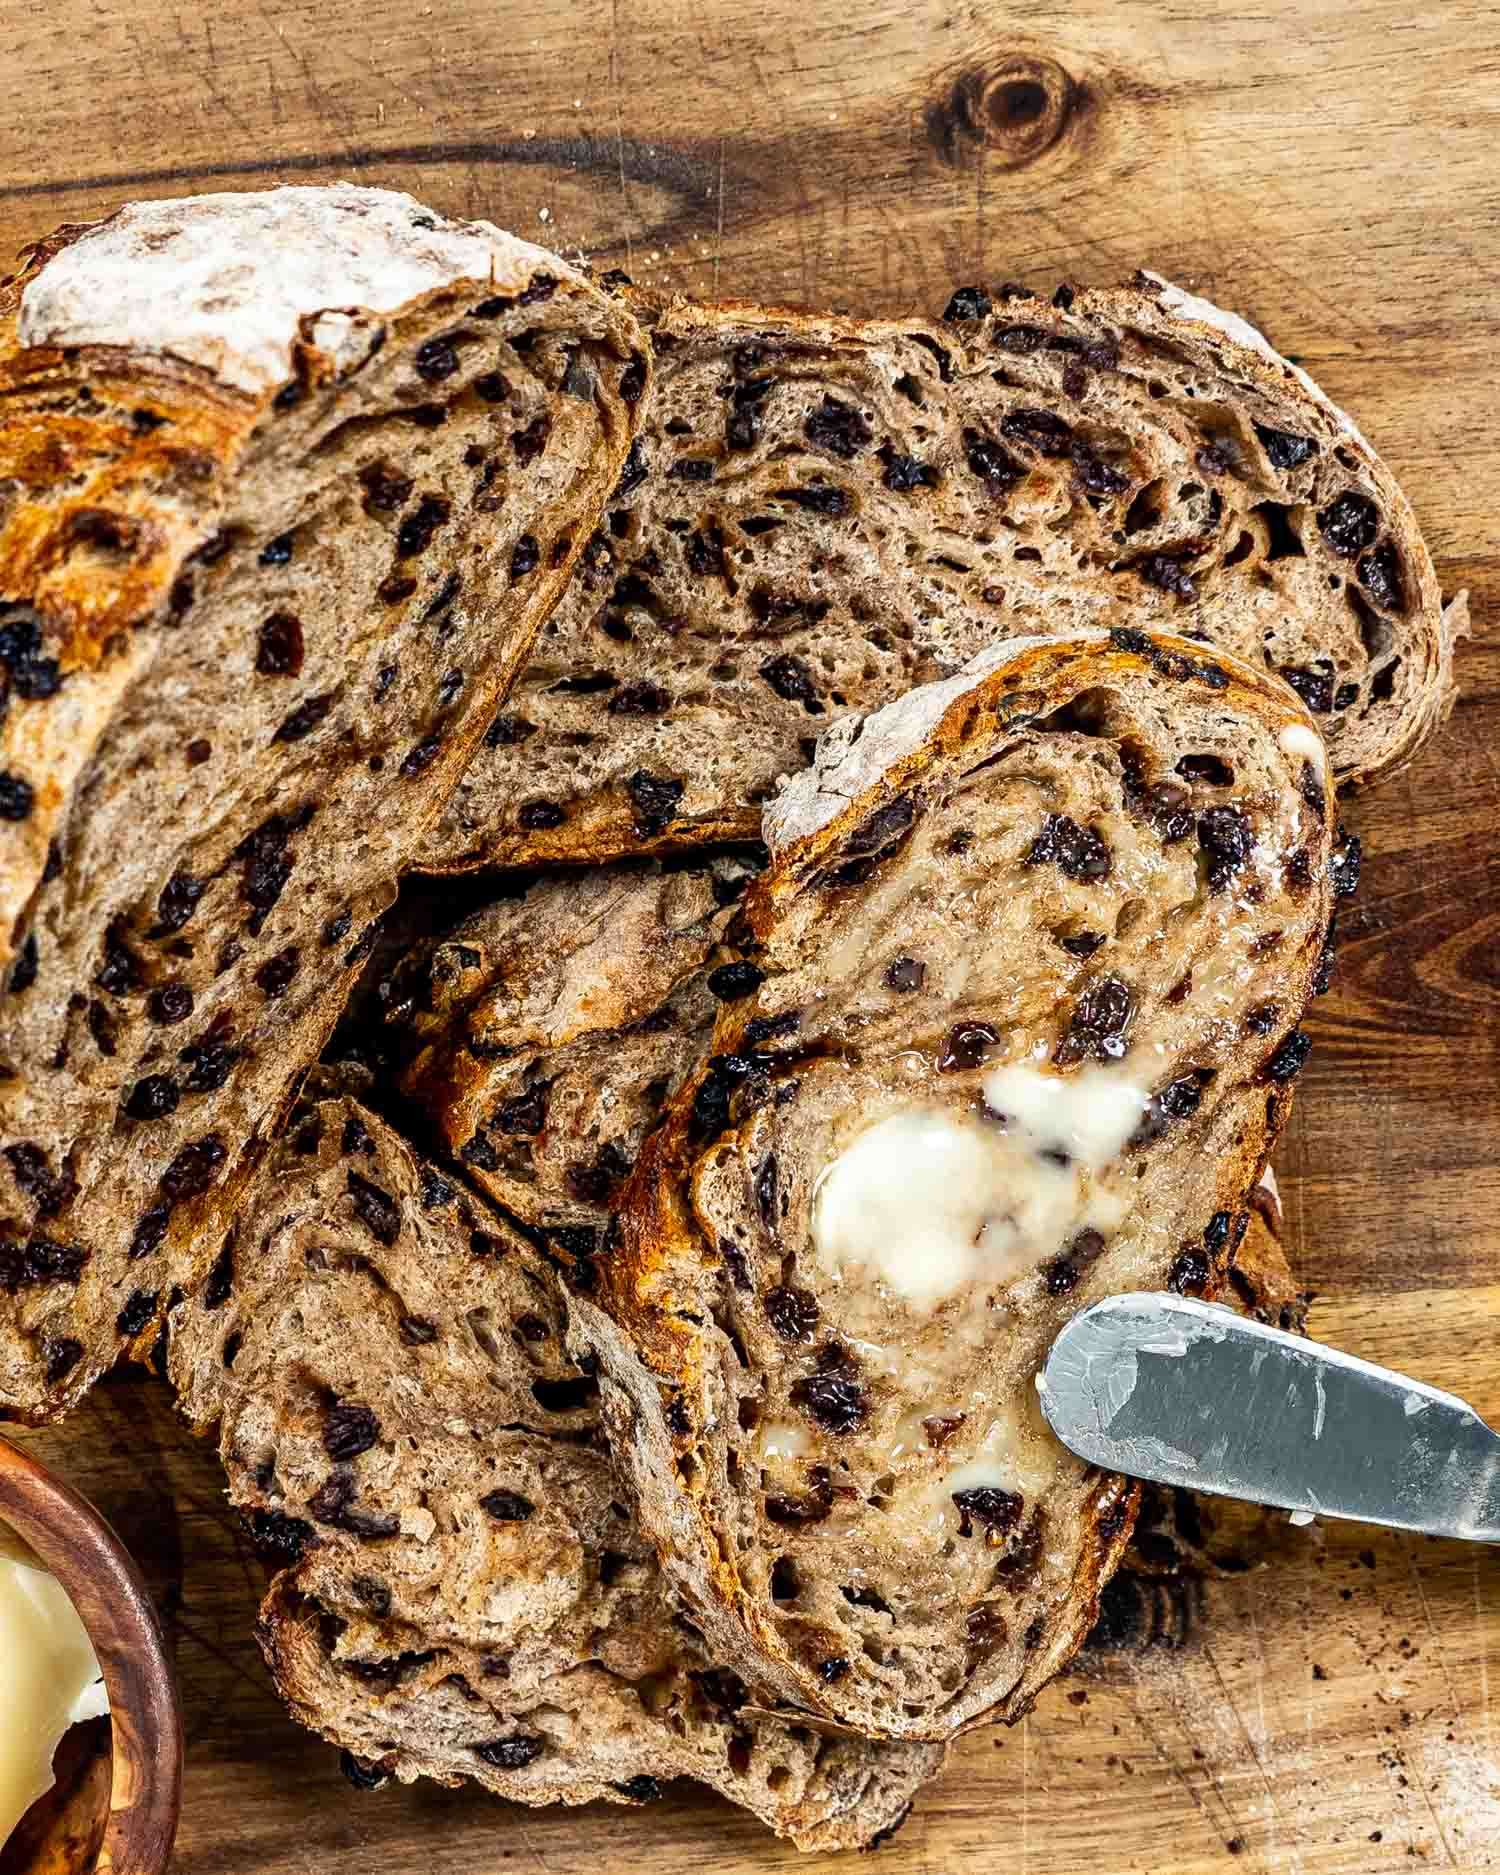
No Knead Cinnamon Raisin Bread
User Reviews
5
No Knead Cinnamon Raisin Bread
Description
This No Knead Cinnamon Raisin Bread mixes flour, yeast, salt, cinnamon, and raisins, combined with lukewarm water and sweetened with brown sugar. The active dry yeast activates during an extended resting period at room temperature, eliminating the need for manual kneading. This long fermentation encourages gluten development and flavor enhancement, yielding a light, open crumb.
Baking occurs in a preheated cast iron pot at 450°F, sealed initially to trap steam, which forms a crispy crust resembling artisan bread. Removing the lid midway allows browning and texture development. The cinnamon provides warm spice notes, while the raisins add sweetness and moisture throughout the loaf. The final bread has a rustic appearance with chewy crust and tender interior.
This bread suits breakfast or snack purposes and stores well at room temperature for several days. Freezing is an option for longer storage, maintaining freshness when properly sealed. Checking yeast freshness and water temperature before starting promotes successful rising and light crumb.
Ingredients
- 3 cups all-purpose flour
- 1 teaspoon salt
- ½ teaspoon active dry yeast
- 1 tablespoon cinnamon ground
- 1 cup raisins
- 1½ cup water lukewarm (105°F to 115°F)
- 3 tablespoons brown sugar
Instructions
- In a big bowl mix the flour, salt, yeast, cinnamon and raisins together. Pour water into the bowl and using a spatula or a wooden spoon mix it until well incorporated. You do not need to activate the yeast before, even though we're using active dry yeast.
- Cover the bowl with plastic wrap and let it sit on your counter or inside your unheated oven for 12 to 18 hours. You need to let this dough rest for a minimum of 5 hours to allow the yeast to do its job.
- Preheat oven to 450°F. Add your cast iron pot to the oven as it's heating and heat it as well until it's at 450°F. Usually when the oven is done preheating your pot should be hot enough as well. Remove the pot from the oven and remove the lid from it. Use oven mitts, as to not burn yourself.
- Flour your hands really well and also sprinkle a bit of flour over the dough. With your floured hands gently remove the dough from the bowl and place it on a well floured work surface. Flatten the dough a little bit then sprinkle the brown sugar over the dough. Now fold the dough over itself a few times, to make the brown sugar blend a bit into the dough. Form the dough into a ball, use more flour if needed. Place the dough over a piece of parchment paper.
- Take the ball of dough with the parchment paper and drop it into the hot Dutch oven. Cover the pot with the lid and place it back in the oven.
- Bake for 30 minutes with the lid on, after which remove the lid and bake for another 15 to 20 minutes until golden brown. Remove the bread from the pot, it should fall out easily. Let cool completely before slicing into it and serving.
Notes
- Check the freshness date on your yeast to ensure proper rise and bread texture.
- Use water between 105°F to 115°F to activate yeast and help dough rise effectively.
- Allow at least 5 hours resting time for the dough to double in size to avoid dense, heavy bread.
- Store the baked bread at room temperature up to 4 days in a container or bag.
- Freeze the bread for up to 3 months in sealed packaging; thaw at room temperature before serving.
Nutrition Information
Show DetailsNutrition Facts
Serving: 10Serving
Amount Per Serving
Calories 197 kcal
% Daily Value*
| Serving | 1slice | |
| Calories | 197kcal | 10% |
| Carbohydrates | 44g | 15% |
| Protein | 5g | 10% |
| Fat | 1g | 2% |
| Saturated Fat | 0.1g | 1% |
| Polyunsaturated Fat | 0.2g | 1% |
| Monounsaturated Fat | 0.1g | 1% |
| Sodium | 241mg | 10% |
| Potassium | 174mg | 4% |
| Fiber | 3g | 12% |
| Sugar | 4g | 8% |
| Vitamin A | 2IU | 0% |
| Vitamin C | 1mg | 1% |
| Calcium | 22mg | 2% |
| Iron | 2mg | 11% |
* Percent Daily Values are based on a 2,000 calorie diet.
User Reviews
Overall Rating
5
You'll Also Love