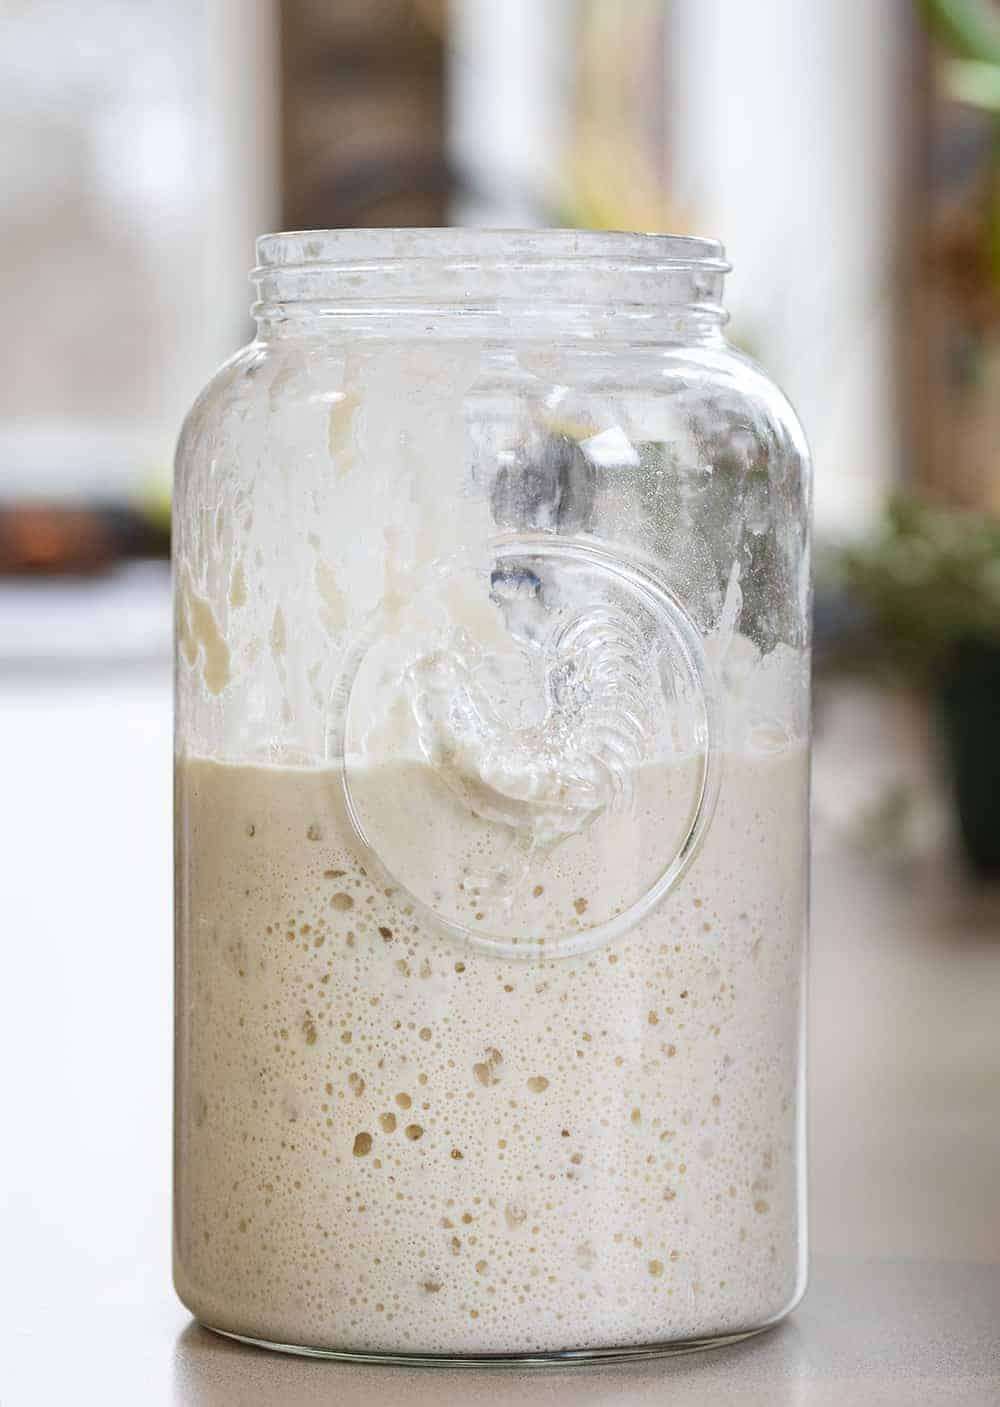
Sourdough Starter
User Reviews
5
Sourdough Starter
Description
This Sourdough Starter recipe outlines how to cultivate a live culture from scratch using whole wheat flour initially, then switching to all-purpose flour with periodic feedings. The jar is kept covered loosely to allow airflow, encouraging natural yeast and bacteria to ferment over several days.
The process involves mixing flour and water to create a batter-like consistency and letting it rest at room temperature. You add fresh flour and water daily, discarding part of the starter at some points to prevent overproduction and maintain the right balance for yeast growth. The presence of bubbles after 24 hours is a sign of progress, indicating fermentation is active.
Once the starter exhibits consistent bubbling and rising, it’s ready to use for sourdough bread and other recipes needing natural leavening.
Ingredients
- ½ cup flour whole wheat or unbleached all-purpose
- ¼-⅓ cup water 75°F is ideal
- 1 glass jar, or bowl (about 32 ounces)
- 1 paper towel
- 1 rubber band
Instructions
TO BEGIN
- Start the process by adding ½ cup whole wheat flour and ¼ cup water to the jar. (If you need more flour to reach a pancake batter consistency, you can add up to ¼ cup more.)
THE FIRST FEEDING
- Stir thoroughly and cover with a towel and rubber band. Let sit for 24 hours at room temperature. (Try to keep it in an area of your house that is somewhat warm. Very cool rooms tend to slow the action of a starter.)
- After 24 hours, check the mixture for bubbles. If you see some, add ½ cup all-purpose flour and ¼-⅓cup water. If you don’t see bubbles, give it a stir and let sit 24 more hours.
THE SECOND FEEDING
- Check for bubbles again. If you do see bubbles, remove half of the starter, add ½ cup all-purpose flour and ¼-⅓ cup water and stir thoroughly. Let sit 24 hours.
THE THIRD FEEDING
- Remove half of the starter, and feed with ½ cup all-purpose flour and ¼ cup water, stirring thoroughly. Let sit 24 hours.
ADDITIONAL FEEDINGS
- On days 4, 5, 6 you can feed it 2 times a day, if you want and plan on using it.
- Continue this routine until the starter is consistently bubbling and doubling in size within 8 hours of each feeding.
- From this point (or even on day 5), you can store the starter in the refrigerator and feed it about once per week. When you plan to use the starter, pull it out of the refrigerator 24 hours in advance to feed it and allow it to warm up and grow.
Notes
- Ideal water temperature for mixing the starter is about 75°F to encourage fermentation without killing yeasts.
- Use a warm spot in your kitchen to keep the starter active; cool rooms slow its development.
- Follow the feedings for at least 4 to 6 days, watching for bubbles as a sign of a healthy starter.
- Discard some starter before feeding to control volume and maintain balance in the culture.
User Reviews
Overall Rating
5
You'll Also Love