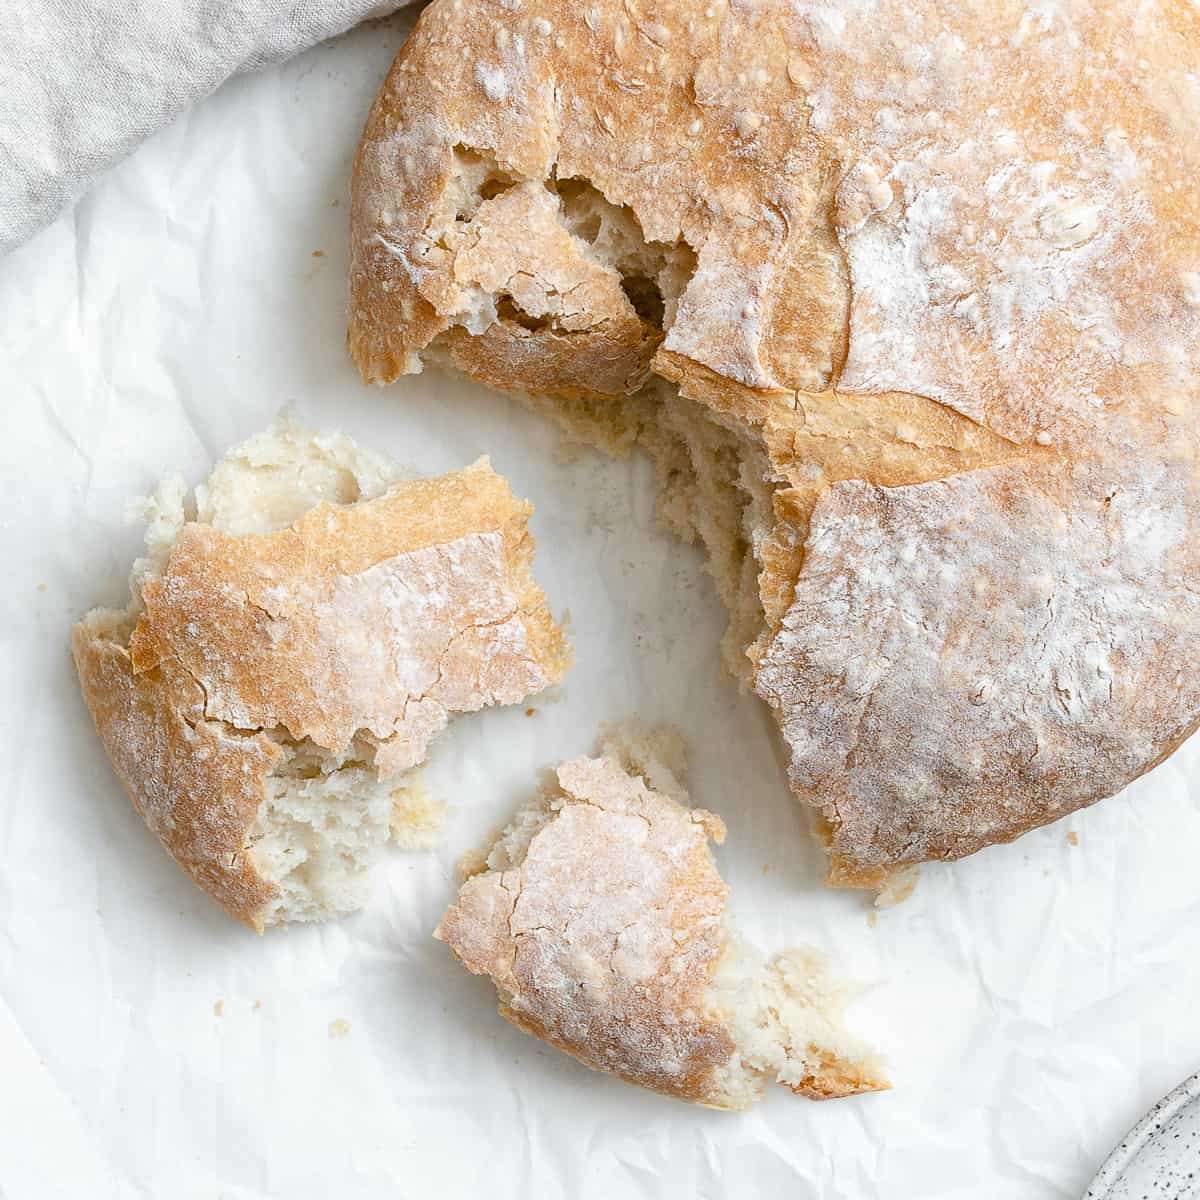
The Easiest No Knead Bread
User Reviews
5
The Easiest No Knead Bread
Description
The Easiest No Knead Bread recipe transforms a mixture of water, yeast, salt, and flour into a moist, sticky dough that requires no kneading. After mixing, the dough rests for about two hours until doubled in size, during which yeast ferments and gluten develops for the final structure. A longer refrigerator rise is recommended to deepen flavor and create an open crumb texture, although immediate baking is also possible. The dough is shaped quickly into balls before baking on a floured surface that makes it easy to transfer to the oven. The resulting bread has a chewy crust and tender interior, achieved through minimal hands-on work. This recipe highlights patience in fermentation rather than intensive mixing for excellent homemade bread.
Ingredients
- 3 cups water lukewarm
- 1 ½ tablespoons granulated yeast about 2 packets - any brand/style will do
- 1 ½ tablespoons salt coarse
- 6 ½ cups all-purpose flour unbleached
Instructions
- Add the yeast and the salt to the warm water (about 110 degrees F) in a large bowl. You don't need to mix it or wait for it to dissolve.
- Add the flour. No need to sift or pack the flour. Simply scoop it up, sweep level, and add all of it to the water mixture.
- Use a wooden spoon or your (very wet) hands to mix in the flour. It's not necessary to knead the dough. Just mix it together until it's uniformly moist.
- Cover the bowl and allow it to rise in a warm spot until it's about twice its size. I cover it with a hand towel and put it in the sun. This will take about 2 hours.
- It's recommended that you allow the dough to then sit in the fridge for a few hours, but if you're like me, you're ready to eat. Cut off a grapefruit sized chunk of dough and with floured hands, stretch and mold it into a ball. Again, no need to knead - this shouldn't take more than 60 seconds.
- Place the ball of dough onto a heavily floured surface you can later use to slide the dough into the oven (like a pizza peel). Flour the top of the ball and use a knife to cut a couple of slices into the top. Allow the dough to sit and rise for 40 minutes. After 20 minutes, turn the oven on to 450 degrees F (230 degrees C) and place a baking surface on the middle rack (a baking stone works best but a cookie sheet will work).
- After 40 minutes, slide the dough on to the baking surface. The trick is to add a pan with 1 cup of water to the bottom rack, which will help bake the bread with steam, making it soft in the middle. Bake for about 30 minutes or until the crust is golden brown.
- Keep the rest of the dough covered or in a freezer bag in the fridge until you're ready for another loaf (it will keep for well over a week). The initial dough making is the tedious part. However, when you're ready for a loaf, cut off a chunk of dough, spend 60 seconds to roll the dough into a ball, let rise for 40 minutes and cook for 30. You'll have fresh bread for 60 seconds of work.
Notes
- Use yeast within its expiration date to ensure good rise and texture.
- A sticky, shaggy dough before rising is expected; avoid adding extra flour that could affect bread quality.
- For richer flavor and open crumb, allow the dough to rise longer or refrigerate for up to 3 days, gently deflating as needed.
Nutrition Information
Show DetailsNutrition Facts
Serving: 4- 5 loaves
Amount Per Serving
Calories 744 kcal
% Daily Value*
| Calories | 744kcal | 37% |
| Carbohydrates | 156g | 52% |
| Protein | 22g | 44% |
| Fat | 2g | 3% |
| Saturated Fat | 0.3g | 2% |
| Polyunsaturated Fat | 1g | 6% |
| Monounsaturated Fat | 0.2g | 1% |
| Sodium | 2630mg | 110% |
| Potassium | 232mg | 5% |
| Fiber | 6g | 24% |
| Sugar | 1g | 2% |
| Vitamin A | 4IU | 0% |
| Vitamin C | 0.01mg | 0% |
| Calcium | 38mg | 4% |
| Iron | 9mg | 50% |
* Percent Daily Values are based on a 2,000 calorie diet.
User Reviews
Overall Rating
5
You'll Also Love