Easy Waffles
User Reviews
5.0
6 reviews
Excellent
Easy Waffles
Report
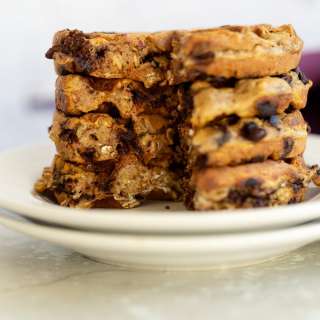
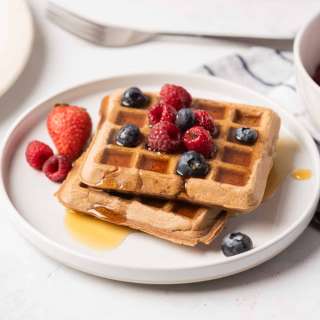
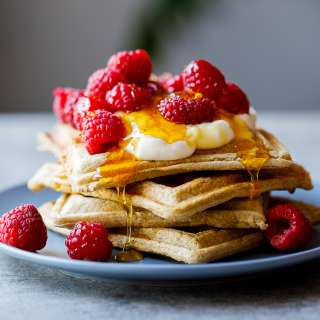
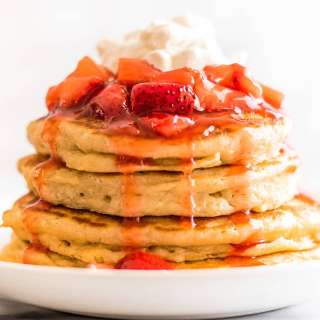
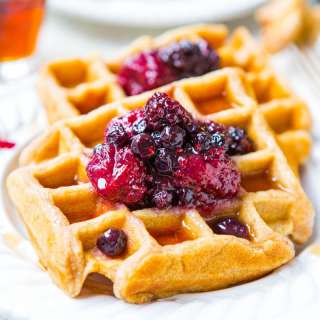
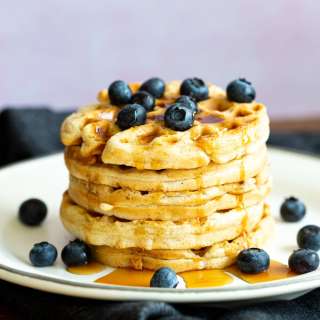
Looking for a breakfast that's easy to make and absolutely delicious? This easy waffles recipe is sure to satisfy your cravings! Made with just a handful of ingredients you probably already have in your pantry, these waffles are light, fluffy, and oh-so-tasty. Whether you're looking for a lazy weekend breakfast or a quick weekday meal, this recipe is the perfect solution. Plus, with step-by-step instructions and helpful tips, even inexperienced cooks can whip up a batch of these delectable waffles in no time.
Share:
Ingredients
- 219 g (1-¾ cups) all-purpose flour, spooned into a measuring cup and leveled off
- 30 g (¼ cup) cornstarch or flour
- ¼ cup granulated sugar
- 1 teaspoon kosher salt
- 2 teaspoons baking powder
- ½ teaspoon baking soda
- 2 cups well- shaken buttermilk (or homemade buttermilk)
- 2 large eggs , whites, and yolks separated
- ¼ cup+ 2 tablespoons avocado oil
- 1 tablespoon pure vanilla extract
- 4 tablespoons unsalted butter , melted and slightly cooled
Instructions
- Preheat the oven to 200°F and position an oven rack in the middle. Then, place an oven-safe rack on a baking sheet to keep the cooked waffles warm while you make more. Whisk together the flour, cornstarch, sugar, salt, baking powder, and baking soda in a large bowl. Then, whisk together the buttermilk, egg yolks, vanilla, and avocado oil in a separate medium bowl.
- Using a stand mixer fitted with beaters, beat the egg whites in another bowl until stiff peaks form. Next, add the buttermilk mixture and melted butter to the flour mixture and whisk until the batter is smooth. Then, gently fold in the beaten egg whites using a rubber spatula until just evenly combined.
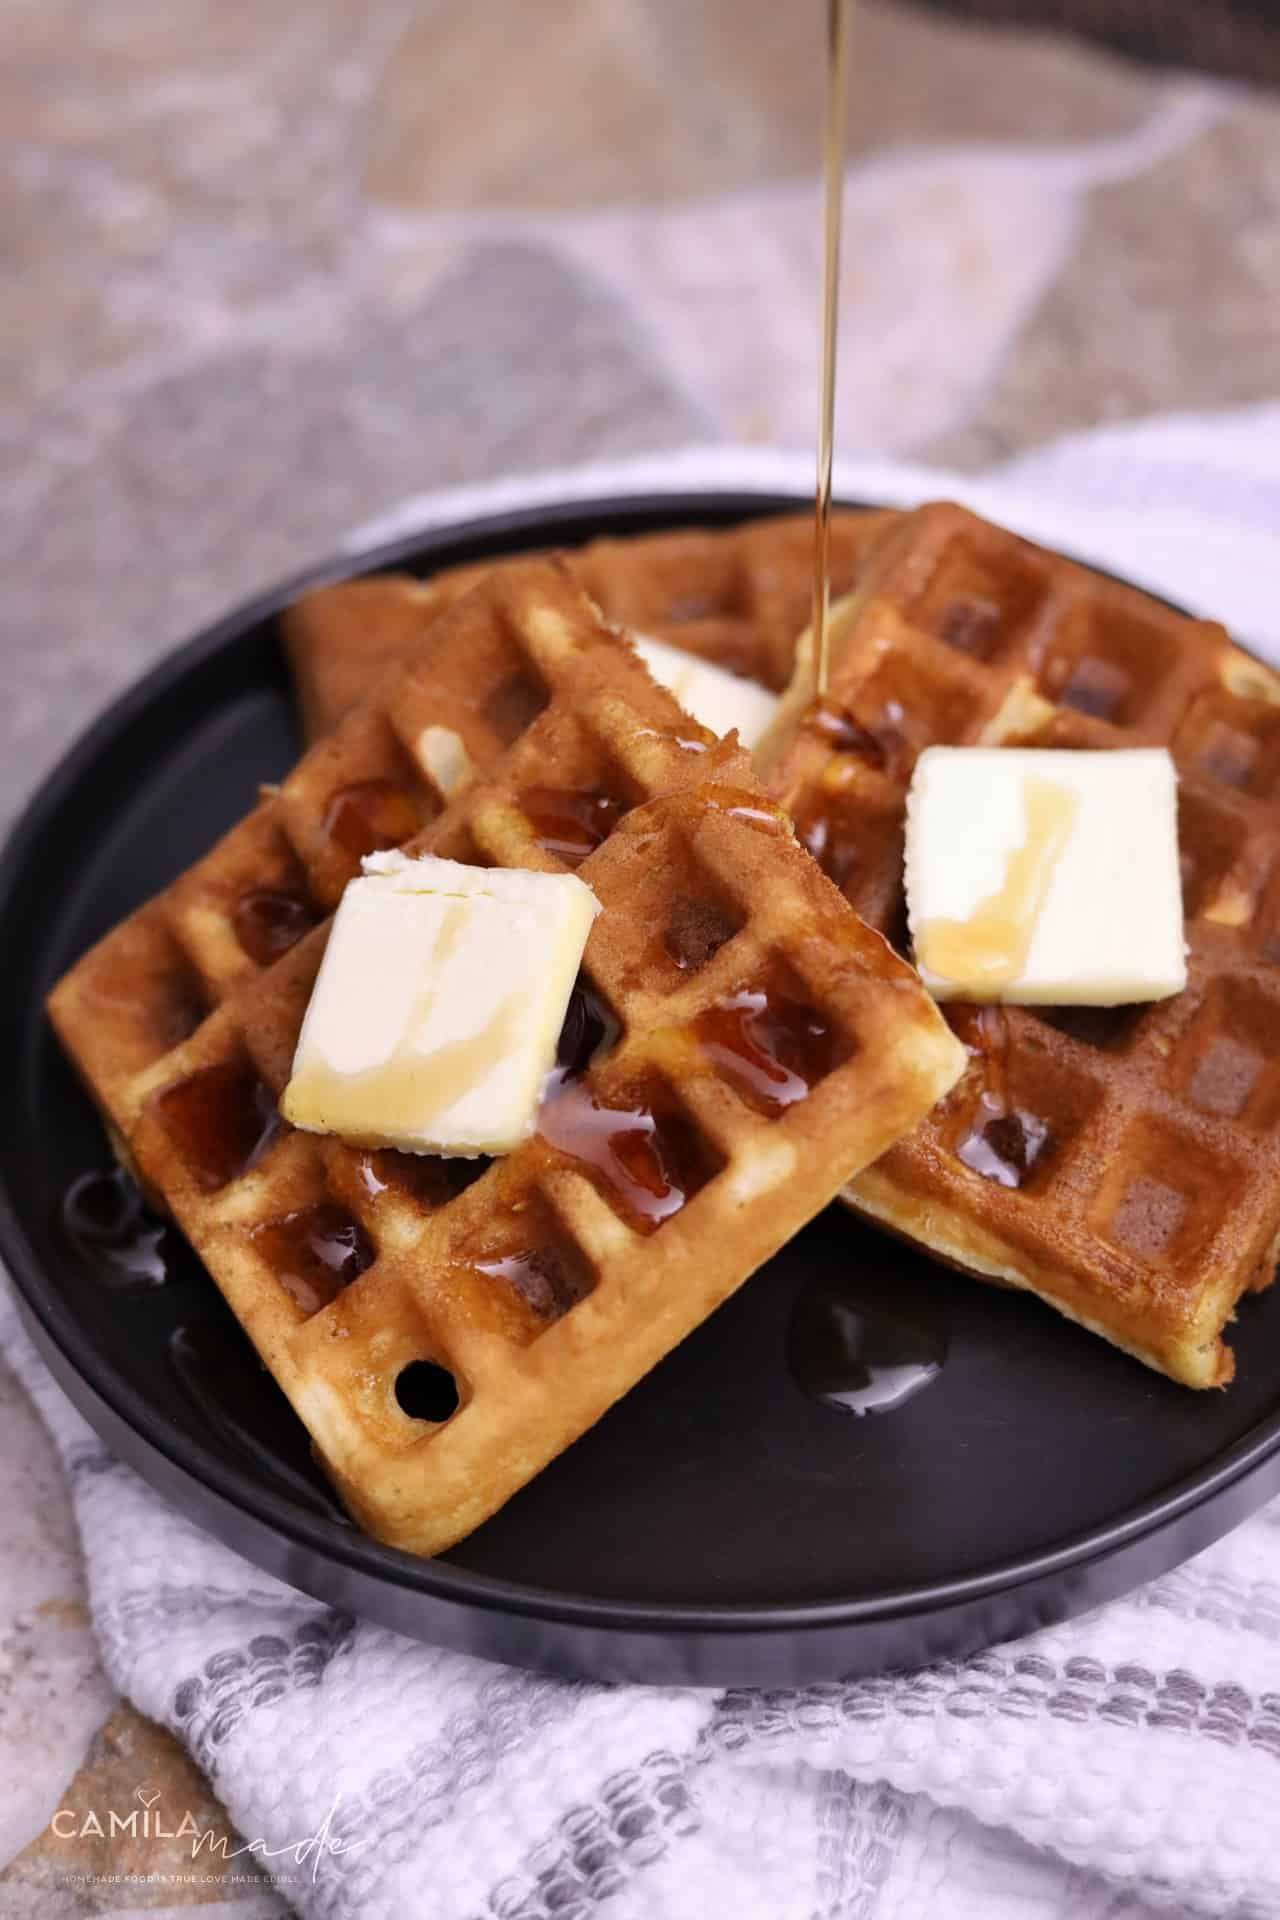
- Preheat the waffle iron and spray both sides with nonstick cooking spray. Pour in enough batter to lightly cover the surface of the iron, about ⅓ to ¾ cup, depending on its size. Keep in mind that the batter will spread once the lid is closed. Close the iron and cook the batter according to the manufacturer's instructions or until the waffles turn golden brown and slightly crisp. Place them on the prepared rack/baking sheet to keep them warm in the oven while you cook the remaining waffles. If the waffle iron has a well-seasoned or nonstick surface, it may not be necessary to spray it between each batch.
Equipments used:
Notes
- How to Store & Re-Heat
- How to Store & Re-Heat
- Here are some tips for storing and reheating leftover buttermilk waffles:
- Here are some tips for storing and reheating leftover buttermilk waffles:
- Storing: Let the waffles cool completely on a wire rack before storing them in an airtight container or freezer bag. You can keep them in the fridge for up to 3-4 days or in the freezer for up to 3 months.
- Reheating in the oven: Preheat the oven to 350°F and place the waffles on a baking sheet. Bake for 10-12 minutes or until they are heated through and crispy on the outside.
- Reheating in the toaster: Toast the waffles in the lightest setting until they are heated through and crispy on the outside. This method works well for frozen waffles too.
- Reheating in the microwave: Place the waffles on a microwave-safe plate and heat on high for 30-60 seconds or until they are heated through. Remember that the waffles may become soft and soggy if you use this method.
- When reheating the waffles, avoid using high heat or overcooking them, as this can cause them to become dry and tough. With these tips, you can enjoy delicious and fluffy buttermilk waffles anytime, anywhere.
- When reheating the waffles, avoid using high heat or overcooking them, as this can cause them to become dry and tough. With these tips, you can enjoy delicious and fluffy buttermilk waffles anytime, anywhere.
- How to Make-Ahead
- How to Make-Ahead
- If you want to make buttermilk waffles ahead of time, here are some tips to follow:
- If you want to make buttermilk waffles ahead of time, here are some tips to follow:
- Cook the waffles: Cook the waffles according to the recipe, and let them cool completely on a wire rack.
- Freeze the waffles: Once they are cooled, place them in a single layer on a baking sheet and freeze them for about an hour or until they are firm.
- Store the waffles: Transfer the frozen waffles to a freezer-safe bag or container and store them in the freezer for up to 3 months.
- Reheat the waffles: When you're ready to serve the waffles, preheat the oven to 350°F and place the frozen waffles on a baking sheet. Bake for 10-12 minutes or until they are heated through and crispy outside.
- By following these steps, you can make buttermilk waffles ahead of time and enjoy them whenever you want without sacrificing their taste and texture. Just remember to freeze them in a single layer first so they don't stick together, and store them properly to avoid freezer burn.
- By following these steps, you can make buttermilk waffles ahead of time and enjoy them whenever you want without sacrificing their taste and texture. Just remember to freeze them in a single layer first so they don't stick together, and store them properly to avoid freezer burn.
- How to Freeze
- How to Freeze
- Here's how to freeze buttermilk waffles properly:
- Here's how to freeze buttermilk waffles properly:
- Cook the waffles according to the recipe and let them cool completely on a wire rack.
- Place the waffles in a single layer on a baking sheet and place the baking sheet in the freezer.
- Freeze the waffles for about an hour or until they are firm.
- Once the waffles are frozen, remove them from the baking sheet and place them in a freezer-safe bag or container.
- Seal the bag or container tightly, removing as much air as possible.
- Label the bag or container with the date and contents.
- Store the waffles in the freezer for up to 3 months.
- When you're ready to reheat the frozen waffles, remove them from the freezer and reheat them in the toaster or oven according to the instructions in the previous answer. By freezing the waffles in a single layer and removing as much air as possible, you can prevent freezer burn and keep the waffles fresh and tasty for longer.
- When you're ready to reheat the frozen waffles, remove them from the freezer and reheat them in the toaster or oven according to the instructions in the previous answer. By freezing the waffles in a single layer and removing as much air as possible, you can prevent freezer burn and keep the waffles fresh and tasty for longer.
- Storing: Let the waffles cool completely on a wire rack before storing them in an airtight container or freezer bag. You can keep them in the fridge for up to 3-4 days or in the freezer for up to 3 months.
- Reheating in the oven: Preheat the oven to 350°F and place the waffles on a baking sheet. Bake for 10-12 minutes or until they are heated through and crispy on the outside.
- Reheating in the toaster: Toast the waffles in the lightest setting until they are heated through and crispy on the outside. This method works well for frozen waffles too.
- Reheating in the microwave: Place the waffles on a microwave-safe plate and heat on high for 30-60 seconds or until they are heated through. Remember that the waffles may become soft and soggy if you use this method.
- Cook the waffles: Cook the waffles according to the recipe, and let them cool completely on a wire rack.
- Freeze the waffles: Once they are cooled, place them in a single layer on a baking sheet and freeze them for about an hour or until they are firm.
- Store the waffles: Transfer the frozen waffles to a freezer-safe bag or container and store them in the freezer for up to 3 months.
- Reheat the waffles: When you're ready to serve the waffles, preheat the oven to 350°F and place the frozen waffles on a baking sheet. Bake for 10-12 minutes or until they are heated through and crispy outside.
- Cook the waffles according to the recipe and let them cool completely on a wire rack.
- Place the waffles in a single layer on a baking sheet and place the baking sheet in the freezer.
- Freeze the waffles for about an hour or until they are firm.
- Once the waffles are frozen, remove them from the baking sheet and place them in a freezer-safe bag or container.
- Seal the bag or container tightly, removing as much air as possible.
- Label the bag or container with the date and contents.
- Store the waffles in the freezer for up to 3 months.
Genuine Reviews
User Reviews
Overall Rating
5.0
6 reviews
Excellent
Other Recipes
You'll Also Love

Savory cassava cheese bread waffles {Yuca bread waffles}
South American, Fusion, American, Ecuadorian
4.9
(78 reviews)