How To Make Homemade Yogurt
User Reviews
5.0
12 reviews
Excellent
How To Make Homemade Yogurt
Report
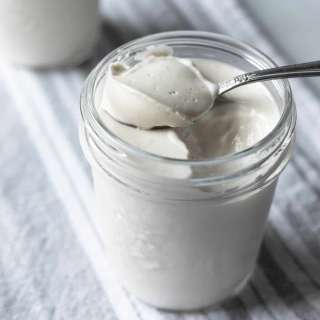
How to make your own homemade yogurt tells you exactly what to do to end up with foolproof, fabulous yogurt every time. And it's incredibly easy. No fancy yogurt maker required.
Share:
Ingredients
- 1 quart milk of any type
- 2 tablespoons instant non-fat dry milk (optional but recommended if you’re using low-fat or non-fat milk)
- 2 tablespoons plain yogurt with live active cultures, at room temperature
Instructions
- Assemble all the necessary equipment (see below How To Choose An Incubation Method For Your Homemade Yogurt). You don’t want to be rummaging around for jar lids when your milk is ready to culture. Make sure that all equipment is scrupulously clean with no soap residue that could damage the culture.
- In a 2- to 3-quart (1.8- to 2.8-liter) stainless steel saucepan add in milk and whisk in the instant nonfat dry milk, if using. Set the pan over medium-low heat. For thicker yogurt, heat until the milk registers 195°F (91°C) on an instant-read thermometer, whisking often to prevent the milk from scorching, about 10 minutes. Adjust the heat as needed to keep the milk at or near 195°F (91°C) and cook, whisking often, for 10 minutes. Remove from the heat. (For thinner yogurt, heat until the milk registers 180°F (82°C) or 185°F (85°C) on an instant-read thermometer, whisking often to prevent the milk from scorching, about 10 minutes.) Adjust the heat as needed to keep the milk at or near 195°F (91°C) and cook, whisking often, for 10 minutes. Remove from the heat.
- Cover the saucepan and let the milk cool to between 110°F (43°C) and 115°F (46°C), about 1 1 ⁄ 4 hours. You can dramatically accelerate the cooling by placing the saucepan in a large bowl or sink full of ice water and stirring constantly. The milk temperature will plummet to the culturing range in less than 5 minutes, so monitor the temperature often. If it drops too low (below 110°F [43°C), return the saucepan to the stove and gently rewarm the milk over low heat just until it reaches 110°F (43°C) to 115°F (46°C).
- While the milk cools to the proper culturing temperature, prepare the jars. Choose a 1-quart (946 ml) jar or several smaller jars with a total capacity of 1 quart (946 ml) or use the jars that come with your yogurt maker. Wash well and then fill the jars with hot water and let stand until you need them. Replace the hot water if it cools so the jars will be warm when you fill them and drain just before filling. Alternatively, heat the jars with hot water, and then drain and place in a preheated electric yogurt maker to keep warm until you are ready to fill them. Note that you don’t have to use jars. You can incubate yogurt in a glass or earthenware bowl, or in any nonreactive (nonaluminum) container. You can even incubate it in the saucepan you heated the milk in. However, once the yogurt has set, you need to chill it to stop the fermentation and firm the curd, so make sure your incubation container will fit in the fridge. You don’t want to move just-set yogurt to other containers or you will damage the fragile curd.
- Put the yogurt in a small, clean bowl and whisk in about 1 cup of the cooled milk. Pour this mixture back into the saucepan, straining it if desired, and whisk gently but thoroughly. You want to incorporate the culture without creating a lot of foam. Immediately move the milk into the prepared jar or jars and cover.
- Incubate the yogurt according to your chosen method—see How To Choose An Incubation Method For Your Homemade Yogurt below—until the yogurt thickens and firms. Avoid moving or otherwise agitating the yogurt while it ferments. Check for set after 4 hours and at least once per hour after that. Yogurt can take anywhere from 4 to 12 hours, or even longer, depending on the incubation temperature and the strength of the culture. The longer it takes, the more tart your yogurt will be, as the culture continues to produce lactic acid. If you prefer mellow yogurt, try to stop the incubation as soon as the yogurt has firmed.
- To check your homemade yogurt for set, tilt the jar slightly. If the yogurt looks like baked custard and doesn’t flow, it has set sufficiently. If it is jiggly and you want it firmer, let it incubate longer. Incubating longer should make it a little more tart and firm, but you can over-incubate it. If whey has collected on the surface, the yogurt probably fermented a little too long or too fast and is starting to separate. Either pour off the surface whey or, after chilling the yogurt, stir it back in. Don’t try to stir the whey in before chilling the yogurt, as the curd will be too fragile. Cover the yogurt and place it in the refrigerator until chilled through, at least several hours.
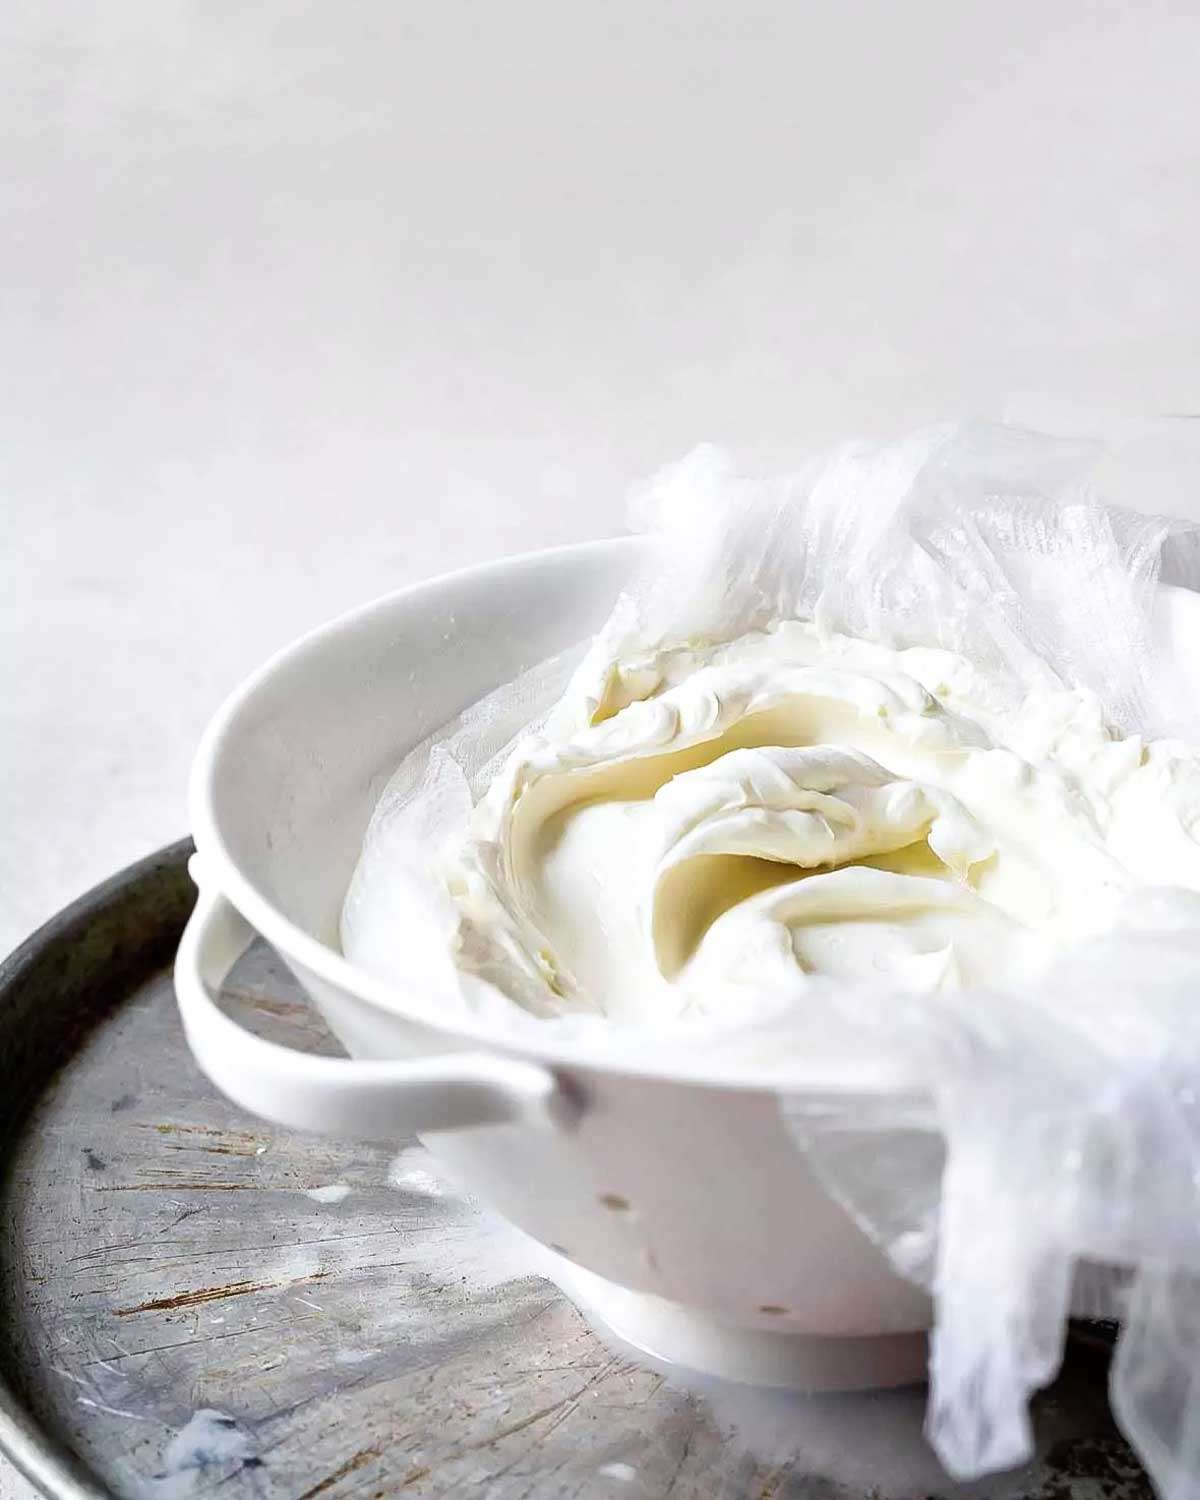
- After the yogurt has been in the fridge for several hours, take a taste. If a thicker yogurt is desired, drain it. Draining yogurt dramatically improves its texture, making it thicker, creamier, and more mellow by removing the whey. Draining yogurt also extends its life. And if you are lactose-sensitive, you should find drained yogurt more digestible.To drain your yogurt, gently pour the chilled yogurt into a colander or strainer lined with three layers of dampened cheesecloth. Cover with a plate or cloth—you’re protecting the yogurt, not pressing it—and place it in the fridge. Drain the yogurt until it has the consistency you like. After an hour, the yogurt will be noticeably thicker. If you drain the yogurt more than you’d intended, no problem, simply whisk some of the whey back into the yogurt, adding as much as it takes to attain the texture you desire. Scrape the drained yogurt into a container, cover, and refrigerate.To make Greek yogurt, which is essentially drained yogurt, instead of stopping after an hour of draining, keep going. Depending on the yogurt you started with, it may take 3 to 4 hours to achieve the thick, palate-coating consistency of Greek yogurt.Don’t be concerned if each batch of yogurt you make is a little different. Unlike commercial producers with their controlled processes, your home yogurt “factory” is subject to variability: in the milk and culture used, the way you heated and cooled the milk, the length of the fermentation, and the fermentation temperature. Experiment, make notes, and over time you will find the combination of culture, time, and temperature that produces yogurt with the texture and flavor you like.
Notes
- Your challenge as a homemade yogurt-maker is coddling the culture, keeping it in the desired range for the several hours it takes to do its job. Yogurt bacteria tolerate a range of roughly 105°F (41°C) to 115°F (46°C). A temperature of 118°F (48°C) or higher will kill most cultures. If the incubation temperature falls below 105°F (41°C), the culture will produce more polysaccharides and the yogurt will likely be slimy or “ropy” or may not set at all.
- Know where and how you are going to incubate the yogurt before you start, and test to make sure you can maintain that temperature. To test, fill a jar with water at 115°F (46°C) and “incubate” it in your chosen manner as if it were cultured milk, taking its temperature with an instant-read thermometer every hour or so.
- If you’re using a yogurt-making appliance, follow the manufacturer’s directions. Before you use it for the first time, and occasionally thereafter, verify the incubation temperature using a jar or two of water, as described above. Of course, if the machine is producing yogurt reliably for you, you don’t need to question its thermostat. But if you are having trouble getting batches to set, it could be because the device is malfunctioning.
- If you are not using a yogurt-making appliance, you will need to create a warm environment for incubating your yogurt. The target temperature range is not easy to maintain for several hours. Some people successfully incubate yogurt in their gas oven with only the warmth of the pilot light. (Alas, many newer ovens do not have pilot lights.) If you want to try this, preheat the oven to the lowest setting first, and then turn it off. Test the temperature after half an hour and then hourly to see if the oven remains within the target range for at least 5 hours. If it does, it should work as an incubator.
- Some people use an insulated container, such as a picnic cooler, partially filled with warm water as an incubator. Others wrap yogurt jars in an electric blanket or set them on a heating pad or in a jury-rigged Styrofoam container with a low-wattage light bulb. You can also keep the incubating yogurt in a consistently warm spot in your house, such as near a radiator or sunny window. A food dehydrator with removable shelves can work as an incubator if the temperature can be set low enough. Some people use a countertop slow cooker, heating the milk slowly in the device and then unplugging it to cool the milk to the culturing temperature. Wrapping the pot with towels after culturing helps maintain temperature.
- When I don’t use an electric appliance, I incubate my yogurt the way home cooks have for centuries: wrapped in blankets. (I use small throw blankets.) First, I wrap my warm, just-filled quart jars in kitchen dish towels so they won’t soil the blankets. Then I snuggle the jars into a blanket nest—a blanket underneath and another on top and, if the house is cold, another blanket around them for good measure. Then I ignore the heap for 4 to 5 hours before unwrapping it to check for set. If the milk has not set yet, I check it every half hour or so thereafter.
- Whichever incubation method you choose, avoid jostling the yogurt as it incubates. It prefers to be undisturbed.
Nutrition Information
Show Details
Serving
1cup
Calories
169kcal
(8%)
Carbohydrates
13g
(4%)
Protein
9g
(18%)
Fat
9g
(14%)
Saturated Fat
5g
(25%)
Monounsaturated Fat
2g
Cholesterol
29mg
(10%)
Sodium
120mg
(5%)
Sugar
14g
(28%)
Nutrition Facts
Serving: 4cups
Amount Per Serving
Calories 169 kcal
% Daily Value*
| Serving | 1cup | |
| Calories | 169kcal | 8% |
| Carbohydrates | 13g | 4% |
| Protein | 9g | 18% |
| Fat | 9g | 14% |
| Saturated Fat | 5g | 25% |
| Monounsaturated Fat | 2g | 10% |
| Cholesterol | 29mg | 10% |
| Sodium | 120mg | 5% |
| Sugar | 14g | 28% |
* Percent Daily Values are based on a 2,000 calorie diet.
Genuine Reviews
User Reviews
Overall Rating
5.0
12 reviews
Excellent
Other Recipes
You'll Also Love