Easy Seedless Raspberry Jam
User Reviews
4.9
Easy Seedless Raspberry Jam
Description
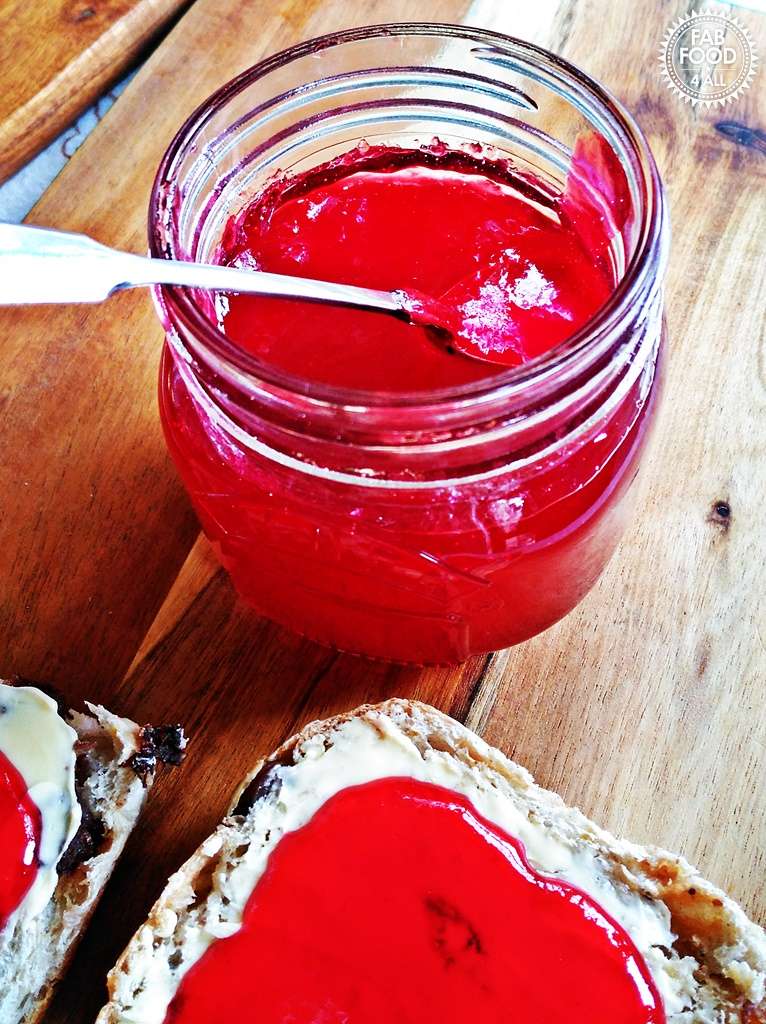
This jam recipe starts with mashed raspberries combined with sugar and lemon juice, heated gently to dissolve the sugar without reaching a simmer. The mixture is then carefully poured through a sieve to remove seeds, ensuring a smooth, seedless final product. Using a metal spoon to push the pulp through the sieve efficiently extracts the fruit's natural flavors while removing unwanted seeds.
Once strained, the juice is returned to the pan and brought to a rolling boil for five minutes. A simple test involving chilling a small amount on a saucer confirms proper set when it becomes tacky and wrinkles upon touching. This thorough approach produces a jam with a glossy, spreadable texture without the crunch or bitterness of seeds.
Finished jam should be stored in sterilized jars, keeping fresh for several weeks in the refrigerator. This recipe focuses on clear steps for preparation and testing to ensure jam suitability for spreading or spooning.
Pre-freeze two small plates before starting to test the jam’s set properly.Sterilize jars by washing thoroughly, filling with boiling water, emptying, then baking at 140°C for 20 minutes before filling.Lids should be boiled and left to air dry before sealing jars.
Ingredients
- 450 g raspberry washed and dried
- 400 g granulated sugar
- 3 tsp lemon juice
Instructions
- Add raspberries, sugar and lemon juice to a preserving pan (large pan).
- Use a potato masher to mash up the raspberries.
- Place the pan on the hob over a low heat (do not simmer), stirring occasionally until all the sugar has dissolved. (Sweeping a wooden spoon along the bottom will alert you to any sugar crystals).
- Take a glass bowl and place a metal sieve over it.
- Pour the jam mixture into the sieve (you may have to remove a few seeds stuck to the pan).
- Pour the drained juice back into the pan and place the sieve over the pan.
- Use a large metal spoon to push the pulp through the sieve (will take about 5 minutes).
- Once all the pulp is sieved into the pan, stir with a wooden spoon.
- Bring the pan to a rolling boil and time for 5 minutes.
- Take the pan off he heat and drizzle a little jam onto a saucer and place in the fridge for a minute.
- Run a finger through the jam and if it forms a crinkle (tacky) then the jam is ready, if not continue to boil for another minute at a time and re-test until it is ready.
- Pot into hot jars and seal with lids immediately or if using wax discs place those on and then the cellophane once cool.
- Store in a cool dark place and refrigerate once opened.
Notes
- Pre-freeze two small plates before starting to test the jam’s set properly.
- Sterilize jars by washing thoroughly, filling with boiling water, emptying, then baking at 140°C for 20 minutes before filling.
- Lids should be boiled and left to air dry before sealing jars.
User Reviews
Overall Rating
4.9
You'll Also Love