Quick & Easy Raspberry Jam - no pectin
User Reviews
5
Quick & Easy Raspberry Jam - no pectin
Description
The jam begins by combining fresh raspberries with sugar and lemon juice in a suitable pan. Heat is applied gently at first and stirred occasionally until all sugar dissolves, ensuring an even consistency without graininess. The mixture is then brought to a rolling boil for at least 7 minutes to concentrate and thicken.
Setting is tested by cooling a small amount on a chilled saucer and checking if it wrinkles when pushed with a finger. If not set, further boiling is done in short increments until jam gels properly. Sterilized jars should be prepared ahead to safely preserve the jam once hot.
The lemon juice not only adds brightness but also contributes pectin and acidity, helping the jam set naturally. After potting and sealing, jars should be stored in a cool, dark place unopened and refrigerated after opening to extend shelf life.
Having saucers chilled beforehand facilitates timely testing during cooking. Sterilizing jars and lids by thorough washing, boiling, and oven-drying prevents contamination and spoilage. This recipe produces a straightforward jam without extra commercial thickeners, highlighting pure raspberry flavor.
Ingredients
- 800 g raspberry rinsed and dried
- 700 g granulated sugar
- 5 tbsp lemon juice
Instructions
- Put the raspberries, sugar and lemon juice into a preserving pan or similar.
- Place pan over a gentle heat, stirring occasionally, until all the sugar crystals have dissolved. You can usually tell by running a wooden spoon over the bottom of the pan.
- Bring the pan to a rolling boil and time for 7 minutes.
- Take pan off the heat and place a few drops of jam onto a chilled saucer.
- Place saucer in fridge for about a minute.
- Test the set by running your finger through the jam, if it forms a crinkle and is jel like then the jam is ready to pot up.
- If the jam isn’t ready continue boiling for another 2 minutes at a time and re-test until ready (mine took 9 minutes).
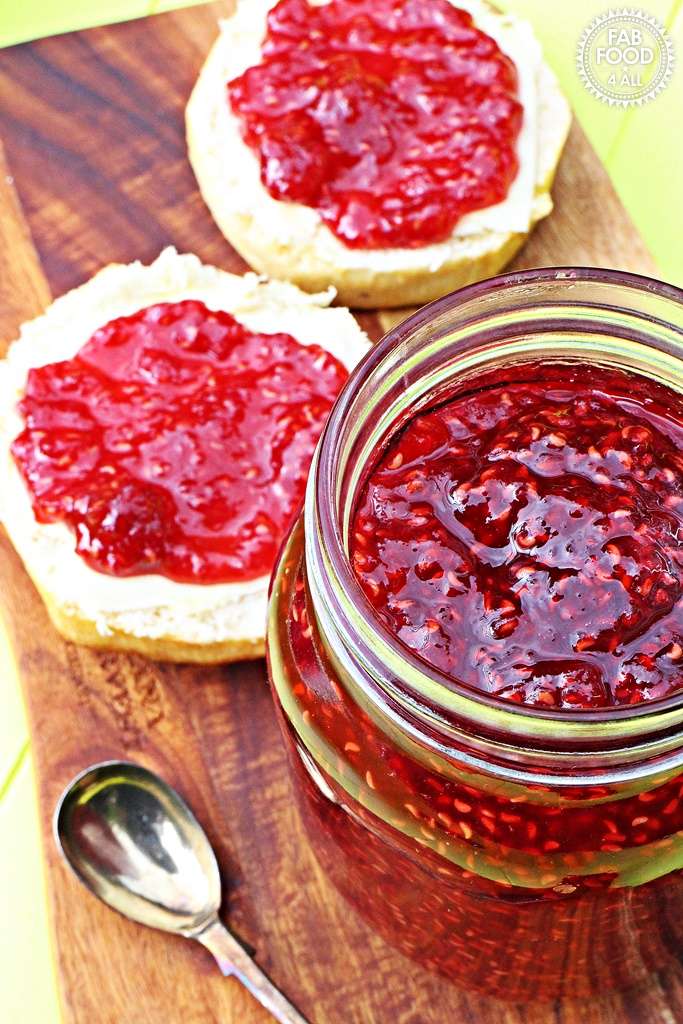
- Use a small ladle to pot up the jam in sterilised jars and seal with lids immediately – makes 2 jars (900 mls in total).
- Store in a cool dark place and refrigerate once opened.
Notes
- Freeze 2-3 saucers before starting to test jam setting easily during cooking.
- Sterilize jars by washing in hot soapy water, rinsing, filling with boiling water, emptying, and baking at 140°C for 20 minutes.
- Wash lids and sterilize by boiling and draining before sealing jars.
- Store unopened jam in a cool, dark place; refrigerate after opening for freshness.
User Reviews
Overall Rating
5
You'll Also Love