Simple Elderberry Jam
User Reviews
5
Simple Elderberry Jam
Description
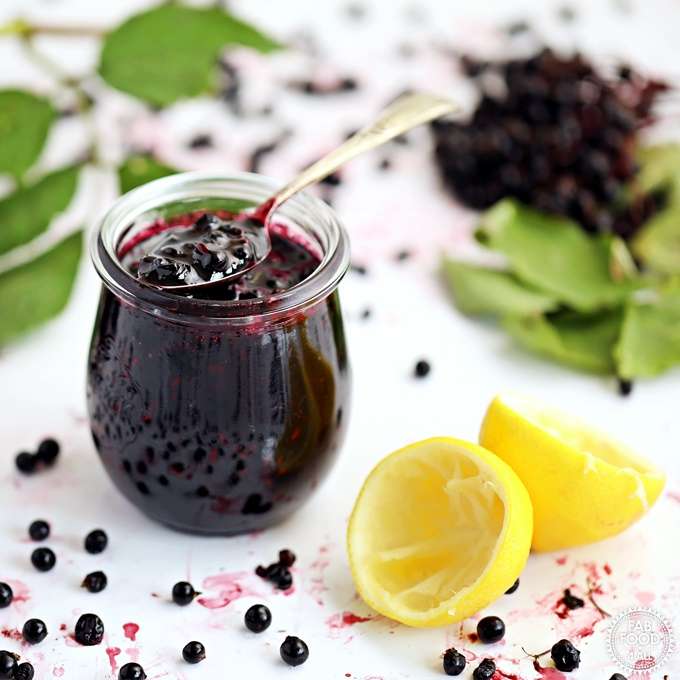
Simple Elderberry Jam starts with preparing ripe elderberries by removing them from their stems and sorting out any unripe or red berries. After multiple rinses to ensure cleanliness, the elderberries are crushed and cooked with a measured amount of water to release their juices. Simmering with a lid on for 10 minutes helps soften the berries thoroughly. Stirring in sugar and freshly squeezed lemon juice on a low heat dissolves the sugar and balances the jam's sweetness with acidity. The result is a berry jam that captures the unique, slightly tart flavor of elderberries.
The jam can be spooned into sterilized jars for preserving. It makes a flavorful accompaniment to toast, biscuits, or can be used in desserts. The notes suggest preparing sterilized jars and lids carefully to ensure safe preservation of the jam for later use. Butter or coconut oil may be added during cooking to remove scum and improve clarity of the finished jam.
Ingredients
- 500 g elderberries prepared weight (see recipe for details, ripe
- 500 g granulated sugar
- 2 tbsp lemon juice freshly squeezed
- 100 ml water
Optional:
- butter to remove scum, or coconut oil
Instructions
- Prepare your elderberries by removing from stems with a fork (or you can use your fingers). If you have any red or green ones it’s easier to remove by hand before you strip the stem as picking through a bowl of elderberries is not easy as they are so small. Now is the time to weigh the elderberries and I’d allow another 20 grams for the debris and red berries that you’ll end up throwing away.
- Immerse the elderberries in water and rinse several times until the water runs clear to remove any insects or debris. Pick out any stems or unripe berries, you just want black elderberries.
- Place the elderberries in a preserving pan or similar with 100 ml of water.
- Crush the berries to release their juices and bring to a boil.
- Turn the heat down to a simmer and cook gently for 10 minutes with a lid on, stirring a couple of times with a wooden spoon.
- Turn the heat down to a minimum and stir in the sugar and lemon juice and carry on stirring until sugar has completely dissolved (do not simmer). (Dragging your spoon across the pan there should be no crunching sounds).
- Then turn the heat up high and bring to a rolling boil and time for 6 minutes once it starts, stirring frequently to prevent the jam sticking to the pan.
- Take off the heat and test a few drops of jam on a chilled saucer and place in the fridge for a minute.
- Then run a finger through it, it should be tacky and not run back to the void your finger has just created. My jam was ready at 8 minutes and only showed the vaguest attempt at a wrinkle (this jam is very easy to over cook so please err on the side of caution)!
- If your jam hasn’t reached setting point then boil for another 2 minutes and repeat the test until ready.
- Stir the jam well to remove any scum but if that doesn’t work you can add a knob of butter or coconut oil for a vegan friendly option.
- Pot up into 3 x 200 ml sterilised jars, a ladle and jam funnel are really useful here.
- Place lids on immediately and allow to cool.
- Store in a cool dark place and once opened store in the fridge and eat within a few months.
- Jam best eaten in the first year but will be shelf stable for many years.
Notes
- Ensure jars and lids are well sterilized by washing, boiling, and heating in the oven to prevent spoilage.
- Keep 2 to 3 small plates in the freezer before starting to test the jam's set as it cools.
- Remove all stems and unripe berries manually before cooking for best texture and flavor.
- Butter or coconut oil can be added during cooking to reduce surface scum.
User Reviews
Overall Rating
5
You'll Also Love